
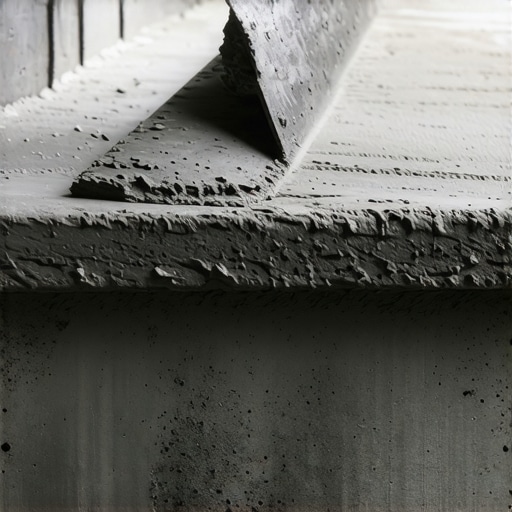
The Forensic Scene: The Ghost of the Skim-Coat
I recall a forensic call-out to a 1920s municipal courthouse where the grand entrance stairs looked like they were suffering from a skin disease. The maintenance supervisor thought it was just a hairline crack, a minor aesthetic nuisance. He had his crew ‘skin’ it with a thin layer of box-store patch. But when I arrived and drove my masonry hammer into the tread, the entire 2-inch thick ‘repair’ rang with a hollow, sickly thud. I put my borescope into a core-drilled hole and saw the real tragedy: the internal reinforcing steel had oxidized, expanding 300% in volume and turning to rusted dust. The patch wasn’t just ugly; it was a mask for a structural corpse. To patch concrete stairs without leaving a visible seam, you have to stop thinking like a painter and start thinking like a molecular biologist and a structural engineer. You aren’t just covering a hole; you are attempting to fuse two different eras of chemistry into a monolithic whole. If you fail to respect the ‘tooth’ of the stone or the suction of the substrate, the freeze-thaw cycle will turn your hard work into a pile of spalled rubble within a single winter.
“The bond strength between new and old concrete is dictated by the mechanical interlock and the chemical adhesion at the interfacial transition zone.” – ASTM C1059 / C1059M Standard Specification for Bonding Agents for Exterior Bonding to Hardened Concrete
The Micro-Zoom: The Physics of the Cold Joint
The biggest reason a patch remains visible is the ‘cold joint.’ In the world of masonry, a cold joint occurs when new ‘mud’ is placed against old, cured material without proper integration. This isn’t just about color; it’s about light refraction and porosity. Old concrete has had decades to carbonate. Carbon dioxide from the atmosphere has reacted with the calcium hydroxide in the cement, turning it into calcium carbonate. This lowers the pH and changes the density. When you slap a fresh, high-pH polymer-modified mortar over that, the two materials expand and contract at different rates. In Northern climates, water finds that microscopic gap, freezes, and expands by 9%. That is enough pressure to pop the face off a brick or explode a concrete riser. This is the same principle that causes honeycombing in poor pours or why brick quoin repair often fails when the installer doesn’t match the modulus of elasticity of the original stone. To get a ‘seamless’ look, you must eliminate the transition zone by mechanically opening the pores of the old concrete.
The Anatomy of the Invisible Mend
You don’t start with a trowel; you start with a grinder. To avoid the ‘feather-edge’ failure—where the thin edges of a patch dry out too fast (burn) and crumble—you must ‘box out’ the repair. This means cutting the edges of the damaged area with a diamond blade to a depth of at least half an inch. This gives the new material a vertical wall to ‘butter’ against. Butter is the term we use for applying that thick, sticky layer of mortar to the edge of the repair. Without this vertical shoulder, the patch will always show a thin, translucent line where the material ran too thin. While robotic masonry repair is beginning to tackle large-scale infrastructure by 3D-printing these transitions, for the craftsman on his knees, it’s all about the ‘hawk’ and the ‘slicker.’ You need to create a mechanical ‘tooth.’ This involves acid etching or, preferably, aggressive bush-hammering to expose the aggregate. You want the old concrete to be ‘Saturated Surface Dry’ (SSD). If the old concrete is bone dry, it will act like a sponge and suck all the hydration out of your new mud, preventing the Calcium Silicate Hydrate (C-S-H) gel from forming correctly. That is how you get a weak, dusty patch that stands out like a sore thumb.
“Water penetration is the single greatest threat to masonry durability, and the interface between materials is the primary point of entry.” – BIA Technical Note 7
Matching the DNA: Aggregate and Color
The ‘secret’ to the invisible seam isn’t a magic chemical; it’s the sand. Most guys buy a bag of pre-mix and wonder why it looks blue-grey against their tan-grey stairs. You have to perform a forensic analysis of the existing aggregate. If the stairs were poured in the 1950s, the sand probably came from a local riverbed and has a specific ‘sieve analysis.’ To match it, you need to wash a sample of the old concrete in acid to see the stones inside. If you see white quartz and black basalt, you better be adding those to your mix. This is the same level of detail required in brick wall restoration or an outdoor fireplace rebuild. For the color, we use iron oxide pigments, but we always mix them dry first. Remember the ‘Rule of the Wet Trowel’: concrete always looks three shades darker when wet. You have to do a test ‘biscuit,’ let it cure for three days, and compare it to the original. This is why brickwork pointing styles vary so much; the shadow line cast by a ‘grapevine’ or ‘weathered’ joint can hide a multitude of color sins, but on a flat stair tread, there is nowhere to hide.
The Hardscape Truth: Why Your Stairs Aren’t a Paver Driveway
I see people trying to use masonry joint sand repair techniques or self-leveling masonry lifts on stairs. That is a recipe for disaster. A brick paver driveway repair works because the system is flexible—the sand allows the pavers to move. Concrete stairs are rigid. They are a cantilevered or soil-supported monolith. If you have a crack that keeps coming back, it’s not a surface issue; it’s a geotechnical failure. You might need retaining wall block replacement nearby to stabilize the soil, or you might be dealing with hydrostatic pressure that is pushing the stairs away from the foundation. In these cases, no patch will stay invisible because the ‘moving’ crack will just telegraph through the new material. This is where we look at chimney sweep and repair logic: if the flue is cracked due to settlement, you don’t just plaster over it; you address the footing. For stairs, this might mean injecting a structural epoxy before the aesthetic patch is applied.
The Final Strike: Finishing for Durability
Once your mud is in the hole, the temptation is to over-trowel it. This is a rookie move. Over-troweling draws the ‘fines’ (the smallest cement particles) to the surface, creating a weak, brittle layer that will eventually flake off—a process called laitance. Instead, use a wood float to keep the surface open. To truly hide the seam, you need to ‘distress’ the patch to match the surrounding wear. If the stairs are sixty years old, they have a certain amount of ‘scud’ and ‘pitting.’ You can replicate this by lightly spraying the semi-set concrete with water or using a stiff-bristled brush to expose the aggregate just slightly. This ‘micro-texture’ breaks up the light, making the transition from old to new imperceptible to the human eye. Do it once, or do it twice—the choice is yours. But if you don’t respect the physics of the hydration process, the ghost of that seam will haunt your curb appeal for years to come.