
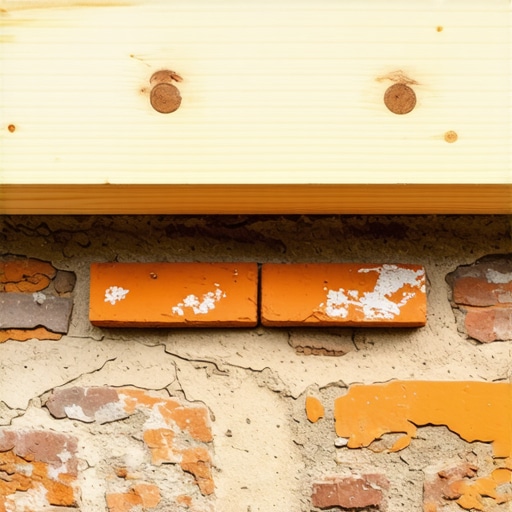
The forensic reality of a birdsmouth cut isn’t just about aesthetics; it is about avoiding the introduction of micro-fissures that turn a chimney into a pile of rubble within five winters. I have spent thirty years looking at what happens when physics meets poor technique. The homeowner thought it was just a hairline crack on the corner of their chimney stack. But when I put my scope inside the cavity, I saw the structural integrity had vanished; the brick had been vibrated to the point that its internal lattice was essentially dust, all because some ‘handyman’ tried to force a 90-degree notch with a dull blade. That is the tragedy of modern masonry: speed over science. To get a perfect birdsmouth cut without shattering the unit, you have to understand the ‘tooth’ of the material and the brutal physics of stress risers.
The Forensic Physics of the Birdsmouth
A birdsmouth cut, specifically the V-shaped notch used to wrap bricks around a corner or fit them into a specific architectural profile, creates what engineers call a stress concentration point. When you remove a 90-degree chunk from a unit of historic brick salvage, you are effectively creating a structural ‘hinge’ where the material is thinnest. If your cut has a sharp, jagged interior corner, that is where the crack starts. It is not a matter of if, but when.
“Water penetration is the single greatest threat to masonry durability, particularly at transition points where internal stresses are high.” – BIA Technical Note 7
In freeze-thaw environments like the Northeast, water finds those microscopic jagged edges inside your cut. As it freezes, it expands by 9%, acting like a hydraulic jack that pops the face of the brick right off. This is why chimney repair services often fail prematurely; the mason focused on the mud but ignored the micro-fractures in the unit itself.
Preparation and Material Intelligence
Before you even pick up a saw, you need an AI masonry assessment of the material’s density. Not every brick is a candidate for a deep birdsmouth. If you are working with an extruded brick with high core volume (holes in the middle), a birdsmouth cut can expose the cells, leading to massive honeycombing in the mortar joint. If you are dealing with a solid, hand-molded historic brick salvage, you are fighting against ‘fire-skin’—the hard outer layer of the brick. Once you break that skin with a cut, the soft interior is vulnerable. To prevent the brick from snapping, you must manage the suction. A dry brick will suck the life out of a wet blade, causing heat to build up. Heat is the enemy. It causes differential expansion within the clay, which leads to the dreaded ‘snap’ halfway through your cut. Sustainable block cutting practices dictate that we use water-fed saws not just for dust control, but as a thermal lubricant to keep the crystalline structure of the brick stable.
The Step-by-Step Execution
First, mark your lines with a fine-point lead. Do not use a fat carpenter’s pencil; you are working with millimeters here. Set your saw—ideally a bridge saw with a diamond-tipped blade—to a depth that stops 1/8th of an inch short of the full cut. This is the ‘relief cut’ phase. By not going all the way through on the first pass, you maintain the structural ‘bridge’ of the brick, which absorbs the vibration. If you butter the brick with a bit of water before cutting, you reduce the surface tension. After the relief cuts are made, you finish the notch with a high-frequency hand tool or a sharp masonry chisel. This is where the old-world skill comes in. You are not hitting it; you are ‘tapping’ it until it rings. If it doesn’t ring like a bell, you’ve already got an internal fracture, and that brick belongs in the trash, not on a soldier course.
Advanced Bonding and Maintenance
Once the cut is perfect, the installation is where most people fail. You cannot use a standard Type S mortar for a birdsmouth corner on a historic building. The mortar must be the sacrificial element. If you use a mortar that is harder than the brick, the brick will lose the fight every time. We use tuck pointing services techniques to ensure the slicker creates a compact, weather-tight joint that directs water away from the internal vertex of the cut. For commercial masonry maintenance, especially on large-scale facades, we often integrate advanced masonry adhesives within the joint to provide lateral stability without increasing the rigidity of the wall. This is critical for retaining wall capstone replacement where the weight of the stone is constantly fighting against gravity and soil pressure.
Forensic Solutions for Foundational Failures
Sometimes the problem isn’t the cut, but what the brick is sitting on. I have seen perfect birdsmouth corners ripped apart because of foundation slab jacking issues. If the soil heaves, the most complex cuts are the first to break. When we perform foundation slab jacking, we have to be incredibly careful about the rate of lift; too fast and you’ll see every cold joint and birdsmouth notch in the building scream under the pressure. In these cases, we often use concrete pump masonry mixes that have a high flow rate but low shrinkage to stabilize the sub-base before we ever touch the brickwork.
“Structural masonry units must be sampled and tested for compressive strength to ensure they can withstand the localized stresses of architectural detailing.” – ASTM C67/C67M-23
This isn’t just a suggestion; it’s the law of the job site if you want the building to outlast your mortgage. Whether you are doing a retaining wall capstone replacement or a complex chimney rebuild, the ‘ring’ of the brick and the precision of the ‘mud’ are your only real guarantees against the relentless march of entropy.