3 Proven Slab Jacking Fixes to Stop Sinking 2026 Floors
The Forensic Scene: Beneath the Epoxy Veneer
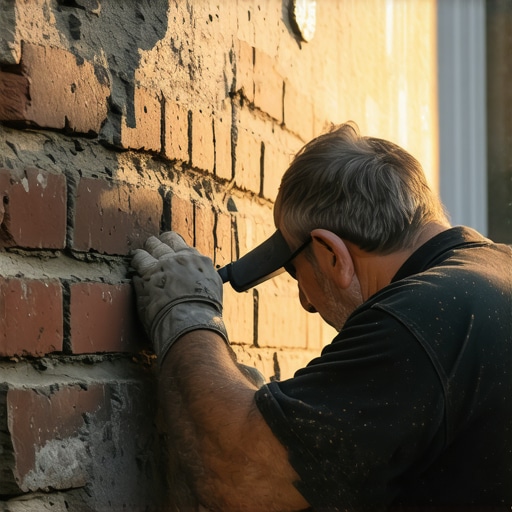
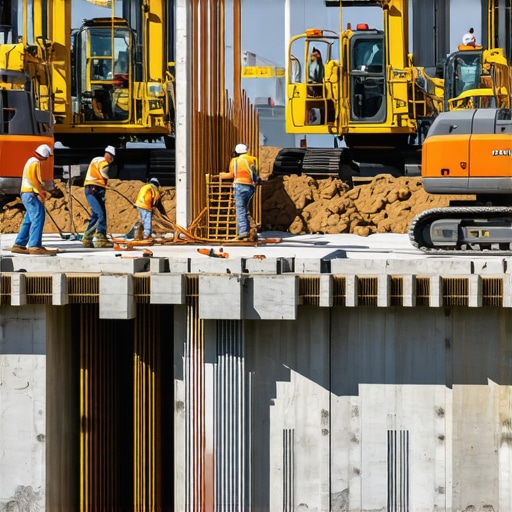
I walked into a high-end workshop last October where the owner had just spent five figures on a custom metallic epoxy floor. He called me because he thought the installers had botched the leveling. To his eye, it was just a slight dip, a ‘wave’ in the finish that caught the light the wrong way. But when I knelt down and ran my hand across the concrete block foundation wall, I felt it: a hair-thin fracture running diagonal through the mortar joints. I pulled out my digital borescope and threaded it through a small relief hole. Inside, I didn’t see solid earth. I saw a two-inch void where the sub-grade had simply vanished, leaving the heavy 2026-reinforced slab hanging in mid-air, supported by nothing but its own internal tension. That tension was reaching its breaking point. The homeowner thought he had a cosmetic problem; I knew he had a structural ticking time bomb. This wasn’t just about a floor; it was about the failure of the very ground intended to hold it.
The Physics of Settlement: Why Your 2026 Slab is Failing
When we talk about sinking floors, we are really talking about the battle between hydrostatic pressure and soil density. Most 2026-spec floors are poured over what contractors call ‘structural fill,’ but in the rush of modern construction, compaction is often treated as a suggestion rather than a requirement. In regions with high clay content, the soil acts like a sponge. During a wet spring, it swells, exerting massive upward pressure. During a dry summer, it shrinks, leaving a ‘honeycombing’ effect in the sub-base. This is where the cycle of failure begins. If you have an outdoor masonry fountain restoration project or a heavy chimney rebuild service underway, the added dead load on these shifting soils accelerates the compression. Once the soil fails to provide uniform support, the slab enters a state of ‘cantilevered stress.’ Concrete is magnificent under compression but notoriously weak under tension. Without the earth pushing back, the slab cracks.
“Water penetration is the single greatest threat to masonry durability, but the loss of sub-grade support is the single greatest cause of catastrophic structural failure.” – BIA Technical Note 7
In the North, we deal with the freeze-thaw cycle, where water trapped in those sub-slab voids expands by 9%, literally lifting the floor before dropping it back onto uneven debris. In the South, thermal expansion can cause the slab to ‘grow’ until it hits the foundation walls, causing the concrete block foundation repair issues we see so often in newer developments. Whether you’re dealing with historic brick salvage or a modern garage, the physics remains the same: you cannot have a stable structure on an unstable base.
Fix 1: The Heavy Lift—Traditional Cementitious Mudjacking
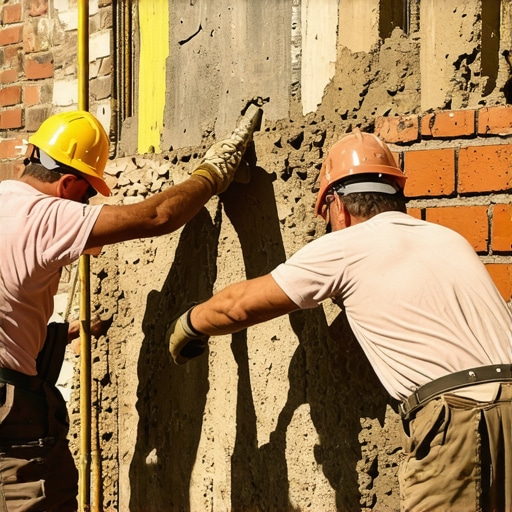
The first proven method is the old-school favorite: mudjacking. This involves drilling two-inch holes into the slab and pumping a ‘mud’—a slurry of Portland cement, topsoil, and often a bit of fly ash—under the floor. The goal is to fill the void and use hydraulic pressure to ‘butter’ the underside of the concrete and lift it back to its original plane. This is a brute-force solution. We use a ‘hawk’ and trowel to clean the injection ports, but the real work happens underground. The chemistry here is all about the ‘set time’ of the slurry. You want a mix that has enough ‘tooth’ to grip the existing soil but remains fluid enough to reach the furthest corners of the void. However, the downside of mudjacking is the weight. You are essentially adding tons of new material on top of the same soil that failed in the first place. If the soil hasn’t reached its ‘refusal point,’ the new mud might just sink along with the old slab. This is why we often pair this with foundation underpinning if the footer itself is part of the problem.
Fix 2: The Scalpel—High-Density Polyurethane Injection
If mudjacking is the sledgehammer, polyurethane injection (or ‘poly-jacking’) is the scalpel. This is the gold standard for 2026 floor repairs. We drill tiny 5/8-inch holes—barely noticeable in a brick wall restoration or a tiled floor—and inject a two-part polymer resin. The chemical reaction is an exothermic marvel. As the two liquids meet, they expand into a high-density, closed-cell foam. This foam is hydrophobic; it literally pushes water out of the way as it expands. This is critical for freeze-thaw damage restoration because it seals the underside of the slab against future moisture intrusion. The ‘lift’ is controlled to within a fraction of an inch. Because the foam is lightweight (about 2-4 pounds per cubic foot compared to the 100+ pounds of mud), it doesn’t add significant load to the sensitive soil. It’s the preferred method for delicate jobs like outdoor fireplace rebuilds or when we need to stabilize a slab without disturbing the surrounding tile grouts on masonry.
“The selection of grout materials for masonry repair should be based on the physical properties of the substrate to ensure long-term compatibility.” – ASTM C270 Standards
Fix 3: The Surgical Cure—Deep Foundation Underpinning
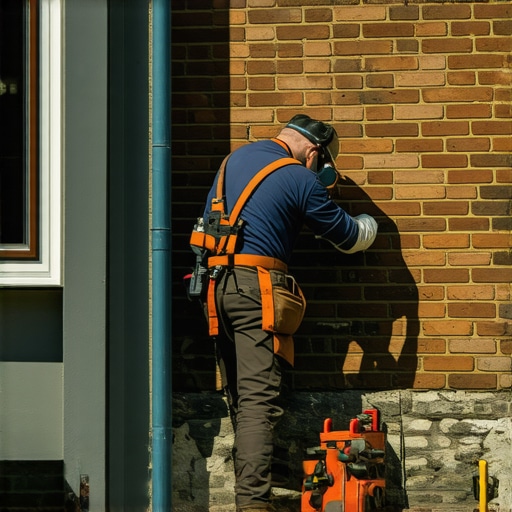
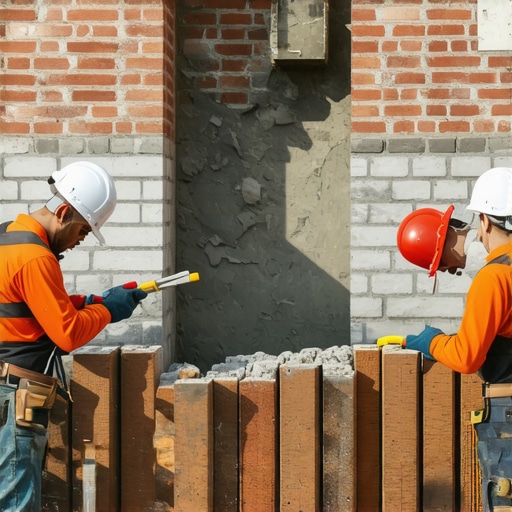
Sometimes, the slab isn’t just sinking because of a void; it’s sinking because the entire house is moving. This is where we move past surface fixes into foundation underpinning. We use helical piers—massive steel screws—that are driven deep into the earth until they hit ‘load-bearing strata’ or rock. These piers are then bracketed to the foundation or the slab. This bypasses the ‘junk soil’ entirely. When we perform a chimney rebuild service, we almost always look at the footing first. If that chimney is pulling away from the house, no amount of ‘mud’ under the hearth will fix it. You need a mechanical connection to the earth. During this process, we often see the ‘stair-step’ cracks in the brickwork begin to close as we jack the house back into alignment. Once the structure is stabilized, we can then focus on the aesthetic side: the brickwork sealants application and the repointing of the joints to ensure the envelope is watertight.
The Critical Role of Sealants and Maintenance
Once the lift is complete, the job isn’t over. A forensic inspector knows that the ‘why’ is just as important as the ‘how.’ If you don’t address the water drainage that caused the void, you’ll be back in five years. This is where brickwork sealants application becomes a mandatory final step. We use silane/siloxane-based sealants that are ‘breathable.’ They allow water vapor to escape from the masonry but prevent liquid water from entering. This is especially vital in historic brick salvage where the bricks are softer and more porous. Furthermore, the joints between the slab and the foundation must be sealed with a high-grade polyurethane caulk to prevent ‘point loading’ and future erosion. Whether it’s a basement floor or a complex outdoor masonry fountain restoration, the goal is to create a monolithic barrier against the elements. Don’t be fooled by ‘handyman’ fixes that involve just ‘slapping some mud’ in a crack. Real masonry forensic work requires understanding the hydration of the cement, the suction of the brick, and the relentless pull of gravity. Do it once, do it right, and you won’t have to watch your floor sink twice.