4 Forgotten Historic Pointing Styles for 2026 Restorations
The Ghost of Portland Past: Why Your Restoration is Failing
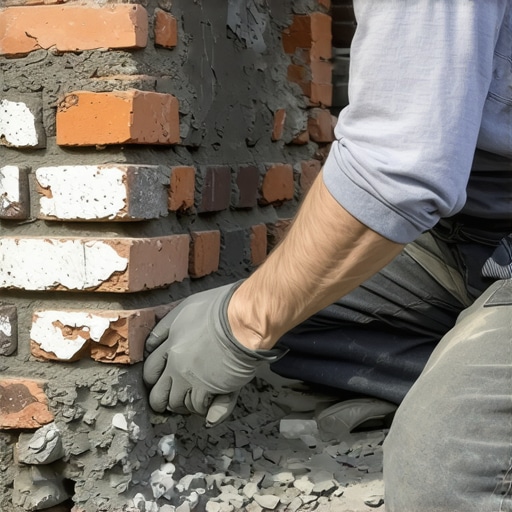
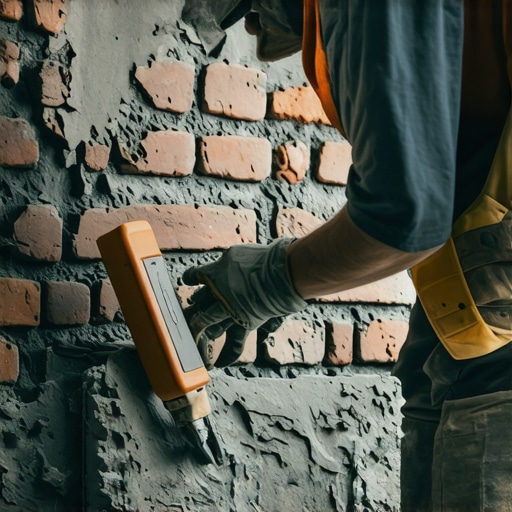
You smell it before you see it. That damp, earthy rot of a foundation that hasn’t breathed in fifty years because some ‘handyman’ slapped a coat of modern Type S cement over Victorian-era clay. I’ve spent thirty years stripping back the mistakes of the 1980s, scraping away the gray, brittle husks of Portland cement that have literally strangled the life out of historic facades. When you deal with historic brickwork repointing, you aren’t just applying ‘mud’; you are performing a surgical intervention on a living, breathing structural organism. If the mortar is harder than the brick, the brick loses every single time. It’s a law of physics that doesn’t care about your budget or your timeline.
My mentor, a man who could tell the lime content of a mix by the way it stuck to his hawk, used to perform the ‘suction test’ on every pallet of salvaged brick. He’d wet his thumb, press it against the header, and watch how fast the moisture disappeared. ‘If it drinks like a thirsty dog,’ he’d say, ‘you better butter that brick heavy and use a high-lime mix, or the wall will suck the life out of your joints before they even set.’ He was talking about the hydration process—the way water moves through the masonry. If you don’t respect the suction, your joints will flash-set, leaving a powdery, crumbly mess that won’t last through the first frost. This is where high-performance mortar mixes come into play, specifically those formulated for vapor permeability rather than just raw compressive strength.
“Water penetration is the single greatest threat to masonry durability. The use of mortar that is too hard for the units can lead to irreversible spalling and structural distress.” – BIA Technical Note 7
1. The Flush Pointing Method: The Invisible Workhorse
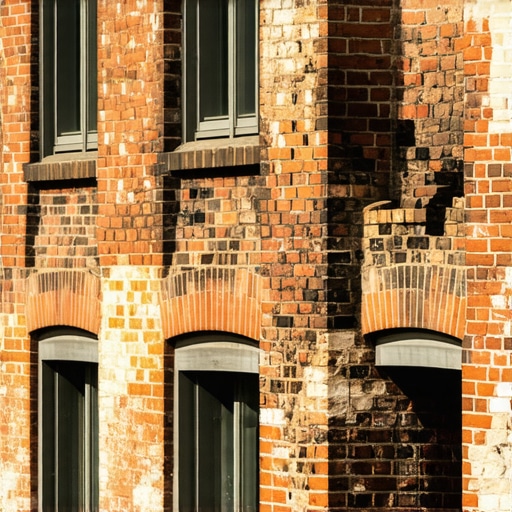
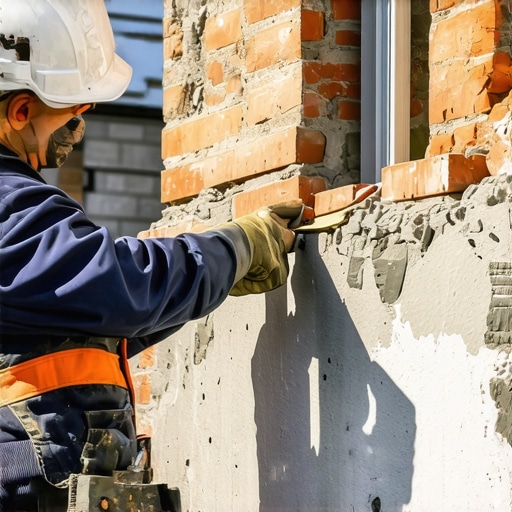
Often overlooked because it doesn’t scream ‘architectural detail,’ flush pointing services are the backbone of industrial and vernacular restorations. In this style, the mortar is finished flush with the face of the brick. It sounds simple, but the execution is where the ‘lick-and-stick’ crowd fails. To do it right, you have to wait for the mortar to become ‘thumb-print hard’—meaning you can press your thumb into it and leave an impression without the mud sticking to your skin. Then, you rub it with a piece of burlap or a rough brush. This process, known as ‘stippling,’ exposes the aggregate and breaks the surface tension of the lime, allowing for maximum breathability. This is critical for historic brickwork repointing because it ensures that the joint remains the ‘sacrificial’ element. When the freeze-thaw cycle hits, the moisture exits through the soft mortar joint rather than blowing the face off your 150-year-old bricks. This is the physics of capillary action at work; the joint acts as a wick, drawing moisture out of the wall’s core.
2. The Art of Sustainable Tuckpointing Mortars
Don’t confuse ‘repointing’ with ‘tuckpointing.’ True tuckpointing is an optical illusion, a masterclass in deception. We use a base mortar that is dyed to perfectly match the brick, making the wide, irregular joints of old handmade bricks disappear into a sea of color. Then, we cut a thin groove into that base and lay in a ‘ribbon’ of contrasting white lime putty. The result is a wall that looks like it was built with 1/8-inch precision joints. Using sustainable tuckpointing mortars isn’t just about ‘green’ building; it’s about chemistry. These mixes rely on carbonation—the process where the lime absorbs CO2 from the air to harden over decades, rather than the quick, brittle chemical hit of Portland cement. When we perform full repointing services using this method, we are essentially giving the building a new set of lungs. The ribbon is applied with a specialized ‘slicker’ tool, and the precision required is so high that a single slip can ruin the entire visual line of a soldier course.
3. The Weathered Joint: Defying Gravity
In the world of chimney leak detection, the weathered joint is king. This style involves a downward-slanting profile where the top of the joint is recessed and the bottom is flush with the brick below. It’s designed specifically to shed water. Gravity is the enemy of any masonry structure, and the weathered joint uses it to its advantage. By creating a physical ramp, we prevent water from sitting on the ‘ledge’ of the brick. This is vital when you’re dealing with brickwork sealants application later on; if the geometry of the joint is wrong, no sealer in the world will save you from hydrostatic pressure. When I’m up on a rig inspecting a 1920s chimney, the first thing I look for is whether the previous mason used a concave joint or a weathered one. A concave joint is fine for modern builds, but on old, porous units, it can actually trap water against the top edge of the brick, leading to ‘honeycombing’ where the interior of the brick turns to dust while the exterior shell remains intact.
“Mortar should be made of lime and sand, the lime being of the best quality and the sand being pit sand, free from earthy matter.” – Vitruvius, De Architectura
4. The Beaded Joint: Victorian Elegance Meets Modern Shielding
For the grandest brownstones and historic estates, the beaded joint offers a rounded, protruding profile that creates deep shadows and a sense of mass. But this isn’t just for show. The ‘bead’ provides extra sacrificial material. Over the course of 80 years, the weather will slowly erode that bead, but it won’t touch the structural ‘heart’ of the joint. When we combine this with porous stone sealers, we create a multi-layered defense system. However, you have to be careful. If the wall has internal moisture issues—say, from a lack of retaining wall weep hole cleaning or a failed roof flashing—a beaded joint can actually hide the problem until it’s too late. I’ve seen walls where the beaded joints looked perfect from the sidewalk, but when I tapped them with my hammer, they sounded hollow. Behind the bead, the structural brick ties replacement was desperately needed because the internal cavity had turned into a swamp. The ties had rusted to the thickness of a paperclip, no longer holding the veneer to the backup wall.
The Forensic Reality: Why Materials Matter
If you’re looking at a restoration in 2026, you’re likely dealing with materials that have already survived a century. The ‘Young’s Modulus’—the measure of elasticity—of these old materials is vastly different from anything you’ll find at a big-box hardware store. Modern cement is rigid. It doesn’t move. But buildings move every single day as the sun hits them and the ground cools at night. This thermal expansion requires a mortar that can ‘give.’ Using a high-performance, lime-rich mix ensures that when the wall expands, the mortar compresses. If you use a rigid cement, the mortar won’t compress; instead, it will crush the edges of the bricks, a phenomenon we call ‘spalling.’ This is why full repointing services must always begin with a mortar analysis. We take a sample of the original ‘mud,’ dissolve it in acid, and see what’s left. Was it river sand? Crushed oyster shells? This forensic approach is the only way to ensure the new work doesn’t kill the old building. Whether you are dealing with a simple retaining wall weep hole cleaning or a complex structural brick ties replacement, the goal is always the same: keep the water moving and keep the stress levels low. Don’t let a ‘cold joint’—a weak bond between new and old material—become the entry point for the next decade’s worth of damage. Do it once, do it right, and let the lime do the work.
![Fix Cracking Joints: 5 Historic Brickwork Repointing Tactics [2026]](https://masonryrescue.com/wp-content/uploads/2026/02/Fix-Cracking-Joints-5-Historic-Brickwork-Repointing-Tactics-2026.jpeg)