
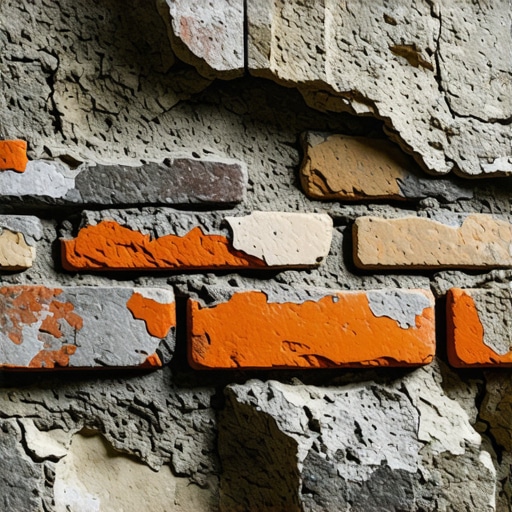
The Forensic Scene: When a Hairline Crack Becomes a Structural Autopsy
The homeowner called me out to look at what they described as a simple cosmetic touch-up gone wrong. They had hired a local ‘jack-of-all-trades’ to handle some brick wall restoration on a 1920s Tudor. On the surface, it looked like a clean job—neatly struck joints and fresh, grey mortar. But within six months, the patch wasn’t just cracking; it was literally pushing the faces of the original bricks off the wall. When I slid my borescope into a separation gap near the soldier course, the truth was laid bare: the structural steel brick lintel replacement that should have been installed years ago was instead a rusted, expanding mass of iron oxide that was blowing the masonry apart from the inside. The ‘new patch’ was a rigid tombstone for a dying wall. This is the reality of forensic masonry. You can’t just slap new mud over an old problem and expect the laws of physics to take a day off.
The Chemistry of Failure: Why Your Patch Popped
Most modern masons are trained on Portland cement. It is fast, it is hard, and in the right application, it is nearly indestructible. But when you are dealing with historic brick wall restoration, Portland is often the villain of the story. Most bricks manufactured before the mid-20th century were fired at lower temperatures, making them softer and more porous than the ‘clinker’ bricks of today. When you patch a soft, lime-based wall with a high-strength Type S mortar, you create a massive mismatch in the Modulus of Elasticity. In simple terms: the wall needs to breathe and move, but your patch is a rigid rock. When the temperature swings, the soft brick expands, hits the wall of hard cement, and has nowhere to go but out. This is where spalling begins. The suction, or Initial Rate of Absorption (IRA), of the old brick pulls the moisture out of the new mud too quickly, preventing a proper chemical bond and creating a cold joint before the trowel even leaves the wall.
“Water penetration is the single greatest threat to masonry durability. The selection of mortar must ensure that the mortar is weaker than the masonry units to act as a sacrificial element.” – BIA Technical Note 7
If you live in a northern climate, the Freeze-Thaw Cycle is your primary antagonist. Water is a relentless force; it expands by approximately 9% when it turns to ice. In a wall with proper brickwork pointing styles, moisture migrates through the mortar joints and evaporates. But if you’ve used a non-breathable tile grout on masonry or a dense Portland mix, that water gets trapped behind the face of the brick. When it freezes, it creates hydrostatic pressure so intense it pops the face of the brick off like a bottle cap. To fix this, you must understand the ‘Sacrificial Principle.’ The mortar must always be softer and more permeable than the brick itself. In restoration, we often turn to Type O or Type K mortar, or even pure Lime Putty, which doesn’t just ‘dry’—it undergoes a century-long process of carbonation, slowly absorbing CO2 from the air to turn back into stone.
The Anatomy of a Proper Redo
Redoing a failed patch starts with the surgical removal of the offending material. Forget the high-speed grinders if you aren’t a master; one slip and you’ve scarred the brick for life. We use a slicker and small pneumatic chisels to rake out joints to a depth of at least 2 to 2.5 times the width of the joint. This ensures the new mud has enough ‘tooth’ to grab onto. For a chimney rebuild services or a structural wall, you must analyze the tuckpointing cost estimation based on the labor of this preparation. If a contractor quotes you a price that seems too good to be true, they are likely ‘over-pointing’—merely smearing a thin layer of mortar over the old cracks without proper excavation. That is a recipe for a three-year failure cycle.
“Mortar for unit masonry must conform to the proportions specified for the desired mortar type, ensuring compatibility with the masonry unit’s physical properties.” – ASTM C270 Standard Specification
When mixing your concrete pump masonry mixes for larger repairs, or hand-mixing for a retaining wall block replacement, the ‘water-to-cement ratio’ is god. If you ‘burn’ the mix by adding too much water to make it easier to spread, you are creating a porous, weak matrix that will crumble in the sun. In hot climates, you must pre-wet the masonry. If the brick is bone-dry, it will suck the life-blood (the hydration water) right out of your mortar, leading to a flash set. You want the brick to be Saturated Surface Dry (SSD)—damp to the touch but with no standing water. This allows the hydration of the silicates to occur slowly, forming the long, needle-like crystals that interlock with the pores of the stone for a permanent mechanical bond.
The Professional’s Toolkit: Lintels and Fire-Ratings
Often, the crack isn’t a mortar problem at all; it’s a brick lintel replacement issue. Steel lintels over windows and doors are the unsung heroes of the facade. When they rust, they undergo ‘laminar corrosion,’ expanding to several times their original thickness. This lifts the masonry above it, creating the classic ‘stair-step’ crack. No amount of commercial masonry maintenance will fix this until that steel is replaced with galvanized or stainless alternatives. Similarly, in high-heat environments like fireboxes, fire-rated masonry installation requires refractory mortar. Regular mud will calcify and turn to dust at 800 degrees; refractory mixes contain high percentages of alumina to withstand the thermal shock of a roaring fire. Whether you are striking a grapevine joint or a weathered joint, remember that the style of pointing isn’t just aesthetic—it’s water management. A recessed joint looks modern, but it provides a shelf for snow and rain to sit on. A concave joint, struck with a round slicker, is the gold standard for shedding water and ensuring your brick wall restoration lasts for another eighty years. Do it once, do it right, or don’t bother picking up the hawk.”