
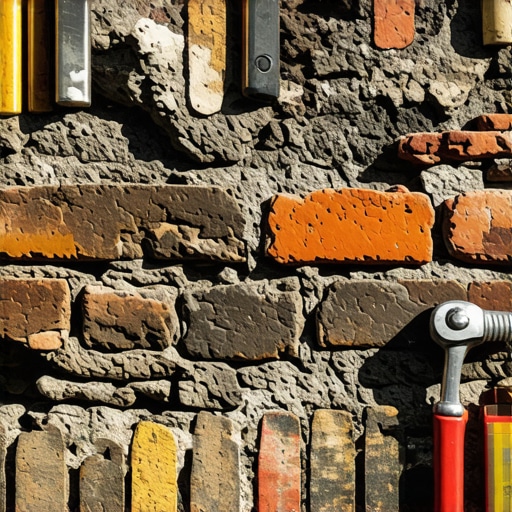
The Forensic Scene: The Red Dust of Structural Decay
The homeowner called me out because she noticed a light dusting of red powder on her porch. She thought it was just a bit of ‘old house character’ or maybe a hairline crack that needed a quick smear of caulk. But when I pulled my borescope from the truck and snaked it into a weep hole near the water table, the reality was grim. The interior structural wythe of that brick wall looked like it had been through a meat grinder. The common brick behind the face brick was literally dissolving into silt. What looked like a minor cosmetic issue on the surface was actually a systemic failure of the wall’s ability to shed moisture. The structural steel lintels were rusted to the point of exfoliation, expanding with enough force to lift the entire soldier course three-quarters of an inch. This wasn’t just a flake; it was a slow-motion explosion.
The Anatomy of Spalling: Why Brick Faces Pop
When we talk about ‘spalling,’ we are talking about the mechanical failure of the brick’s surface. It happens because of a simple, brutal law of physics: water expands by approximately 9% when it turns to ice. In cold climates where the freeze-thaw cycle is a seasonal hammer, any water trapped inside the pore structure of a brick becomes a hydraulic jack. If that water cannot escape through evaporation, it exerts thousands of pounds of pressure per square inch from the inside out. Eventually, the face of the brick—the ‘fireskin’—simply gives up and pops off, leaving the soft, porous interior exposed to the elements.
“Water penetration is the single greatest threat to masonry durability.” – BIA Technical Note 7
Most modern homeowners make the mistake of thinking the harder the mortar, the better the wall. They go to a big-box store, buy a bag of high-strength Portland cement, and ‘butter’ over old joints. This is a death sentence for historic masonry. In an old wall, the mortar must be the sacrificial lamb. It needs to be softer and more permeable than the brick so that moisture moves through the mortar joints rather than the brick units themselves. When you introduce a hard, non-breathable concrete patch or Type S mortar into a wall built with lime, you trap the moisture. The brick becomes the softest point in the assembly, and it’s the brick that fails.
Historic Mortar Analysis: The Chemistry of Breathability
To fix a spalling wall, we first have to understand the ‘mud.’ A proper historic mortar analysis often reveals a high concentration of lime and sharp sand, with little to no cement. Lime mortar is self-healing; as it carbonates over decades, it can actually bridge micro-fissures. More importantly, it has high vapor permeability. It allows the wall to breathe. If you’re dealing with a pre-1940s structure, you aren’t just looking for a color match; you’re looking for a chemical match. Using a digital twin masonry project approach, we can now map out the moisture migration patterns of a building before we even touch a slicker or a hawk. These digital models show us exactly where the thermal bridges are causing condensation behind the brick veneer.
The Repair Process: More Than Just ‘Tuckpointing’
People use the term ‘tuckpointing’ when they actually mean ‘repointing.’ Tuckpointing is a decorative finish where a thin line of contrasting color is applied to give the illusion of perfectly straight joints. Repointing is the structural act of grinding out failed mud and replacing it. If you have a cracked brick wall repair on your hands, you can’t just slap some new mix on top. You have to rake out the joints to a depth of at least twice the width of the joint. You need to get back to sound material.
When working on chimney structural repair or tuckpointing curved walls, the physics get even more complex. A chimney is a four-sided radiator that experiences extreme temperature differentials. If your chimney flashing repair is botched, water runs down the flue and saturates the masonry from the inside out. This leads to ‘efflorescence’—that white salty staining—and eventually, total spalling of the chimney stack. We use a ‘slicker’ to pack the mortar in layers, ensuring there are no voids or ‘honeycombing’ where water can sit and start the cycle all over again.
“Mortar shall be specified by proportion or property… but for restoration, the strength of the mortar must never exceed the strength of the masonry unit.” – ASTM C270 Standard
Advanced Solutions: Self-Healing Concrete and Column Repair
For more modern failures, like a failing brick column repair or a sinking porch, we are seeing the rise of self-healing concrete foundations. These mixes contain dormant bacteria that, when exposed to water via a crack, produce limestone to seal the gap. It sounds like science fiction, but it’s the future of forensic masonry. However, for the old-world stuff, nothing beats a hand-mixed lime putty. We look for ‘suction’—how fast the brick pulls the water out of the mortar. If the brick is too dry, it ‘burns’ the mortar, sucking the hydration out before it can bond. We ‘pre-wet’ the wall until it’s SSD (Saturated Surface Dry) to ensure the bond is chemical, not just mechanical.
The Final Verdict: Do It Once, or Do It Twice
If you see your bricks flaking, stop looking for a bucket of sealant. Silicon-based ‘waterproofers’ are often the cause of the problem, not the cure. They create a plastic film that traps vapor. The vapor turns to liquid, the liquid turns to ice, and your brick siding ends up in a pile on the flowerbed. Call a pro who knows the difference between a soldier course and a header course, someone who understands the ‘tooth’ of the stone. Masonry isn’t a stagnant pile of rocks; it’s a living, breathing system that requires respect for the physics of water.