
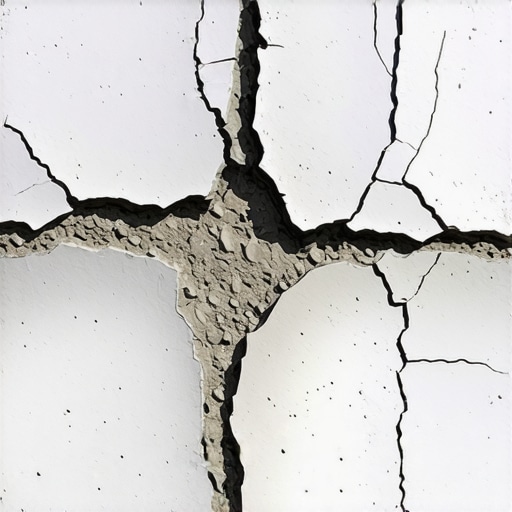
The Forensic Scene: A Ghost in the Wall
I was called out to a 1920s estate last November to look at a simple crack in a brick column repair job that had supposedly been ‘fixed’ twice in five years. The homeowner was frustrated, pointing at a jagged fissure that looked like a lightning bolt through a soldier course. From ten feet away, it looked like a structural settlement issue. But as soon as I pulled out my inspection scope and bored a small hole into the mortar joint, the truth crawled out. The ‘repair’ was nothing more than a cosmetic smear of Type S Portland cement sitting on top of eighty years of soot, coal dust, and friable lime. It hadn’t bonded; it was just a hard scab waiting to fall off. The previous guy had ‘buttered’ the joint without ever touching a wire brush or a vacuum. This is the cardinal sin of masonry restoration.
“Successful masonry repair is 90% preparation and 10% application. If the substrate is not sound, the bond will fail regardless of mortar quality.” – BIA Technical Note 1
When you skip the surface preparation, you aren’t repairing anything; you are just hiding the evidence. In the world of brick wall restoration, the bond is everything. That bond happens at a microscopic level where the new ‘mud’ grabs onto the ‘tooth’ of the existing unit. If that tooth is clogged with dust, moss, or old, crumbling mortar, the new material just slides right off. I call this the ‘Lick-and-Stick’ tragedy. It’s why so many stone wall repair projects look like a mess of peeling grey skin within two winters.
The Physics of the Bond: Why Dust is Your Enemy
Let’s talk about the chemistry of the ‘mud.’ When we use sustainable tuckpointing mortars—typically lime-based for older structures—the curing process is a slow dance with the atmosphere. This is called carbonation. For this to work, the mortar needs to stay hydrated just long enough to bond with the brick. If the joint is full of dry dust, that dust acts like a desiccant. It sucks the moisture out of your new mortar before it can form a chemical bond. We call this ‘burning’ the mortar. You end up with a brittle, sandy mess that you can scrape out with a fingernail.
Micro-zooming into the pore structure of a brick reveals a network of capillaries. When I prepare a joint for brick column repair, I’m looking for ‘suction.’ A properly cleaned and dampened brick will pull the mortar into those capillaries, creating a mechanical lock. If the surface is glazed with old carbon or painted, there is no suction. This is why historic brick salvage is so difficult; you have to remove the ghost of the previous failure before you can start the new life of the wall.
The Forensic Breakdown: Stair-Step vs. Horizontal Failure
When I’m acting as a ‘crack whisperer,’ I look at the pattern first. A stair-step crack following the mortar joints usually points to foundation settlement or soil heaving. However, if the crack is horizontal, you might be looking at foundation wall bowing repair territory, where hydrostatic pressure from the outside soil is literally pushing the wall inward. In these cases, the surface prep isn’t just about cleaning; it’s about exposing the structural integrity of the masonry. You cannot solve a bowing wall with a hawk and a slicker. You need to understand the physics of the soil. When water expands by 9% during a freeze, it exerts thousands of pounds of pressure. If your repair doesn’t account for that, the wall will snap your new mortar like a dry twig.
“Mortar should always be weaker than the masonry units it binds to ensure that any stress-induced cracking occurs in the mortar joints rather than the units themselves.” – ASTM C270 Standard Specification for Mortar for Unit Masonry
This is the ‘Sacrificial Principle.’ In historic brick restoration, if you use a mortar that is harder than the brick (like modern Portland cement on soft, handmade bricks), the brick will be the thing that breaks. I’ve seen 100-year-old facades destroyed because a handyman thought ‘stronger is better.’ He used Type S, and the first time the wall expanded in the summer sun, the faces of the bricks popped off in a process called spalling. The mortar stayed perfect, but the wall was ruined.
The Modern Edge: BIM and 3D Technology in Restoration
We aren’t just using hammers and chisels anymore. BIM masonry projects allow us to map the stresses in a building before we ever mix a bag of mud. For massive masonry rescue after disaster scenarios, we are even seeing 3D printed masonry repairs where custom-fit ‘plugs’ are printed to match the exact void of a missing stone. But even with 3D printing and mortar matching services that use spectrographic analysis to find the exact lime-to-sand ratio of a 19th-century wall, the rules of the jobsite remain the same: clean the joint or fail the client.
The Restoration Process: Doing it Once
To do a brick wall restoration correctly, you follow a brutal, dusty sequence. First, you grind out the old joints to a depth of at least two to two-and-a-half times the width of the joint. You don’t just scratch the surface. You create a deep ‘U’ shape, not a ‘V.’ A ‘V’ joint doesn’t have enough volume to hold the new material. Then, you flush the joint with low-pressure water. This removes the micro-dust and pre-hydrates the brick so it doesn’t steal water from your ‘mud.’ Only then do you start ‘buttering’ the joints in thin lifts, packing the mortar in with a jointer tool to ensure there are no air pockets or ‘honeycombing’ hidden inside. This is the difference between a repair that lasts ten years and one that lasts a century.