
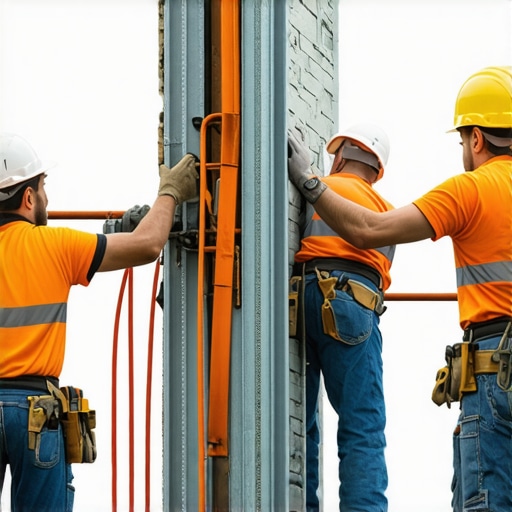
The Ghost in the Cavity: A Forensic Reality
The homeowner thought it was just a hairline crack, a minor blemish on a century-old facade that had weathered a thousand storms. But when I put my borescope inside that cavity, I didn’t see structural integrity; I saw the red, flaky ghost of what used to be a steel tie. The structural steel was rusted to dust, leaving a three-story brick wythe standing on nothing but a prayer and a bit of friction. This is the reality of oxide jacking. When carbon steel ties corrode, they expand to nearly ten times their original thickness, acting like a slow-motion hydraulic jack that lifts courses of brick and snaps the bond of even the best full repointing services. In my forty years of throwing mud, I’ve seen entire parapets lean into the street because a contractor sixty years ago saved a nickel by using galvanized wire instead of stainless.
“Corrosion of metal ties in masonry cavity walls can lead to significant structural instability, often requiring complete replacement of the tying system to ensure life safety.” – BIA Technical Note 28B
When we talk about brick wall restoration, we aren’t just talking about the face you see. We are talking about the hidden skeletal system. Modern stainless steel structural brick tie replacement is the only way to ensure that the exterior skin of a building remains pinned to the backup structure. Whether you are dealing with a soldier course over a sagging lintel or a massive expanse of stone balustrade restoration, the physics of the tie are non-negotiable. In the old days, we relied on the weight of the masonry itself, but in the era of cavity walls, that air gap is a highway for moisture. If that moisture hits carbon steel, the clock starts ticking.
The Physics of the Passivation Layer
Why do I insist on Grade 304 or 316 stainless? It comes down to the chemistry of the chromium. Unlike carbon steel, which reacts with oxygen to form a porous, expanding layer of iron oxide, stainless steel creates an invisible, microscopic layer of chromium oxide. This is a “passive” layer. It doesn’t grow, it doesn’t flake, and most importantly, it doesn’t jack the masonry apart. When we perform freeze-thaw damage restoration, we often find that the freezing water wasn’t the primary culprit; it was the rusted tie that cracked the mortar, allowing the water to get in and do its dirty work in the first place. By using stainless, we break that cycle of decay.
In the high-humidity environments of the coast or the salt-heavy winters of the North, the electrolytic reaction is relentless. The alkalinity of the mortar usually protects steel, but over decades, carbonation reduces that pH level. Once the mortar becomes carbonated, the steel is fair game for rust. This is why mortar matching services are so critical during a restoration. You can’t just slap any “mud” into a joint. If the mortar is too hard, it traps moisture; if it’s too soft, it won’t hold the tie. We use a slicker to compress the joints, ensuring the suction of the brick pulls the lime into the pores, creating a monolithic seal around our new stainless anchors.
Restoration vs. Patchwork: The Cost of Doing it Twice
I get asked about tuckpointing cost estimation every single day. Most people want the cheap fix. They want the “handyman special” where someone grinds out a quarter-inch of mud and smears in some new Portland cement. But if your ties are failing, that new mortar is just a mask on a corpse. You’ll be back in five years wondering why the cracks returned. True full repointing services involve identifying the structural deficiencies first. If I see a stair-step crack, I’m not just looking at the mortar; I’m looking for settlement that might require foundation helical pier installation or a failing chimney crown repair that is letting water bypass the flashing.
“Stainless steel anchors and ties provide the highest level of corrosion resistance in masonry construction, particularly in coastal or industrial environments.” – ASTM A580 Standard Specification
When we integrate self-healing concrete foundations with traditional masonry, we are bridging the gap between centuries. But that bridge is only as strong as the ties. We drill through the face brick, butter the helical tie with epoxy or mechanical expansion sleeves, and drive it into the backup. Then, we use masonry staining to ensure the repair is invisible. My grandfather used to say that a mason who hides his mistakes is a liar, but a mason who makes his repairs invisible is an artist. We use staining to blend the new work with the weathered patina of the original wall, so the building looks like it was never touched.
The Tactical Application of the “Mud”
The actual process of brick wall restoration is a rhythmic, tactile labor. You feel the “tooth” of the stone as you grind. You smell the damp, earthy scent of old lime mortar being turned to dust. When we mix our replacement mud, we aren’t just dumping bags into a mixer. We are looking for the right aggregate size to match the original. If you put a fine-sand mortar into a wall built with coarse river sand, it will look like a scar. Our mortar matching services take the guesswork out of it, using lab analysis to find the exact lime-to-sand ratio. This ensures that the new mortar has the same vapor permeability as the old, preventing the brick faces from spalling during the next freeze-thaw cycle.
We also have to be careful with cold joints. If you stop a pour or a repointing line mid-day without a proper key, you’ve created a future leak point. Everything must be continuous. Every stone balustrade restoration or chimney crown repair we execute follows the same rigid physics: water must be shed away from the core, and the materials must be allowed to breathe. If you seal a masonry wall with