
The Invisible Threat: When the Internal Skeleton Fails
The homeowner thought it was just a hairline crack. It was a 1960s multi-wythe brick structure in a high-humidity coastal region, and to the untrained eye, the facade looked relatively stable. But when I put my scope inside a strategically drilled 1/4-inch hole, I saw the structural steel was rusted to dust. What remained of the original wire ties were nothing more than red-orange streaks of iron oxide staining the cavity insulation. The outer leaf of the brick was effectively standing on its own, unmoored from the structural backup, held up by little more than gravity and luck. This is the reality of ‘rust jacking’ or ‘oxide jacking.’ When carbon steel ties oxidize, they can expand to nearly ten times their original volume, exerting an internal pressure that can reach up to 9,000 PSI—enough to displace a soldier course or shatter a brick from the inside out.
The Physics of Oxidation and Wall Failure
In the world of forensic masonry, we don’t just look at the surface; we look at the ‘life’ of the materials. Most mid-century buildings used galvanized carbon steel wall ties. Over decades, moisture penetrates the outer masonry skin—because, despite what the hardware store clerk tells you, brick is a sponge, not a shield. Once that moisture hits the ties, the electrochemical process of corrosion begins. The ‘tooth’ of the tie, designed to grip the mud, becomes its own worst enemy as it expands. This is why masonry damage assessment is not a visual-only job. It requires an understanding of the 100-year cycle of materials.
“Water penetration is the single greatest threat to masonry durability, leading to the corrosion of embedded metals and the subsequent cracking of the masonry units.” – BIA Technical Note 7
Why Helical Ties are the Forensic Solution
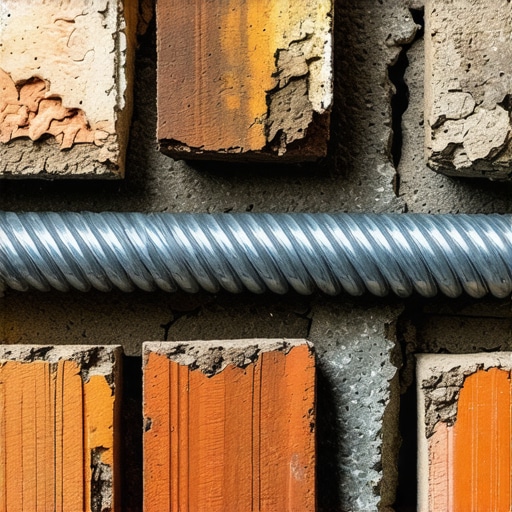
Until recently, the only way to fix a ‘pregnant’ or bowing wall caused by rusted ties was a full teardown. You’d have to strip the facade, replace the ties, and relay the brick. It was a $100,000 solution for a $10,000 problem. Enter the helical tie. These are 304 or 316-grade stainless steel pins with a work-hardened thread that looks like a drill bit. We don’t ‘butter’ these with mud in a traditional sense; instead, we pilot a hole through the facade and into the backup material—be it concrete, block, or timber. The helical tie is then driven in. Its fins cut a precise groove into the substrate, creating a mechanical connection that resists both tension and compression without the need for advanced masonry adhesives that might fail in extreme thermal shifts.
Tuckpointing Weatherproofing: The Second Line of Defense
Once the structural integrity is restored with helical ties, the focus must shift to tuckpointing weatherproofing. If you leave the old, cracked mortar joints, you’re just inviting more water into the cavity to finish off whatever steel is left. This isn’t a ‘handyman special’ where you smear some Type S cement over the top. That’s a cold joint waiting to happen. True re-pointing services involve grinding out the old, failing mud to a depth of at least 3/4 of an inch, or until we hit sound material. We then use a hawk and a slicker to pack in new mortar that matches the compressive strength and vapor permeability of the original wall. If the wall is pre-1940, we’re likely using a lime-rich mix to ensure the mortar is the sacrificial element, preventing brick spalling prevention failures where the hard cement pops the face off a soft, historic brick.
The Micro-Zoom: Hydration and Bond Strength
The chemistry of a crumbling mortar joint repair is all about the hydration curve. If the brick is too dry, it sucks the moisture out of the new mortar instantly—a phenomenon we call ‘suction.’ This ‘burns’ the mortar, preventing the formation of the microscopic silicate crystals that provide the bond. We must pre-wet the masonry to reach a Saturated Surface Dry (SSD) state. This ensures the mortar cures slowly, allowing the tuckpointing weatherproofing to actually seal the building envelope.
“The selection of mortar for repointing should be based on the physical properties of the masonry units and the existing mortar to ensure compatibility and prevent further deterioration.” – ASTM E2260 Standard Guide for Repointing (Tuckpointing) Historic Masonry
Beyond the Wall: Fountains and Patios
This structural logic doesn’t stop at the building’s facade. I’ve seen outdoor masonry fountain restoration projects where the internal rebar was so rusted it had split the granite basins. The same principles of moisture management and non-corrosive anchoring apply. Similarly, patio stone realignment often fails because the contractor didn’t account for foundation waterproofing or proper drainage. If your patio is wavy, it’s not the stone’s fault; it’s the compaction physics of the base. We look for ‘honeycombing’ in the sub-base—voids where water sits and freezes. Just as we use helical ties for walls, we use geogrid and specific aggregate graduations to stabilize patios, ensuring we do the job once, rather than every three years.
The Modern Edge: BIM Masonry Projects
Even for an old-school mason, technology has its place. BIM masonry projects allow us to map every helical tie and every structural crack in a 3D digital twin of the building. This ‘forensic digital trail’ means that twenty years from now, the next inspector won’t have to guess where the rusted steel was hidden. They can see exactly where we reinforced the facade and where the foundation waterproofing membranes were installed. It’s about moving away from the ‘slap some mud on it’ mentality and toward a scientific, data-driven approach to preservation. Whether we are dealing with a soldier course that’s losing its grip or a crumbling mortar joint repair on a historic chimney, the goal is always the same: permanent stability through superior materials and old-world patience.