
The Forensic Scene: Why Your Historic Brick is Dying
I was standing on a scaffold in front of an 1890s townhouse last October, looking at what the owner called a ‘professional masonry restoration.’ From the sidewalk, it looked okay. But when I got my nose up to the wall, I saw a tragedy in the making. The previous contractor had used a high-strength, modern Type S Portland cement to ‘fix’ a facade of soft, handmade bricks. The homeowner thought it was just a hairline crack. But when I put my scope inside, I saw the structural steel was rusted to dust, and the bricks were literally exploding from the inside out. They had trapped the moisture behind a wall of hard, grey stone that wouldn’t breathe. That’s not restoration; that’s an execution.
Historic masonry preservation isn’t about making things look pretty. It’s about material science and the physics of vapor permeability. If you want new mortar to look and behave like it was mixed a century ago, you have to stop thinking like a modern builder and start thinking like a chemist. Modern mortar is a glue. Historic mortar is a sacrificial lung.
The Physics of ‘Breathability’ and the Portland Trap
The single biggest mistake in brick infill panel repair or repointing is the use of modern Portland cement on pre-1940s structures. Old bricks were fired at lower temperatures in wood-fired kilns. This leaves them soft and porous. They absorb water like a sponge. In a traditional wall, that water needs a way out. Limes are the answer. When you use a hard, modern mortar, the water can’t escape through the joints. Instead, it gets trapped behind the hard cement face. When the temperature drops and that water expands by 9% as it freezes, it exerts thousands of pounds of pressure. The result? The face of your historic brick pops off. We call this spalling.
“Mortar should always be weaker than the masonry units it binds, ensuring that stresses and moisture movement are accommodated within the mortar joints rather than the masonry units themselves.” – ASTM C270 Standard Specification
To achieve professional masonry restoration, you must understand the ‘sacrificial principle.’ The mortar is designed to fail so the brick survives. It is easier and cheaper to repoint a joint every fifty years than it is to replace a structural brick that has turned to powder.
[IMAGE_PLACEHOLDER]
The Micro-Zoom: The Chemistry of the ‘Mud’
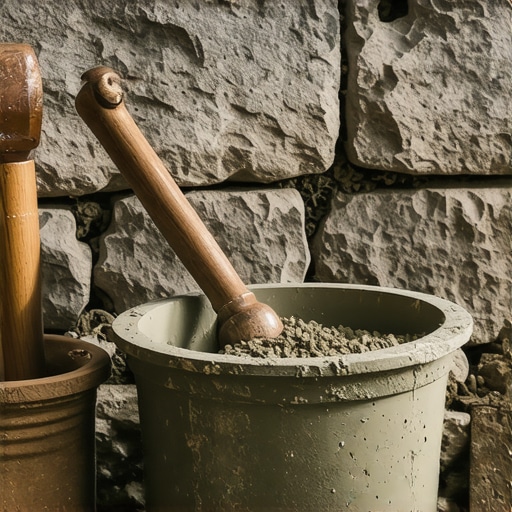
How do we match that 100-year-old look? It starts with the aggregate. Most guys run to the big-box store and grab a bag of play sand. That’s your first mistake. Historic sand wasn’t ‘clean.’ It was often sourced from local riverbeds or pits, containing various sizes of grains, from fine silt to small pebbles. This is called ‘well-graded’ sand. When you look at old mortar under a magnifying glass, you see a galaxy of colors: blacks, oranges, clears, and greys. To replicate this, we often have to blend three or four types of sand.
Then there is the binder. For historic masonry preservation, we typically use Natural Hydraulic Lime (NHL) or a lime putty mix. Unlike Portland cement, which sets through a chemical reaction with water (hydration), lime mortar cures through ‘carbonation.’ It literally breathes in carbon dioxide from the air to turn back into limestone over decades. This process is slow, but it creates a flexible matrix that can self-heal. If a small crack forms, water dissolves a bit of the free lime and redeposits it into the crack. It’s a living material.
Historic Pointing Styles: More Than Just a Line
Once you have the right mud on your hawk, you need to apply it with the correct historic pointing styles. In the late 19th century, masons used specific ‘strikes’ to show off their skill. You might see a ‘Grapevine’ joint, where a thin, dark line is carved into the center of the joint using a specialized slicker. Or perhaps a ‘Beaded’ joint that protrudes from the wall to create deep shadows. If you’re doing a brick infill panel repair, you must match the existing strike exactly. If you use a modern concave joint (the kind made with a piece of pipe) on a wall that was originally weather-struck, the repair will stand out like a sore thumb. It will look like a ‘handyman special’ every time the sun hits it at an angle.
Foundation Waterproofing and the Batter Correction
Often, the problems start at the bottom. I’ve seen spalled concrete steps repair jobs fail because the foundation was heaving. When dealing with old retaining walls, we often see them leaning. This requires retaining wall batter correction. ‘Batter’ is the intentional backward lean of a wall. Over time, hydrostatic pressure from wet soil pushes the wall out. Correcting this isn’t just about pushing it back; it’s about installing foundation waterproofing and proper drainage so the water doesn’t build up behind the masonry in the first place.
“Water penetration is the single greatest threat to masonry durability, leading to efflorescence, subflorescence, and the eventual decay of the structural bond.” – BIA Technical Note 7
Modern Innovations: Fiber-Reinforced Mortars
While I love the old ways, we don’t ignore science. In areas of high stress, like spalled concrete steps repair or structural headers, we might use fiber-reinforced mortars. These contain microscopic glass or polymer fibers that act like internal rebar, giving the ‘mud’ higher tensile strength without sacrificing the breathability we need. This is particularly useful when we are doing historic brick salvage and need to bridge gaps where the original units have degraded beyond use.
The Secret ‘Aging’ Technique
You want to know the real secret to making new mortar look old? It’s the ‘brush-back.’ When the mortar is ‘thumb-print hard’—meaning you can press your thumb into it and it leaves an impression but doesn’t stick to your skin—you take a stiff natural-bristle brush and scrub the surface. This removes the ‘cream’ (the fine binder) from the surface and exposes the aggregate. It mimics a century of wind and rain in five minutes. If the original wall is dirty or soot-stained, we might even ‘pepper’ the wet joint with a tiny amount of crushed charcoal or stone dust to match the patina of the surrounding area.
The Reality of Professional Restoration
Don’t let a contractor ‘butter’ the edges of your bricks with a soldier course of hard cement. Don’t accept honeycombing in your concrete or cold joints in your repairs. Masonry is a craft of patience. It’s about the ‘tooth’ of the stone and the ‘suction’ of the brick. When we do a professional masonry restoration, we are looking to the next hundred years, not just the next five. If you treat the building with the respect its original builders did, it will stand long after we’re gone. Do it once, or do it twice. The choice is yours, but the building never lies.