
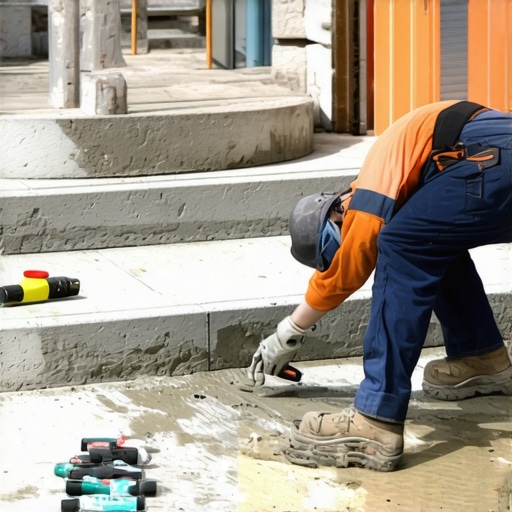
The Deception of the Surface: Why Most Concrete Patches Fail
I remember watching my father on a job site back in ’78. He didn’t just look at a set of crumbling stairs; he listened to them. He’d take a masonry hammer and drag the handle across the tread. If he heard a ‘hollow’ thud instead of a sharp ‘clink,’ he’d spit on the ground and tell the homeowner they weren’t looking at a cosmetic fix, but a structural autopsy. Most people see a bit of flaking concrete and run to the big-box store for a bag of premixed ‘quick-fix’ mud. They ‘butter’ it over the top, smooth it out with a rusty trowel, and feel like a hero. Six months later, after the first hard freeze, that patch pops off like a scab, taking more of the original stone with it. That’s the ‘handyman special,’ and it’s why I spend half my life performing failing retaining wall repair and tearing out amateur step ‘repairs.’
“A repair material must have thermal expansion characteristics similar to the parent concrete to prevent delamination under fluctuating temperature cycles.” — ASTM C928 Standard Specification
The problem isn’t just the material; it’s the physics of the ‘interfacial transition zone’ (ITZ). When you’re dealing with concrete patch work on stairs, you’re fighting gravity, moisture, and the brutal expansion of the freeze-thaw cycle. In the North, we deal with the 9% expansion of water. When water gets trapped in the capillaries of a porous tread, it turns into an internal jackhammer. If your patch is harder and less vapor-permeable than the original pour, you’ve essentially created a trap. The moisture gets behind your new work, freezes, and creates a clean shear plane. To do this right, you have to understand the ‘tooth’ of the substrate and the chemistry of the bond.
The Anatomy of Spalling: Micro-Zooming into the Matrix
Concrete isn’t a solid block; it’s a dense forest of crystalline structures. Over decades, carbonation moves from the surface inward, lowering the pH of the concrete. This ‘carbonation front’ eventually hits the rebar or the wire mesh, causing the steel to oxidize. Rust expands up to six times the volume of the original steel. That internal pressure is what causes ‘spalling’—where chunks of the face literally explode outward. Before you even think about crumbling mortar joint repair on the surrounding brickwork or applying porous stone sealers, you have to address the alkalinity of the substrate. If you don’t remove the carbonated laitance—that thin, dusty layer of weak material—your patch is just floating on a layer of microscopic marbles.
Mechanical preparation is where most guys get lazy. You can’t just wire-brush it. You need to get down to ‘sound’ concrete. I use a chipping hammer to find the limits of the delamination. If I’m working on brick quoin repair adjacent to the steps, I ensure the structural integrity of the corner is maintained before I ever mix a batch of mud. You want a profile that looks like a mountain range under a microscope. This increases the surface area for the bonding agent to ‘grab.’ Then comes the ‘slurry’—a high-cement-content wash that you scrub into the pores of the old work before the main lift goes on. This is where you ensure the chemical and mechanical bond become one.
The Precision of the Cut: Beyond the Basic Patch
When the repair involves complex geometry—like where a step meets a decorative pillar—you might find yourself needing masonry birdsmouth cuts. These V-shaped notches allow for a tighter fit and better weight distribution, preventing the ‘cold joint’ from becoming a water entry point. I’ve seen chimney crown repair jobs fail for the same reason: poor geometry leads to standing water. On a set of steps, every tread must have a slight ‘wash’ or pitch—about an eighth of an inch—to ensure water sheds immediately. If you have a landing that has settled, you might need self-leveling masonry lifts to reset the pitch before applying the final wear layer.
“The primary cause of concrete deterioration in temperate climates is the penetration of water carrying dissolved aggressive agents into the pore structure of the cement paste.” — ACI 201.2R Guide to Durable Concrete
Drainage is the silent partner in masonry longevity. You can have the most beautiful flush pointing services performed on your risers, but if the soil behind the steps is saturated, hydrostatic pressure will push the whole assembly out of alignment. This is a common sight during failing retaining wall repair. I always check the surrounding area. Are the gutters dumping right at the base? Is there a need for retaining wall weep hole cleaning nearby to relieve the pressure? If you don’t fix the water, you’re just decorating a sinking ship.
The Master’s Technique: Mixing and Striking
The ‘mud’ itself needs to be stiff—not ‘soup.’ When I ‘butter’ the vertical face of a riser, I want the material to hang. If it’s too wet, the ‘honeycombing’ effect occurs where the aggregate settles and leaves air pockets. Once the patch is thumbprint hard, that’s when you use your slicker or jointer to finish the edges. You’re not just making it look pretty; you’re ‘tooling’ the joint to compress the surface molecules, making them more resistant to water penetration. Finally, we talk about protection. Once the cure is complete—usually 28 days for full hydration—applying high-quality porous stone sealers is the only way to prevent the cycle from starting over. It’s the difference between a five-year fix and a fifty-year legacy. Don’t be the guy who does it twice; be the mason who does it once, and does it right.