
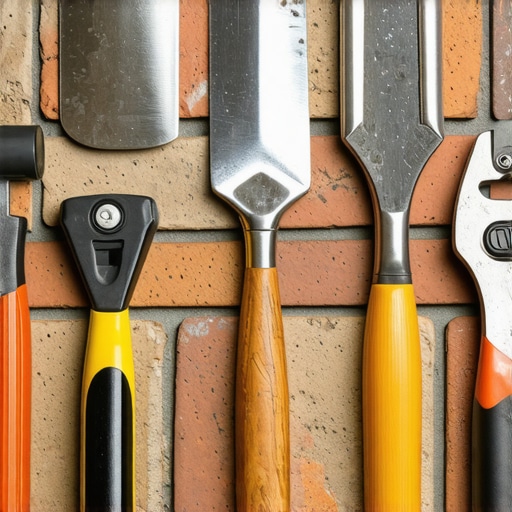
The Forensic Reality of a ‘Hairline’ Crack
The homeowner thought it was just a hairline crack, a minor aesthetic nuisance on a 1920s bungalow. But when I put my scope inside that fissure, I saw the structural steel lintel was rusted to dust, a victim of ‘rust jacking’ where expanding iron oxide exerts up to 10,000 psi against the surrounding brickwork. It wasn’t just a gap; it was a slow-motion explosion. Most DIYers see a hole in their mortar and reach for a bag of modern Portland cement from a big-box store. That is the first step toward destroying a historic facade. Masonry isn’t a static wall; it is a breathing, moving organism. If you don’t respect the physics of vapor permeability and the ‘sacrificial’ nature of mortar, you aren’t repairing your home—you’re sentencing it to a death by spalling. To do a job that lasts a century, you don’t need a truckload of gadgets. You need the right five tools and an understanding of the ‘mud’ you’re pushing into those joints.
“Water penetration is the single greatest threat to masonry durability.” – BIA Technical Note 7
The Physics of the Sacrificial Joint
In the world of historic brickwork repointing, there is one golden rule: the mortar must always be softer than the brick. Before 1940, bricks were fired in kilns that produced a relatively soft, porous unit. These walls managed moisture by absorbing it and then letting it evaporate through the mortar joints. When you ‘fix’ these walls with modern Type S mortar—which is loaded with Portland cement and harder than a sidewalk—the moisture gets trapped. When the freeze-thaw cycle hits, that trapped water expands by 9%, and because it can’t escape through the hard mortar, it blows the face off your historic brick. This is why we use sustainable masonry materials like lime putty or Type O mortar. We want the mortar to be the part that fails over decades, not the brick. It is a sacrificial lamb that keeps the structural integrity of the wall intact.
Tool 1: The 4-Inch Angle Grinder with a Dust Shroud (The Surgical Scalpel)
You cannot ‘butter’ over old, crumbling mortar and expect it to hold. You need to create ‘tooth.’ This means grinding out the old joints to a depth of at least twice the width of the joint—usually about 3/4 of an inch. A 4-inch angle grinder with a diamond tuckpointing blade is the industry standard. But here is the gritty truth: if you aren’t using a vacuum-shroud attachment, you are breathing in crystalline silica, which is essentially like inhaling microscopic shards of glass. Commercial masonry facade maintenance crews wouldn’t touch a wall without dust extraction, and neither should you. You’re looking for a clean, square ‘U’ shape in the joint, not a ‘V.’ A ‘V’ joint creates thin edges that will flake out within two seasons.
Tool 2: The Mason’s Hawk (The Portable Workbench)
Stop working out of a bucket. A hawk—a flat square of aluminum with a handle underneath—is where your ‘mud’ lives while you work. There is a specific rhythm to using a hawk. You pile your mortar in the center, and with a quick flick of the wrist, you bring the hawk up to the horizontal joint. This allows you to ‘shear’ the mortar off the hawk and into the joint without dropping half of it on the landscaping. When you’re dealing with chimney sweep and repair or working on a scaffold for chimney repair services, the hawk is your best friend. It keeps the mortar at chest height, preventing the back-breaking constant bending that leads to sloppy work.
Tool 3: The Pointing Trowel (The Precision Instrument)
This isn’t the big spade-shaped tool you see in cartoons. A professional pointing trowel is thin, usually 5 to 6 inches long, and stiff. You use this to move the mortar from the hawk into the joint. In structural masonry inspection, we often see ‘honeycombing’—voids deep inside the joint because the mason didn’t pack the mud tight. You need to ‘thumb’ the mortar in layers. If the joint is deep, don’t fill it in one pass. Fill it halfway, let it reach ‘thumbprint hardness,’ and then come back for the finish pass. This prevents shrinkage cracks and ensures the mortar has full ‘suction’ against the brick edges.
“Mortar should be designed to be weaker than the masonry units so that any cracks occur in the mortar joints where they can be easily repaired.” – ASTM C270 Standard
Tool 4: The Slicker or Jointer (The Profile Maker)
Once the mud is in the wall, you have to ‘strike’ the joint. This is where the digital twin masonry projects of today meet the craftsmanship of the past. The slicker is a long, thin piece of steel that compresses the mortar and creates the final shape—be it a concave joint, a grapevine joint, or a weathered joint. Compaction is key. By pressing the mortar into the joint, you are closing the capillary pores on the surface, making it much more resistant to water penetration. If you leave the mortar ‘shaggy,’ you’re inviting the freeze-thaw cycle to move in and start its demolition work. For foundation wall bowing repair, ensuring the exterior joints are properly struck is the first line of defense against the hydrostatic pressure that causes walls to fail.
Tool 5: The Margin Trowel (The Unsung Hero)
The margin trowel is a small, rectangular tool used for mixing small batches of mud and cleaning your hawk. You’ll use it to scrape the dried bits off your tools because ‘cold joints’—where new mortar meets dried residue—are the enemy of a clean finish. In historic brickwork repointing, you are constantly tweaking your mix, perhaps adding a bit more lime or a specific sand to match the existing 100-year-old aggregate. The margin trowel is the tool that gives you that control. It’s also essential when you’re prepping a site for foundation helical pier installation, as you often need to clear away small amounts of debris from the masonry base to see exactly where the settlement is occurring.
The Science of the ‘Mud’ and Suction
Before you ever touch a tool to the wall, you must test the ‘suction’ of the brick. If you put wet mortar against a bone-dry historic brick, the brick will suck the water out of the mortar instantly. This ‘burns’ the mortar, preventing proper carbonation and leaving you with a brittle, sandy mess that you can gouge out with a fingernail. You must pre-wet the masonry—what we call ‘Saturated Surface Dry’ (SSD) condition. The bricks should be damp, but not dripping. This ensures the hydration process happens slowly, allowing the lime to form a crystalline bond with the silica in the brick. This is the same logic used in green roofing masonry integration, where moisture management is the difference between a living roof and a collapsed one. Whether you are doing commercial masonry facade maintenance or a small DIY patch, respect the chemistry of the cure. If you do it right, that wall will be standing long after the ‘lick-and-stick’ stone veneers of today have crumbled into the dust of history.