
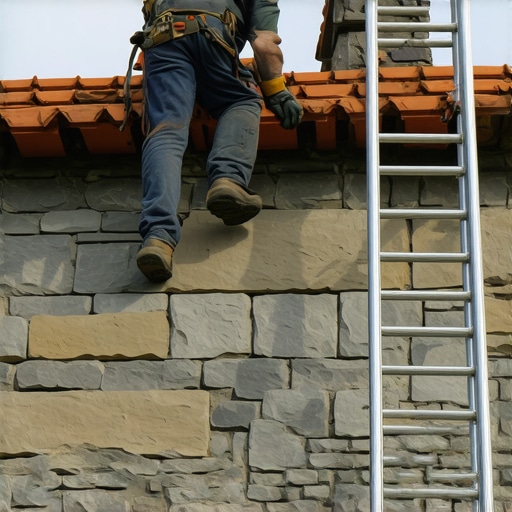
The Silent Sentinel: Why Your Wall Cap is Failing
I remember a job back in ’94, a sprawling limestone estate where the owner complained about a damp smell in the basement. I walked the perimeter and didn’t look at the ground; I looked up. My mentor used to say that a wall is only as good as its hat. He’d take a scrap piece of limestone and drop a bead of water on it; if the stone ‘drank’ the water too fast, he knew the quarry was soft and the weathering would be brutal. On that estate, the stone coping—the flat stones sitting atop the foundation walls—had hairline fractures no wider than a credit card. The homeowner laughed when I told him those cracks were the reason his multi-million dollar foundation was bowing. But masonry doesn’t lie. Those cracks were straws, sucking every autumn rainstorm directly into the heart of the wall. By the time I opened a section of the brickwork, the backup block had the consistency of wet oatmeal. That is the price of neglecting the coping.
Stone coping is the primary defense mechanism for any vertical masonry surface, whether it’s a parapet, a garden wall, or the transition point of your residential foundation. Its job is simple: shed water. When coping fails, you aren’t just looking at an aesthetic blemish; you are witnessing the beginning of a structural autopsy. In the North, where the freeze-thaw cycle is a relentless hammer, a single saturated joint can generate enough internal pressure to shear a soldier course clean off its bed. When water enters a crack in the coping, it migrates downward. If that wall is a cavity wall, the water pools on the flashing (if the builder was honest) or sits on the wall ties. If it’s a solid masonry wall, the water saturates the core. Then the temperature drops. Water expands by approximately 9% when it turns to ice. That expansion happens inside the microscopic pores of your mortar and stone, creating ‘spalling’—where the face of the masonry simply pops off, exhausted by the internal tension.
“Coping should be sloped to shed water away from the wall surface to prevent saturation and subsequent freeze-thaw damage.” – BIA Technical Note 36A
The Chemistry of the Bond: Why Your ‘Mud’ Matters
When we talk about mortar matching services, we aren’t just talking about the color. We are talking about the modulus of elasticity. Most modern handymen make the fatal mistake of using high-strength Portland cement (Type S or M) for everything. They think ‘harder is better.’ In historic masonry preservation, that line of thinking is a death sentence for the building. A wall needs to breathe. It needs to move. If you butter a soft, 100-year-old limestone coping with a rigid, high-Portland mortar, the stone will lose every time. As the sun beats down on a July afternoon, that stone expands. The hard mortar won’t budge. The resulting stress causes the stone to ‘shelf’ or crack across its middle. This is why sustainable tuckpointing mortars, often lime-based, are the gold standard. They are ‘sacrificial.’ They are designed to be slightly softer than the masonry units, so if there is movement or stress, the mortar joint fails—not the priceless stone. Mixing the ‘mud’ requires an understanding of the suction of the stone. If the stone is too dry, it will suck the moisture out of the mortar before the chemical hydration process can finish, leaving you with a ‘burned’ joint that you can scrape out with your fingernail.
The Anatomy of Foundation Failure
How does a stone cap on a garden wall lead to foundation wall bowing repair? It’s a process called hydrostatic pressure combined with internal saturation. When coping stones are loose or the flush pointing services have weathered away, the wall becomes a vertical sponge. Water travels through the capillary paths of the brick and mortar, reaching the soil-side of the foundation. In heavy clay soils, this water causes the earth to swell, pushing inward against the wall. A dry wall is strong; a saturated wall is heavy and lubricated. Once the internal bond of the masonry is compromised by water, the wall loses its lateral stability. You’ll start to see ‘stair-step’ cracking or a horizontal bulge midway up the wall. By then, you’re no longer looking at a simple repointing job; you’re looking at helical piers or carbon fiber strapping. All because a $500 coping stone wasn’t replaced when it first started to scale.
Chimneys: The Most Vulnerable Masonry System
If the foundation is the feet, the chimney is the head—and it’s always in the wind. Chimney cap replacement and chimney sweep and repair are often treated as fire-safety issues, which they are, but they are also critical masonry maintenance. The ‘wash’ or the ‘crown’ of a chimney is essentially a large, cast-in-place coping stone. Because chimneys are exposed on all four sides, they take the brunt of the weather. If the chimney cap is cracked, water runs down the interior flue tiles and the exterior masonry face. This leads to the need for chimney interior parging—applying a thin coat of mortar to the smoke chamber or the interior walls to restore structural integrity and seal out gases. Without a solid cap, the masonry joint sand repair you do at the base of the house is useless, as water is simply bypassing your defenses from 30 feet up.
“The use of mortars harder than the masonry units can lead to irreversible damage during thermal expansion and contraction cycles.” – ASTM C1713
The Technical Process of Replacement
Replacing a coping stone isn’t just ‘laying a brick.’ First, we have to address the ‘bedding joint.’ After removing the damaged stone, the old mortar must be ground out to a depth of at least one inch to ensure the new ‘mud’ has a mechanical ‘tooth’ to grab onto. We then check the ‘drip edge’—that small groove on the underside of the stone that breaks the surface tension of water and forces it to drop to the ground rather than running back into the wall. If the new stone doesn’t have a proper drip edge, it’s just a bridge for water. We use a hawk and a slicker to ensure the joints are packed tight. For modular retaining walls, we often see ‘cold joints’ where the contractor didn’t properly vibrate the concrete or wet the blocks, leading to honeycombing—voids in the structure that act as reservoirs for ice. A master mason knows to ‘butter’ the ends of the coping stone before sliding it into place, ensuring a full head joint that won’t pop out in two years.
Modern Solutions and Historic Sensitivity
In the realm of historic masonry preservation, we often look to the past to fix the future. The resurgence of sustainable tuckpointing mortars—which use natural hydraulic limes—is a response to the failures of the 20th century’s obsession with Portland cement. These mortars are self-healing. When a tiny crack forms, moisture reacts with the free lime in the mortar to ‘re-knit’ the gap. This is the level of forensic detail required to keep a building standing for another century. Whether you are looking at a modular retaining wall or a 1920s Tudor chimney, the physics remain the same. Manage the water, respect the material, and never trust a ‘handyman’ with a bag of pre-mix and a garden trowel. If you see white powder (efflorescence) on your walls, or if the joints in your coping look like they’re turning back into sand, the clock is ticking. You do it once, or you do it twice—and the second time always costs ten times more than the first.