
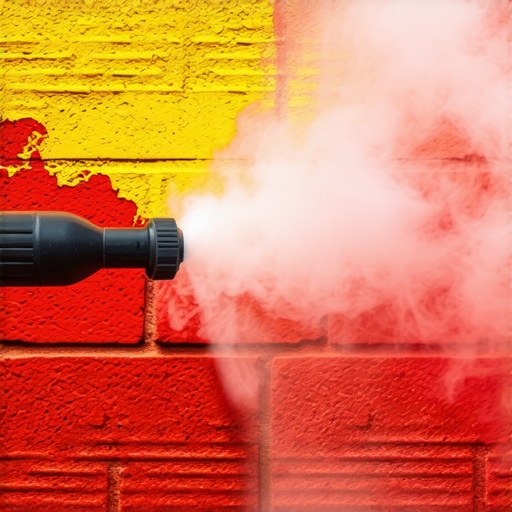
I walked onto a job site last Tuesday where a 1914 firehouse had been tagged with three-foot-high neon green letters. The building manager was standing there with a rented 4,000 PSI pressure washer, ready to blast the skin right off the clay. I had to physically step between him and the wall. The homeowner or manager often thinks it is just a surface stain, but when I put my scope to the masonry, I see a microscopic landscape of canyons and peaks. That spray paint isn’t sitting on top of the brick; it has been sucked into the capillary network of the fired clay by the same vacuum force that draws moisture into a dry sponge. If he had pulled that trigger, he would have etched the graffiti into the brick permanently, creating a ‘ghost’ that no amount of chemical can ever erase.
The Physics of Porosity and the ‘Sacrificial’ Surface
To understand why graffiti is a forensic nightmare, you have to understand the ‘tooth’ of the brick. Modern ‘lick-and-stick’ stone veneer is dense and chemically inert, but historic porous brick is a living, breathing thing. When paint hits that surface, it undergoes a process of capillary suction. The solvents in the paint carry the pigments deep into the pore structure. If you approach this with brute force, you aren’t just removing paint; you are removing the fire-hardened face of the brick. Once that ‘crust’ is gone, the soft interior of the brick is exposed to the elements, leading to rapid spalling and the eventual need for crumbling mortar joint repair and full-scale restoration.
“Water penetration is the single greatest threat to masonry durability. The use of high-pressure water cleaning can cause irreversible damage to the masonry units and the mortar joints.” – BIA Technical Note 20
We look at the chemistry of the bond. Most graffiti uses acrylic or alkyd-based sprays. These polymers wrap around the silicate grains of the brick. To remove them without scarring, we need to break that molecular bond without mechanical abrasion. This is where the ‘dwell time’ becomes the most important tool in my truck. We apply a pH-neutral poultice or a specialized gel—what we call ‘buttering’ the wall—and let the chemistry do the heavy lifting. If the mortar is already failing, this process can be risky. We often see that commercial masonry maintenance has been neglected for decades, and the cleaning chemicals can actually migrate into foundation crack repair sites or destabilize the concrete block foundation repair work done in the basement below.
The Restoration Reality: Why Pressure is Your Enemy
In the world of forensic masonry, we see the ‘scarring’ as a crime scene. When a contractor uses too much pressure, they create a ‘cold joint’ of sorts between the cleaned area and the untouched area. The high-pressure stream cuts into the mortar matching services and leaves the joints looking like they were chewed by a dog. Instead, we use low-pressure (under 400 PSI) with high-volume water. It is the ‘hawk’ and ‘slicker’ mindset—precision over power. You have to treat the wall like it’s a piece of fine furniture. If you’re dealing with metallic brick colors application, the risk is even higher, as the metallic oxides used in the brick’s original glaze can react with cleaning agents, leading to permanent discoloration that looks like a oil slick on the facade.
The Process: A Forensic Approach to Removal
Step one is always a patch test. We find an inconspicuous area, maybe near a failing retaining wall repair site or behind a downspout. We apply the stripper and wait. We aren’t just looking for paint removal; we are looking for ‘bleeding.’ If the pigment starts to run down the wall and soak into the lower courses, we haven’t used enough thickener in our mix. We need the paint to stay in suspension so it can be lifted out, not pushed deeper. During this time, I’m also checking for foundation waterproofing integrity. You’d be surprised how many ‘simple’ graffiti cleanups end up flooding a basement because the self-leveling masonry lifts weren’t properly sealed against the vertical wall.
“The removal of coatings from historic masonry should be undertaken using the gentlest means possible.” – ASTM D7614
Once the dwell time is complete, we use a soft natural bristled brush to agitate the ‘mud.’ We don’t scrub; we massage. We are trying to encourage the emulsified paint to leave the pores. When it’s time to rinse, we use a fan tip and keep the wand moving. If you linger on one spot, you’re dead. You’ll create a ‘honeycombing’ effect on the surface of the brick that will trap dirt and biological growth for the next fifty years. This is why tuckpointing cost estimation should always include a line item for pre-cleaning inspection. You cannot point a wall that is saturated with graffiti-removal chemicals and paint residue.
The Long-Term Damage of Improper Cleaning
If you scar the brick, you’ve fundamentally changed its hygrothermal performance. A scarred brick absorbs more water. In northern climates, this leads to the freeze-thaw cycle destroying the unit. In the south, the sun bakes that moisture, causing the internal pressure to rise until the face of the brick literally explodes in a ‘spall.’ This is why we see so much failing retaining wall repair work in the suburbs; people try to clean their walls with hardware store chemicals and power washers, and three years later, the wall is a pile of red dust. We always recommend a breathable, silane-based water repellent after cleaning, but only after the wall has had at least 72 hours of dry time. If you seal in the moisture from the cleaning process, you are just building a slow-motion bomb inside your masonry.