
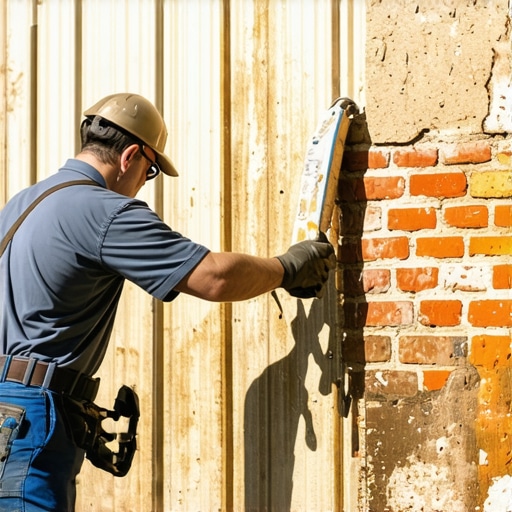
The Anatomy of a Dying Wall
The homeowner thought it was just a hairline crack, a little salt-like dust on the floor of the cellar. But when I put my scope inside that cavity, the reality was a horror show: the structural brick ties replacement they’d ignored for years had left the outer wythe unsupported, and the internal steel was rusted to nothing but a orange ghost of its former self. That ‘dust’ wasn’t just salt; it was the masonry exhaling its own soul. When you deal with a brick wall that is already damp, you aren’t just looking at a cosmetic fix. You are looking at a battle against hydrostatic pressure and the relentless capillary action of groundwater. To waterproof a wall that is already saturated, you have to stop thinking like a painter and start thinking like a surgeon.
The Physics of the ‘Wick’
Brick is not a solid block of stone; it is a sponge made of fired clay. Under a microscope, it’s a network of tiny capillaries. When the ground around a foundation stays saturated, the masonry pulls that moisture upward—a phenomenon called ‘rising damp.’ If you slap a ‘waterproof’ latex paint or a heavy-duty membrane over the exterior of a damp wall, you’ve just signed its death warrant. You’ve trapped the moisture inside. In a freeze-thaw climate, that water expands by 9% when the temperature drops, and it will pop the face right off your bricks, a process we call spalling. I’ve seen 100-year-old soldier courses reduced to red dust because some handyman thought he could ‘seal’ the problem away.
“Water penetration is the single greatest threat to masonry durability, accounting for more than 90% of all masonry failures.” – BIA Technical Note 7
The Forensic Masonry Damage Assessment
Before we touch a hawk or a slicker, we perform a masonry damage assessment. We’re looking for ‘honeycombing’ in the concrete masonry unit restoration areas and checking the ‘ring’ of the brick. If I hit a brick with my hammer and it gives me a dull thud instead of a high-pitched ‘clink,’ that unit is ‘dead’—its internal structure has been compromised by perpetual dampness. We also look for efflorescence, those white salty streaks. That’s the water moving through the wall, dissolving minerals, and leaving them on the surface as it evaporates. If the wall can’t breathe, those minerals crystallize *inside* the brick (sub-fluorescence), which is like an internal explosion.
The Restoration Reality: Why Breathability is King
In full repointing services, the goal isn’t just to make the wall look pretty; it’s to manage the migration of moisture. For any building constructed before the 1940s, we cannot use modern Portland cement. It’s too hard. It’s too dense. It doesn’t breathe. We use Type O or Type N lime-based mortars. This is the ‘Sacrificial Principle.’ The mortar must be softer and more permeable than the brick. That way, the moisture and the salts travel through the mortar joints rather than the brick itself. When we are buttering the joints, we ensure the ‘mud’ has the right suction. If the brick is too dry, it sucks the water out of the mortar too fast, causing a flash set that leads to a cold joint. If it’s already damp, we have to use specialized lime putties that can carbonate even in high-moisture environments.
“Mortar should be weaker than the masonry units so that any thermal or moisture movement is accommodated in the joints, preventing cracks in the units themselves.” – ASTM C270 Standard Specification for Mortar
Tuckpointing Curved Walls and Technical Precision
When we get into high-end restoration, like tuckpointing curved walls on a historic turret or chimney, the physics get even more complex. A curved wall has varying joint widths. If the mortar isn’t perfectly struck, water will pool on the ledge of the joint. We use a slicker to create a weathered joint or a concave joint to shed water effectively. For chimneys, which take the brunt of the weather, a chimney sweep and repair often reveals that the interior flue liner has cracked, allowing acidic condensation to eat the brick from the inside out. This is where tuckpointing cost estimation often surprises people—you aren’t just paying for the ‘mud’ on the outside; you’re paying for the structural integrity of the entire stack.
Structural Intervention: From Robotic Repair to Helical Piers
Sometimes, the dampness has caused the soil to shift, leading to settlement. This is where we move from the surface to the skeleton. Foundation helical pier installation involves driving steel shafts deep into the earth to find load-bearing strata. If the wall is bowing due to hydrostatic pressure, foundation underpinning is the only way to save it. For massive commercial structures, we’re even seeing robotic masonry repair where precision arms can grind out miles of mortar joints with a level of consistency a human hand can’t match after ten hours on a scaffold. But even with robots, the material science remains the same: the wall must be allowed to dry before it can be truly protected.
The Multi-Step Cure for a Saturated Wall
To truly ‘waterproof’ a damp wall, you follow the forensic path: First, manage the exterior drainage. If the gutters are clogged or the grade slopes toward the house, no amount of masonry work will help. Second, perform a deep-clean to open the pores. Third, execute full repointing services using vapor-permeable lime mortar. Fourth, and only if necessary, apply a silane-siloxane breathable water repellent. This isn’t a film; it’s a chemical that lines the pores of the brick to make them hydrophobic while still allowing water vapor (gas) to escape. This is how you stop the rot without suffocating the building. Do it once, or do it twice—the choice is yours, but the physics of masonry don’t take bribes.