
The Ghost of a Bad Patch
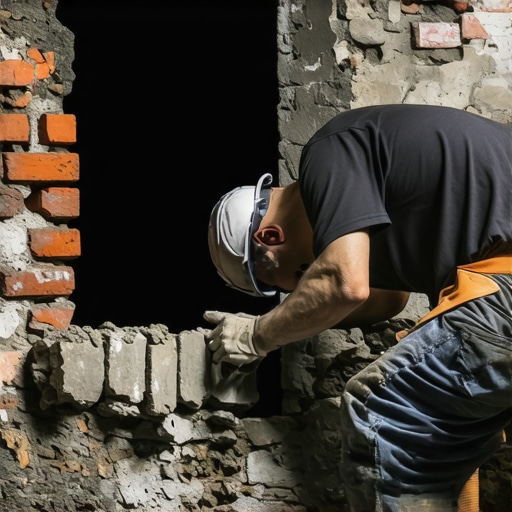
I remember pulling up to a 1920s textile mill that had been converted into high-end lofts. The client was frantic because a plumbing contractor had punched a six-inch hole through the exterior flemish bond to run a vent, realized it was the wrong spot, and tried to fix it with a bag of hardware-store pre-mix and a putty knife. From fifty feet away, that patch looked like a gray, smeared bruise on a beautiful face. When I put my scope into the void, I saw the real tragedy: the installer hadn’t just botched the aesthetics; he had created a pocket for water to pool against the inner wythe. That ‘scar’ wasn’t just ugly—it was a ticking time bomb for structural rot. This is the reality of professional masonry restoration. You aren’t just filling a hole; you are performing a skin graft on a living, breathing organism of clay and lime. Any amateur can slap some mud in a gap, but to do it without leaving a trace requires an understanding of the physics of suction and the chemistry of carbonation.
“Water penetration is the single greatest threat to masonry durability. Proper detailing and material compatibility are the only defenses against the slow destruction of the building envelope.” – BIA Technical Note 7
The Physics of the Void: Why Patches Fail
Before you pick up a trowel, you have to understand the enemy. In a North American climate, the freeze-thaw cycle is the primary destroyer. When you have a large hole, you have exposed the ‘soft’ interior of the brick. Modern face-brick is fired to create a hard, vitrified skin, but the core is often more porous. If you patch that hole with a material that is too dense—like a high-Portland cement mix—you create a moisture trap. Water gets behind the patch, freezes, expands by 9%, and pops your expensive repair right off the wall, often taking more of the original brick with it. This is why we insist on sustainable tuckpointing mortars that mimic the breathability of the original wall. We are looking for a ‘sacrificial’ relationship where the mortar is slightly softer and more porous than the brick itself, allowing the wall to shed water through the joints rather than through the face of the masonry.
The Forensic Match: Color and Texture
A scar is caused by a mismatch in three areas: the unit, the joint, and the strike. For large holes, you cannot simply fill the space with mortar. You must perform a ‘dutchman’ repair or a full unit replacement. If the hole is too large for a mortar-only patch but smaller than a full brick, you need to find a donor brick. I often raid the hidden areas of a building—behind a chimney or below the grade line—to find a brick from the same firing batch. If that is impossible, we go to a specialized brickyard that deals in reclaimed materials. To get the ‘tooth’ of the stone right, we sometimes have to mechanically distress the new face with a wire brush or a light acid wash to match the hundred-year-old patina. The mud itself is a different beast altogether. You don’t just buy ‘gray’ mortar. You mix your own using local sands. The sand is 75% of the visible color. If your sand is too sharp or too round, the light will hit the joint differently, and the scar will be visible every time the sun moves across the facade.
Step-by-Step Restoration of a Large Structural Void
1. The Clean Out: You must remove all ‘honeycombing’ and loose debris. If you leave dust in the hole, it acts as a bond-breaker. I use a small pneumatic chisel to square off the edges. A round hole is impossible to hide; a rectangular void allows you to slip in a new piece of clay that follows the natural course of the wall. 2. Managing Suction: This is where the amateurs fail. Old brick is thirsty. If you ‘butter’ a dry brick with fresh mud, the brick will suck the water out of the mortar instantly. This stops the hydration process—the chemical reaction where the cementitious particles grow crystals into the pores of the brick. You end up with a ‘cold joint’ that will leak. You must dampen the substrate until it reaches a state of Saturated Surface Dry (SSD). 3. The Bedding: For commercial parapet wall repair or deep holes, we often use self-leveling masonry lifts or high-build restoration mortars applied in layers no thicker than 3/4 of an inch. Each layer must ‘set up’ before the next is applied to prevent sagging. 4. The Strike: Once the mortar is thumbprint hard, you use a slicker to match the existing profile. If the rest of the building has a weathered joint, and you give it a crisp grapevine joint, you’ve just signed your name to a bad repair.
“Mortar for restoration should be weaker in compression than the masonry units to ensure that stresses are relieved through the joints and not the brickwork.” – ASTM C270 Guidelines
Advanced Systems: From Curved Walls to Outdoor Kitchens
Sometimes the repair isn’t a simple flat wall. When we are dealing with tuckpointing curved walls, the physics of the joint changes. The outer edge of the joint is wider than the inner, meaning the mortar has more surface area exposed to the sun and dries faster. This requires a much slower curing process, often involving damp burlap covers. For modern applications like an outdoor kitchen masonry build, the heat from grills and pizza ovens introduces thermal expansion that can crack standard patches in a single season. In those cases, we look toward mortarless masonry systems or specialized refractory mortars that can handle the ‘heaving’ of the materials as they bake. Whether it is a cracked brick wall repair on a foundation or a delicate masonry joint sand repair on a historic walkway, the goal is always the same: invisible permanence. You want the next inspector to walk right past your patch without ever knowing it was there. That is the mark of a master.
{“@context”:”https://schema.org”,”@type”:”HowTo”,”name”:”How to Patch Large Holes in Brick Without Leaving a Scar”,”step”:[{“@type”:”HowToStep”,”text”:”Square off the hole using a chisel to create a rectangular void that follows the brick courses.”},{“@type”:”HowToStep”,”text”:”Remove all dust and loose material to ensure a proper bond.”},{“@type”:”HowToStep”,”text”:”Hydrate the brick substrate to prevent the ‘suction’ from drying the mortar too quickly.”},{“@type”:”HowToStep”,”text”:”Apply a color-matched restoration mortar in layers, or insert a cut ‘dutchman’ brick piece.”},{“@type”:”HowToStep”,”text”:”Strike the joint with a slicker to match the surrounding wall’s texture and profile.”}]}