
The Ghost in the Archway
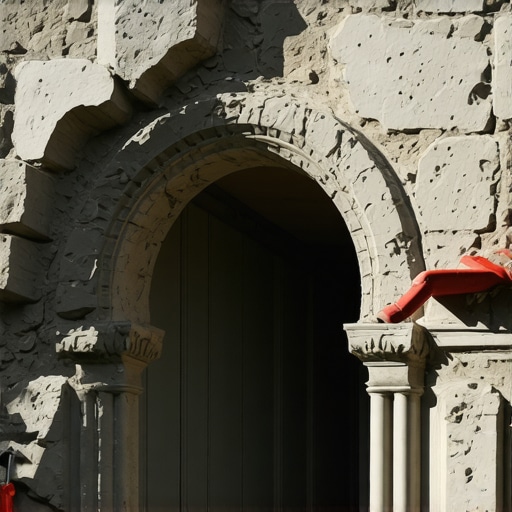
My old man used to say that a stone arch is just a bunch of rocks having an argument about who gets to fall down first. He’d walk up to a failing entryway, spit on a piece of weathered limestone, and watch how fast the moisture disappeared. If the stone sucked that spit up like a sponge in a desert, he knew the mortar had ‘burned’ decades ago. He’d tell the homeowner that the ‘mud’ wasn’t just falling out; it was gasping for air. Most people look at a decorative stone arch and see a charming architectural feature. I look at it and see a gravity-defying machine held together by chemistry and friction. When the mortar starts crumbling—what we in the trade call ‘weeping’—that machine is starting to break. This isn’t a cosmetic issue you can fix with a tube of caulk from a big-box store. This is a forensic puzzle that requires understanding the ‘tooth’ of the stone and the sacrificial nature of the joints.
“Water penetration is the single greatest threat to masonry durability. Moisture entering through cracked or debonded mortar joints is the primary cause of efflorescence, subflorescence, and freeze-thaw damage.” – BIA Technical Note 7
The Physics of the Line of Thrust
An arch works because every stone is in compression. The keystone at the top pushes down, and that force is translated sideways and downwards through the voussoirs (the wedge-shaped stones) until it hits the springline and the vertical abutments. As long as the ‘line of thrust’ stays within the middle third of the stone’s thickness, the arch stands forever. But when the mortar crumbles, the stones shift. Even a millimeter of movement can move that line of thrust toward the edge. Once it hits the edge, the arch becomes a mechanism—it wants to move like a hinge. If you see cracks radiating from the center or stones that look like they’re ‘dropping,’ you’re not just looking at a tuckpointing brick walls issue; you’re looking at a potential collapse. In my years of foundation crack repair and masonry rescue after disaster, I’ve seen arches that stayed up by sheer luck and nothing else.
The Chemistry of Death: Why Modern Cement Kills Old Stone
The biggest mistake I see ‘handymen’ make is using high-strength Portland cement (Type S or Type M) to fix a decorative stone arch built before 1940. It’s a death sentence for the stone. Old masonry was built with lime mortar. Lime is soft, flexible, and ‘breathable.’ Most importantly, it is sacrificial. You want the mortar to be softer than the stone. Why? Because buildings move. They expand in the sun and shrink at night. If the mortar is soft, it absorbs that movement. If you pack a joint with hard modern cement, the mortar won’t budge, so the stone has to break. I’ve seen beautiful 100-year-old sandstone arches literally explode—the faces popping off in a process called spalling—because some guy thought ‘harder is better.’ No. Harder is brittle. You need a Type N or even a Type O lime-putty mix that allows for autogenous healing, where the lime actually migrates into small cracks and reseals them over time through carbonation.
[image_placeholder]
The Forensic Inspection: Finding the Source of the Rot
Before you even touch a slicker or a hawk, you have to find out why the mortar is failing. In northern climates, the enemy is the freeze-thaw cycle. Water gets into a hairline crack, freezes, and expands by 9%. This act of ‘ice-wedging’ is powerful enough to split granite. If your arch is part of a chimney crown repair or a brick veneer installation, check the drainage. Is there a ‘cold joint’ where the arch meets the wall? Is water shedding off the top, or is it ponding? In the South, the heat ‘burns’ the mortar. If the mason didn’t wet the stones before ‘buttering’ them, the dry stone sucked the water out of the mud before it could properly hydrate. The result is a ‘flash set’—a joint that looks fine but has the structural integrity of a dried cracker. This is why commercial tuckpointing requires such strict environmental controls.
The Restoration Process: Doing it Once
Step 1: The Extraction. You don’t take a 4-inch grinder to a decorative arch. You’ll nick the stone and ruin the ‘reveal.’ You use a hammer and a narrow chisel. You need to go back at least 3/4 of an inch, or twice the width of the joint, whichever is deeper. You’re looking for ‘clean stone’—getting rid of all the salt-laden, crumbly debris.Step 2: The Cleaning. Wash the joints with low-pressure water. This removes the dust that acts as a bond-breaker and provides the ‘suction’ needed for the new mud to grab onto the stone’s ‘tooth.’Step 3: The Mix. Use a lime-heavy mix. If I’m doing a patio stone realignment or a sustainable block cutting project nearby, I’ll often color-match the sand to the original. Don’t use ‘play sand.’ You want sharp, angular masonry sand that locks together like a jigsaw puzzle.Step 4: The Pack. This isn’t a concrete patch job where you just smear it on. You take your hawk, put a pile of mud on it, and use a thin tuckpointing tool to pack the joint in 1/4-inch ‘lifts.’ If you fill the whole thing at once, it’ll shrink and crack. You pack a layer, let it get ‘thumbprint hard,’ then pack the next.Step 5: The Strike. Once the final layer is firm, you strike it. For an arch, a ‘weathered joint’ or a ‘recessed joint’ is best. You want to create a slope that sheds water away from the stone. If you leave a ‘ledge,’ you’re just inviting the next freeze-thaw cycle to move in and start the destruction all over again.
“Mortar should always be weaker than the masonry units so that any stress-induced cracking occurs in the mortar joints where it can be easily repaired, rather than in the masonry units themselves.” – ASTM C270 Standards
The Reality of Maintenance
People ask me if they should seal their stone arch after I’m done. My answer is usually a flat ‘No.’ Most sealants are ‘film-forming,’ meaning they trap moisture inside the stone. If that moisture can’t evaporate out of the mortar joints, it will turn into steam in the summer or ice in the winter. Either way, it’ll blow the face off your stone. A properly tuckpointed arch using the right lime-to-sand ratio is a breathable, living thing. It has survived a century of storms; don’t try to ‘improve’ it with a $20 can of chemical gunk. Whether you’re dealing with foundation crack repair or a crumbling decorative centerpiece, the rule is the same: respect the materials, understand the physics, and never, ever trust a ‘lick-and-stick’ contractor who doesn’t know the difference between hydration and carbonation.