
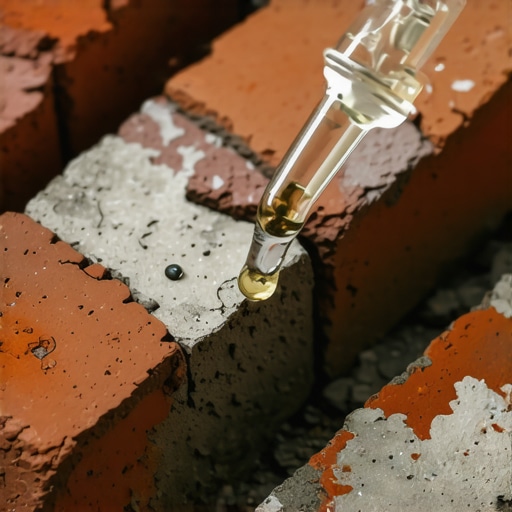
The Forensic Scene: When Walls Commit Suicide
I was called out to a Victorian estate where the homeowner was distraught over what they called ‘exploding bricks.’ From the curb, it looked like a standard case of age, but as I got closer, the tactile reality of the failure became clear. I ran my hand over the facade; the mortar was hard, jagged, and stood proud of the brickwork, while the faces of the bricks themselves were shearing off in thin, brittle wafers. This wasn’t just weathering; it was a forensic crime scene. Some well-meaning contractor had repointed this 1890s soft-fired clay with modern Type S Portland cement. By using a mortar that was harder than the brick, they had essentially turned the joints into a vice. When the building shifted and breathed with the seasons, the bricks had nowhere to go but to crush themselves against the immovable ‘mud.’ This is why we don’t just guess at the mix; we analyze the chemistry before we ever pick up a trowel.
“Mortars for repair of historic masonry must be compatible with the original masonry in terms of strength, porosity, and appearance.” – ASTM C1713 Standard Specification for Mortars for the Repair of Historic Masonry
The Micro-Physics of the Sacrificial Joint
In the world of historic masonry preservation, there is a golden rule: the mortar must be the sacrificial lamb. In buildings constructed before the mid-20th century, bricks were fired at lower temperatures, making them softer and more porous than the vitrified units we see today. These walls rely on the mortar to be the conduit for moisture and the buffer for movement. When we perform a chemical analysis, we are looking for the original lime-to-sand ratio. We look for the presence of hydraulic lime or even crushed oyster shells. If you butter a soft brick with high-strength cement, you trap moisture. That moisture, unable to evaporate through the ‘breathable’ lime joint, stays inside the brick. When the temperature drops, that water expands by 9%, and the internal pressure pops the face of the brick off. This is the ‘spalling’ I see in nearly every botched masonry water damage repair job.
Chemical Analysis: The Lab vs. The Field
To prevent this, we use acid digestion. We take a chunk of the original ‘mud’ from deep within the wall—avoiding the surface where carbonation is highest—and dissolve the binder in hydrochloric acid. What remains is the aggregate. We study the ‘tooth’ of the sand, the grain size, and the mineralogy. This allows us to match the vapor permeability. We also look for brick efflorescence removal needs; if the wall is bleeding white salts, it’s a sign that the chemistry of the wall is already out of balance. Using fiber-reinforced mortars can be a solution in modern structural repairs, but in a historic context, we often stick to traditional lime putties to ensure the wall doesn’t lose its ability to flex. Modern additives can sometimes create a ‘cold joint’ where the new material refuses to bond with the old, leading to honeycombing inside the wall where you can’t see it until the structure begins to lean.
Addressing Structural Failures: Beyond the Surface
Sometimes the problem is deeper than just the joints. If I see a soldier course of bricks leaning outward, I know the retaining wall reinforcement has failed. On one job, I had to specify a retaining wall capstone replacement because the original stone had no ‘drip edge,’ allowing water to run straight into the core of the wall. This leads to concrete block foundation repair needs in the basement below as hydrostatic pressure builds up. For more modern failures, we might look at self-healing concrete foundations that use crystalline technology to plug hairline cracks, but for the old stuff, we rely on physics. We might use masonry birdsmouth cuts to integrate new structural steel without ruining the aesthetic of a metallic masonry finishes application on a commercial storefront.
“The mortar should always be weaker than the masonry units so that any movement is accommodated in the mortar joints, not by cracking of the masonry units.” – BIA Technical Note 20
The Grit of the Process
When we start the historic masonry preservation process, we don’t use high-speed grinders. A grinder in the hands of a novice will nick the edges of the brick, destroying the ‘fire skin’ and accelerating decay. We use small pneumatic chisels or hand tools to rake out the joints to a depth of at least twice the width of the joint. We look for the ‘suction’—if the brick is too dry, it will suck the water out of the new mortar too fast, causing it to ‘flash set’ and crumble. We pre-wet the wall, then slicker the new lime mortar into the gaps in lifts. It is slow, back-breaking work, but it is the only way to ensure the building stands for another century. Whether you are dealing with a simple retaining wall capstone replacement or a full-scale forensic restoration, the chemistry of the mortar is the heartbeat of the project. Do it once, do it right, or watch your history flake away into the dust.