
The Topography of the Wall: Why the Bead Matters
I stood on a swaying scaffold thirty feet up, squinting through a 12mm borescope at a client’s historic facade. The homeowner thought it was just a hairline crack snaking through a corner. But when I put my scope inside the cavity, I saw the structural steel was rusted to dust, hidden behind a facade that looked pristine from the sidewalk. The culprit wasn’t just age; it was a previous ‘handyman’ who had botched a brick wall restoration by using a hard Portland cement on soft, 19th-century clay. This is the forensic reality of masonry: if you don’t respect the physics of the wall, the wall will eventually punish you. One of the most misunderstood elements of this physics—and the aesthetic soul of a building—is the mortar joint. Specifically, the beaded joint. Most modern contractors are content with a concave joint because it’s fast. They ‘slick’ it and move on. But a beaded joint? That’s where the masonry becomes architecture. A beaded joint is a convex protrusion of mud that sits proud of the brick face. It creates a shadow line so sharp it looks like it was drawn with a technical pen. This isn’t just about ‘looking pretty’; it’s about the interplay of light and the protection of the substrate.
“Water penetration is the single greatest threat to masonry durability, and the profile of the mortar joint is the first line of defense.” – BIA Technical Note 7
The Physics of the Shadow: Light and Geometry
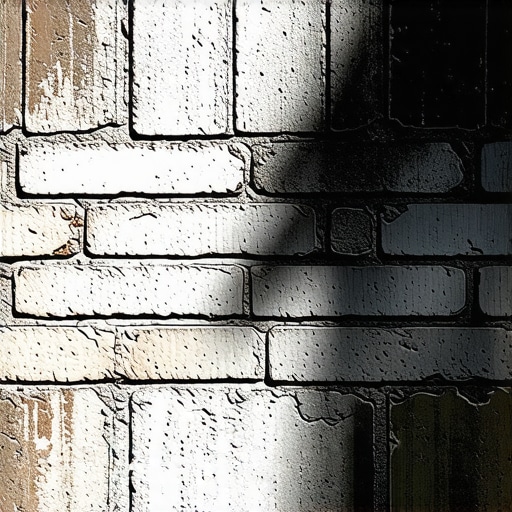
When we talk about metallic brick colors application or high-end metallic masonry finishes, we are playing with photons. A flat wall is boring because it reflects light uniformly. A beaded joint, however, creates a ‘brow’ over the horizontal course. When the sun hits a wall with beaded joints at a 45-degree angle, it casts a crisp, linear shadow downward. This depth makes a standard brick quoin repair look like a masterpiece of three-dimensional engineering. The shadow hides slight variations in the brick’s edge, giving the entire structure a sense of rigid, military precision. In commercial smokestack repair, we rarely use beaded joints because of the extreme wind-driven rain at high altitudes, but for a residential or historic facade, it is the gold standard of craftsmanship. The bead requires a specialized tool—a slicker with a concave groove—that the mason must pull with a steady hand. If your ‘mud’ (mortar) isn’t mixed to the perfect consistency, the bead will slump. This is where high-performance mortar mixes come into play. We aren’t just throwing sand and bag-mix together. We are looking at the aggregate grading to ensure the ‘tooth’ of the mortar can hold that convex shape against gravity while it sets.
The Restoration Reality: Why Breathability is Life
In the world of brick wall restoration, we often see the tragedy of stone veneer over brick. People take a perfectly good structural wall and slap ‘lick-and-stick’ stone on top. They ignore the moisture mechanics. If you’re restoring a pre-1940s building, the brick is soft. It’s a sponge. If you use a modern, high-PSI mortar, you’re creating a ‘hard’ joint. When the freeze-thaw cycle hits, the water trapped in the brick expands by 9%. Since the mortar won’t give, the brick face explodes. This is called spalling. Proper brick spalling prevention starts with choosing a mortar that is softer than the brick. For a beaded joint in a restoration context, we often use Type O or a lime-putty mix. This allows the wall to ‘breathe.’ The bead actually helps shed water away from the top edge of the brick, acting like a tiny umbrella for each course.
“The mortar should always be a sacrificial element, designed to fail before the masonry units themselves.” – ASTM C270 Standards
The Forensic Inspection: Beyond the Surface
During a chimney leak detection, I often look for how the joints were struck. If I see ‘honeycombing’ in the mortar, I know the mason let the mud get too dry—what we call ‘flash setting.’ In hot climates, masons must wet the bricks before laying them to prevent the brick from sucking the hydration out of the mortar too fast. This ensures the chemical bond—the C-S-H (Calcium Silicate Hydrate) crystals—can grow deep into the pores of the brick. The same logic applies to stone balustrade restoration. You cannot just ‘butter’ the edges and hope for the best. You need to ensure the joint is packed ‘thumb-print hard’ before the final strike. When we apply metallic masonry finishes, the beaded joint provides the necessary relief to prevent the finish from looking like a flat sheet of plastic. It breaks up the surface tension and allows for thermal expansion without cracking. A wall is a living thing; it moves, it breathes, and it reacts to the sun. If you treat it like a static object, you’re just waiting for the first crack to appear. Whether it’s a brick quoin repair or a full-scale facade overhaul, the goal is the same: do it once, do it right, and let the shadows tell the story of the craft.
{“@context”:”https://schema.org”,”@type”:”HowTo”,”name”:”How to Strike a Beaded Mortar Joint”,”step”:[{“@type”:”HowToStep”,”text”:”Mix a high-performance mortar to a ‘stiff-peak’ consistency to ensure it can hold its shape.”},{“@type”:”HowToStep”,”text”:”Apply the mortar (mud) to the head and bed joints, ensuring full coverage with no voids.”},{“@type”:”HowToStep”,”text”:”Wait until the mortar is ‘thumb-print’ hard, meaning it resists pressure but is still workable.”},{“@type”:”HowToStep”,”text”:”Use a beaded slicker tool to pull a consistent convex line along the center of the joint.”},{“@type”:”HowToStep”,”text”:”Brush away excess burrs lightly with a soft-bristle brush to avoid smearing the bead.”}]}