
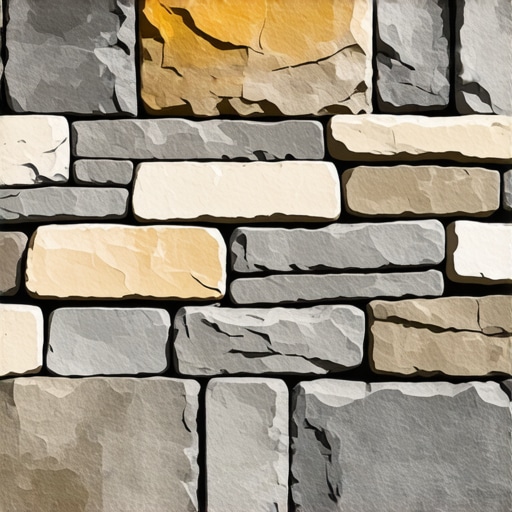
The Illusion of the Indestructible Wall
I remember a forensic call-out last autumn on a custom-built colonial in the suburbs. To the naked eye, the home was a fortress of fieldstone and mortar. But when I pressed my moisture probe into a hairline gap near the window lintel, the meter screamed. I pulled a single loose stone—what we call a ‘lick-and-stick’ unit—and what I saw behind it wasn’t masonry. It was mush. The OSB sheathing had the consistency of wet oatmeal, and the structural studs were blooming with black mold. The homeowner thought it was a simple cosmetic gap. In reality, it was a systemic failure of the drainage plane. This is the dark side of modern stone veneer: it looks like a castle, but it behaves like a sponge if you don’t respect the physics of water.
The Science of the Seepage: Why Gaps Happen
Stone veneer, specifically Adhered Concrete Masonry Veneer (ACMV), is a different beast than traditional full-bed masonry. In a traditional brick wall, the weight of the structure sits on the foundation. In veneer, the stone is literally glued to the side of the building. The primary reason gaps form is a mismatch in the coefficient of thermal expansion between the stone, the mortar, and the substrate. When the sun beats down on a south-facing wall, that stone expands. If the mortar is too rigid—like a high-strength Type S cement used where a softer Type N belonged—it won’t ‘give.’ Instead, it cracks. These micro-fissures are the entry points for the enemy.
“Water penetration is the single greatest threat to masonry durability. Moisture entering a masonry wall can cause efflorescence, subflorescence, and significant structural degradation through freeze-thaw cycles.” – BIA Technical Note 7
Once water finds a gap, capillary suction takes over. The moisture is pulled into the void behind the stone. In northern climates, this is a death sentence. As that trapped water freezes, it expands by roughly 9% in volume. This internal pressure creates brick spalling and stone shearing. You aren’t just looking at a gap; you’re looking at a hydraulic jack slowly prying your house apart from the inside out.
The Forensic Masonry Damage Assessment
Before you grab a bag of grout, you need a masonry damage assessment. I start by ‘sounding’ the wall. Take a small masonry hammer or even the handle of a screwdriver and lightly tap the stones. A solid bond will produce a sharp ‘click.’ A failed bond sounds hollow, like a drum. If you find multiple hollow spots, you aren’t just fixing gaps; you’re looking at a total bond failure. We also look for efflorescence—that white, powdery salt deposit. This is the masonry’s way of sweating. It tells us exactly where the water is traveling through the tile grouts on masonry or the mortar joints and where it’s evaporating, leaving behind the minerals it dissolved along the way.
The Micro-Zoom: Chemistry of the Scratch Coat
To understand the fix, you have to understand the ‘mud.’ The scratch coat is the layer of mortar applied over the metal lath. In many failed installations, the contractor didn’t allow for proper hydration. If the scratch coat dries too fast, it becomes brittle and porous. When we perform stone facade restoration, we often find that the ‘buttering’ of the stones was done with a mix that had too much sand and not enough lime. Lime is the magic ingredient; it provides ‘self-healing’ properties. Over decades, as water moves through lime mortar, it dissolves small amounts of lime and redeposits it in micro-cracks—a process called carbonation.
The Tool Kit for Proper Repair
Forget the hardware store caulk gun. If you’re serious about tuckpointing tools for DIY or professional repair, you need the right kit. You need a hawk to hold your mortar, a slicker (or jointer) to pack the mud into the gaps, and a pointing trowel. For larger commercial projects, we might use self-leveling masonry lifts to reach higher elevations, especially during a commercial parapet wall repair where the exposure to wind-driven rain is extreme. The goal isn’t just to fill the hole; it’s to ‘strike’ the joint to compress the mortar, creating a dense, water-shedding surface.
“Mortar for adhered masonry veneer must meet or exceed the requirements of ASTM C270 and be compatible with the water-resistive barrier to ensure long-term adhesion and moisture management.” – ASTM C1780 Standard Practice
The Step-by-Step Restoration Process
First, we clean the ‘tooth’ of the stone. You can’t put new mud over old dust. We use a stiff wire brush to grind out the loose material. Next, we pre-wet the area. If you put wet mortar against a bone-dry stone, the stone will suck the moisture out of the mud instantly, ‘burning’ the bond. This leads to commercial masonry maintenance nightmares where the repairs fall out in six months. Once the stone is damp, we ‘butter’ the back of the replacement stone or the gap itself with a rich Type N mortar. We pack it tight. There should be no air pockets. Air pockets are where condensation lives. Finally, we use a striking tool to finish the joint, ensuring the edges are sealed against the stone faces.
Structural Implications: When Gaps Mean More
Sometimes a gap isn’t just a gap. If I see a stair-step crack following the mortar joints, my mind goes straight to the soil. This is where foundation underpinning becomes the conversation. If the footing is settling, the stone veneer will be the first thing to telegraph that movement. In brick arch restoration, a gap at the keystone can indicate that the lateral thrust of the arch is no longer being contained. You can’t fix a moving wall with mortar; you have to stop the movement first. This is the difference between a handyman who covers a crack and a master mason who heals a building.
The High-Rise Perspective: Commercial Maintenance
In the commercial world, commercial masonry maintenance is a matter of liability. I’ve seen commercial parapet wall repair jobs where the stone veneer was peeling off the top of a five-story building because the coping stones weren’t flashed correctly. Water was getting behind the veneer at the very top of the building and running down the entire height of the facade, blowing out stones at the ground floor. This is why stone facade restoration must always start at the roof. If the ‘hat’ of the building is leaking, the ‘shoes’ will always be wet.
Closing the Gap for Good
The secret to fixing stone veneer isn’t a miracle product; it’s a respect for the drainage plane. You must ensure that if water does get in—and it will—it has a way out. This means installing weep screeds at the base of the wall and maintaining clear exit paths for moisture. Masonry is a living, breathing system. It expands, it contracts, and it reacts to its environment. When you treat it like a static, waterproof plastic, you’ve already lost the battle. Respect the ‘mud,’ understand the suction, and never trust a wall that doesn’t have a way to weep. In the end, we don’t just build walls; we manage the inevitable movement of the earth and the rain. Do it once, do it right, and the stone will outlive us all.
[{ “@context”: “https://schema.org”, “@type”: “HowTo”, “name”: “How to Repair Stone Veneer Gaps”, “step”: [{ “@type”: “HowToStep”, “text”: “Inspect the wall for hollow-sounding stones using a masonry hammer.” }, { “@type”: “HowToStep”, “text”: “Clean the gaps with a wire brush to remove all loose debris and dust.” }, { “@type”: “HowToStep”, “text”: “Dampen the stone and existing mortar to prevent premature drying of the new mud.” }, { “@type”: “HowToStep”, “text”: “Pack Type N mortar into the gap using a pointing trowel and hawk.” }, { “@type”: “HowToStep”, “text”: “Strike the joint with a slicker tool to compress the mortar and seal the edges.” }] }]