
The Forensic Reality of the ‘Dusting’ Floor
I walked into a three-car garage last November where the homeowner was convinced he just had a ‘dusty’ floor. He’d been sweeping up fine gray powder for months, thinking it was just tracked-in road salt. I didn’t even need my AI masonry assessment tools for this one. I knelt down and dragged a flat-head screwdriver across a seemingly solid patch of concrete. The surface didn’t just scratch; it delaminated in a three-inch flake, revealing a soft, sandy substrate beneath that looked more like beach dunes than 4,000-PSI concrete. The owner thought it was just a hairline crack or some surface wear. But when I put my scope into a deeper fissure near the threshold, I saw the structural steel—the rebar that was supposed to be the skeleton of the slab—was rusted to a pile of red dust. The iron had oxidized, expanded to four times its original size, and was literally exploding the floor from the inside out.
The Physics of the Pop-Out: Why Your Concrete is Shedding
In our northern climate, we deal with the brutal reality of the freeze-thaw cycle. When you pull your car into the garage, it’s dripping with slush and de-icing chemicals—calcium chloride and rock salt. Concrete is essentially a hard sponge; it’s full of microscopic capillaries. As that salty brine soaks into the slab, it lowers the freezing point of the water trapped inside. When the temperature finally drops low enough, that water freezes and expands by roughly 9%. In a dense, well-vibrated slab, there’s no room for that expansion. The internal pressure exceeds the tensile strength of the concrete, and the ‘face’ of the slab pops off. This is what we call spalling. If you don’t implement brick spalling prevention techniques on your vertical surfaces and proper sealing on your flats, the damage becomes terminal.
“Water penetration is the single greatest threat to masonry durability.” – BIA Technical Note 7
The Chemistry of the Patch: Polymer-Modified ‘Mud’
You can’t just throw a bag of standard Portland cement over a spalled area and expect it to hold. That’s a ‘handyman special’ that will peel up the first time you park a warm tire on it. To fix a garage floor properly, you need a heavy-duty patch with high polymer content. We’re talking about modifying the concrete flatwork services with acrylic or epoxy resins that create a chemical bond rather than just a mechanical one. Standard concrete requires a ‘tooth’ to grab onto; polymer-modified ‘mud’ actually butters onto the old surface and fuses with the C-S-H (Calcium Silicate Hydrate) gel in the existing slab. This prevents the dreaded cold joint—that weak plane where the new material meets the old and inevitably fails due to differential thermal expansion.
Step-By-Step Restoration: Doing It Once
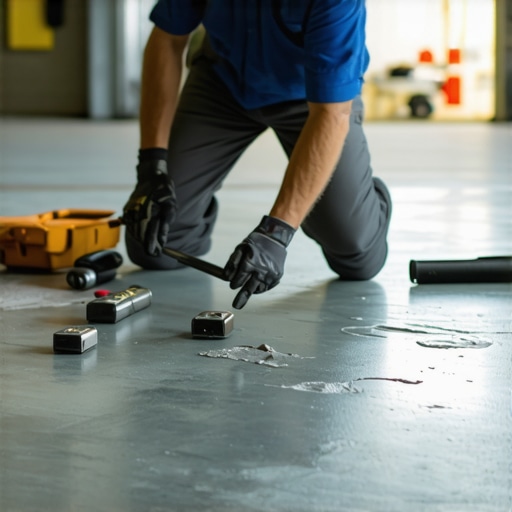
First, we don’t ‘clean’ the floor; we excavate the failure. I use a diamond-blade grinder to cut a vertical edge around the spalled area. You never feather-edge a patch. If the patch is paper-thin at the edges, it’s going to flake. You need at least a half-inch of ‘meat’ at the perimeter. We then use a needle scaler or a small jackhammer to remove all the ‘punky’ concrete until we hit solid aggregate. If we find rusted rebar, we treat it with a zinc-rich primer. This is the same level of care required for cracked brick wall repair or emergency masonry repair on a load-bearing pier. Once the hole is prepped, we apply a bonding agent—a ‘slurry coat’—which acts as the glue. We mix the repair mortar to a stiff consistency, toss it onto the hawk, and use a steel slicker or trowel to pack it tight. We’re looking to eliminate honeycombing—those air pockets that turn into water reservoirs later.
“Concrete durability is directly related to the permeability of the cement paste.” – ACI 201.2R
Beyond the Floor: The Masonry Ecosystem
A garage floor doesn’t exist in a vacuum. Often, the moisture that’s killing your slab is also migrating into your walls. I’ve seen stone coping installation on the exterior that was so botched the water was running behind the brickwork and pooling under the garage slab. If your chimney is leaking, you might need chimney rebuild services or a chimney heat shield installation to prevent thermal shock from cracking the flue and the surrounding masonry. It’s all connected. If the exterior isn’t tight—if you haven’t invested in tuckpointing weatherproofing or professional tuck pointing services—the ground beneath your garage will stay saturated, and the hydrostatic pressure will eventually snap even the best-laid patch. You treat the symptom (the spall), but you have to cure the disease (the water).
The Final Strike: Sealing for the Future
Once the patch has reached its initial set, we don’t just walk away. We strike the joints to match the existing expansion lines in the floor. These aren’t just for decoration; they are pre-planned ‘crack here’ locations. If the slab wants to move, we tell it where to move. After a full cure—usually 28 days for the chemistry to stabilize—the entire floor should be treated with a silane-siloxane sealer. This isn’t a ‘lick-and-stick’ film that sits on top; it’s a penetrating sealer that chemically reacts with the concrete to create a hydrophobic barrier. It makes the concrete ‘ring’ like a bell when you hit it, rather than thudding like a wet log. This is the difference between a floor that lasts five years and one that lasts fifty. Do it once, or do it twice—the choice is yours, but the physics won’t change for anyone.”,”image”:{“imagePrompt”:”A close-up high-angle shot of a master mason’s weathered hands using a steel trowel to apply a thick, textured gray polymer-modified mortar to a deeply pitted and spalled garage floor. The edges of the repair area are cleanly cut with a grinder, and a hawk with extra ‘mud’ is visible in the corner of the frame. The lighting is gritty and realistic, showing the fine aggregate and the contrast between the old, dusty concrete and the fresh, dark patch.”,”imageTitle”:”Professional Concrete Spalling Repair”,”imageAlt”:”Master mason applying heavy-duty patch to a spalled garage floor”},”categoryId”:0,”postTime”:””}