
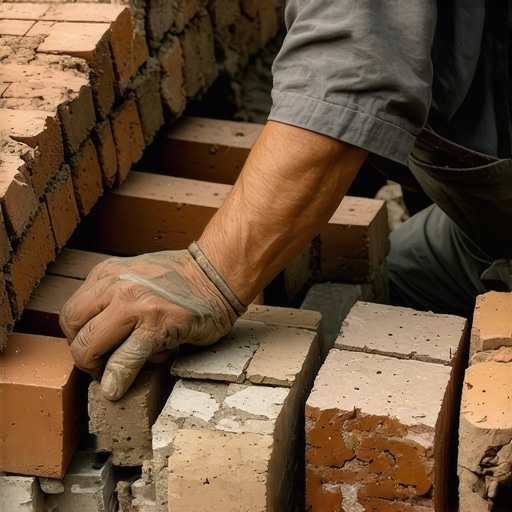
The Forensic Scene: When the Wall Tells Tales
The homeowner thought it was just a hairline crack, a minor cosmetic blemish on a century-old facade. But when I put my scope inside that cavity, I saw the structural steel was rusted to dust. The culprit wasn’t just age; it was a ‘handyman special’ repair from a decade ago. Someone had jammed modern, high-compressive-strength modular bricks into a wall designed for soft, handmade clay units. They used a bag of Type S Portland cement—hard as a coffin nail—and essentially choked the life out of the surrounding masonry. The wall couldn’t breathe, moisture got trapped, and the internal skeleton simply dissolved. This is the reality of historic brickwork repointing and repair: if you don’t match the units, you aren’t fixing the building; you’re just accelerating its funeral.
The Anatomy of a Perfect Match
When we talk about brick infill panel repair, we aren’t just looking for a color that’s ‘close enough.’ We are hunting for a molecular sibling. Bricks from the 19th and early 20th centuries were fired in scove kilns where temperatures fluctuated. This created a gradient of hardness and color even within a single batch. Modern tunnel kilns produce units that are too perfect, too uniform, and far too dense for commercial masonry maintenance on heritage structures.
“The selection of repair materials must be based on a thorough understanding of the physical properties of the original masonry units, including their mineralogy, pore structure, and compressive strength.” – BIA Technical Note 46
The Physics of ‘The Tooth’ and Suction
To get a concrete patch or a new brick to bond, you need to understand the Initial Rate of Absorption (IRA). I call it the ‘thirst’ of the brick. If you take a salvaged clay brick and it’s bone-dry, it will suck the water out of your ‘mud’ (mortar) before the chemical hydration can even begin. This results in a ‘burned’ joint that will crumble the second a freeze-thaw cycle hits. When performing chimney repair services, we often have to pre-wet the salvaged units to ensure they don’t steal the lifeblood of the new mortar. This is the ‘tooth’—the mechanical bond where the mortar grows crystals into the pores of the brick. If the suction is too high, the crystals never form. If it’s too low, the brick just floats on a film of water, leading to a cold joint.
Sourcing the Soul: Sustainable Block Cutting
Where do we find these matches? We don’t go to the big-box stores. We go to the boneyards. Sustainable block cutting involves reclaiming units from demolished structures of the same era. We look for the ‘heart’ of the brick. Often, for a stone balustrade restoration or a curved facade, we have to use a wet saw to shape these salvaged treasures. When tuckpointing curved walls, the geometry is unforgiving. You can’t hide a bad match in a radius. You need units that have the same ‘suction’ so the mortar cures at the same rate, preventing that ugly white efflorescence from blooming on your new work.
The Mortar Sacrifice
In the world of historic brickwork repointing, there is one golden rule: the mortar must be the sacrificial lamb.
“Mortar should be weaker than the masonry units so that any cracks will occur in the mortar joints rather than through the units themselves.” – ASTM C270
If you use a mortar that is harder than the brick, the stress of thermal expansion—the wall literally growing and shrinking in the sun—will cause the face of the brick to pop off. This is called spalling. It’s a death sentence for a wall. We ‘butter’ our salvaged bricks with lime-heavy mixes (Type O or K) that allow for autogenous healing. When a tiny crack forms in a lime joint, moisture reacts with the unhydrated lime to literally grow new crystals and seal the gap. It’s a living system, unlike the rigid, brittle nature of modern cement.
The Gritty Details of the Fix
Whether it’s a brick paver driveway repair or stone balustrade restoration, the process is tactile. We grind out the old, failing joints with a diamond blade, but we stop short of the brick’s ‘skin.’ We then use a ‘hawk’ and a ‘slicker’ (jointer tool) to push the new mud into the void in ‘lifts.’ You don’t just fill it once; you pack it in layers to ensure no air pockets remain to host future ice. For masonry waterproofing solutions, we avoid those ‘sealers’ that act like Saran wrap. A wall must breathe. We use silane-siloxane penetrants that line the pores but leave them open, like a Gore-Tex jacket. This is critical when you’ve just spent weeks sourcing salvaged units; the last thing you want is to trap moisture behind a plastic film and watch your hard work flake off in three winters.
The Mason’s Last Word
Don’t trust a man who shows up to a 100-year-old wall with a bag of pre-mix and a smile. He’s a butcher, not a surgeon. Salvaging bricks for a seamless repair is about respecting the chemistry of the past. It’s about finding a brick that ‘rings’ when you tap it with a trowel, indicating a solid internal structure. It’s about matching the sand grain size in your mortar so the texture doesn’t betray the repair. It’s hard, dusty, back-breaking work, but when you stand back and can’t tell where the old wall ends and my work begins, that’s when you know the masonry will stand for another century. If you’re looking at a wavy driveway or a crumbling chimney, remember: do it once with the right materials, or do it every five years with the wrong ones. The choice is etched in stone.