
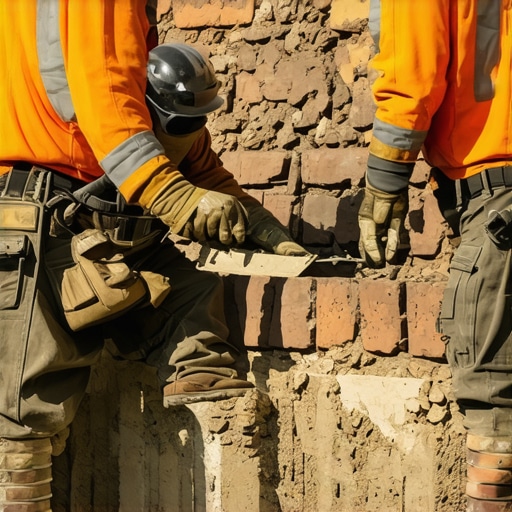
The house was screaming, but the owners couldn’t hear it. I was called out for a ‘minor touch-up’ on a 1920s Tudor in a freeze-thaw zone where the temperature swings forty degrees in a single afternoon. To the untrained eye, the hairline fissure running along the water table looked like standard settlement. But when I fed my fiber-optic scope through a weep hole, the reality was a nightmare: the internal structural steel lintels had transformed into a puffy, orange mess of iron oxide, expanding with enough force to lift three courses of brick. It wasn’t just a crack; it was an active explosion in slow motion. The homeowner thought it was just a hairline crack. But when I put my scope inside, I saw the structural steel was rusted to dust. This is the reality of forensic masonry. When you are looking for an emergency crew, you aren’t just looking for someone who can sling mud; you’re looking for someone who understands why the wall is failing in the first place.
The Physics of the Stair-Step: Reading the Wall
When I walk onto a job site, I don’t look at the brick; I look at the dirt and the sky. Masonry is a rigid system in a fluid world. In northern climates, the primary antagonist is the freeze-thaw cycle. When water enters a porous brick and the temperature drops, that water expands by 9% in volume. If that water is trapped behind a layer of ‘lick-and-stick’ stone or a non-breathable sealant, it has nowhere to go but out through the face of the brick, causing spalling. A stair-step crack usually indicates that the foundation is sinking at one point, pulling the wall apart at its weakest links—the mortar joints. Conversely, a horizontal crack often signals hydrostatic pressure. This is when saturated soil outside is pushing against your concrete block foundation repair needs, literally bowing the wall inward. You need a crew that knows the difference between a cosmetic issue and a structural catastrophe. A real mason knows that concrete block foundation repair isn’t just about patching a hole; it’s about managing the groundwater that created the pressure in the first place.
“The most common source of moisture penetration in masonry is the interface between the mortar and the unit.” – BIA Technical Note 7
The Chimney Crisis: Beyond the Brick
If you’re smelling smoke or seeing moisture on your interior walls, your chimney flue liner installation has likely failed. This is a common emergency. A flue liner is the only thing standing between 1,200-degree gases and your wooden house frame. Old liners suffer from thermal shock—the rapid expansion and contraction of clay tiles. When these tiles crack, creosote seeps into the masonry, creating a fire hazard that can’t be put out with a garden hose. A crew specializing in chimney flue liner installation needs to understand the chemistry of condensation. If the flue is too cold, the sulfur in the smoke mixes with water vapor to create sulfuric acid, which eats the mortar from the inside out. This is why we use stainless steel or cast-in-place liners today; they handle the acidity and the heat better than the old terracotta ever could.
The Restoration Reality: Tuckpointing vs. Repointing
I see it every week: a well-meaning homeowner hires a handyman for tuck pointing services and ends up destroying their 100-year-old home. There is a massive difference between tuckpointing (a decorative technique to make joints look narrower) and full repointing services (the structural removal and replacement of mortar). Most ‘pros’ today want to use high-strength Portland cement on everything. That is a death sentence for old, soft bricks. In the world of restoration, the mortar must be the ‘sacrificial’ element. It must be softer than the brick. If the mortar is harder than the brick, the brick will be the one to crack during thermal expansion. This is why full repointing services for historic homes must utilize Type O or Type K lime mortars, which have high ‘suction’ and allow the building to breathe. If a crew shows up with a bag of Type S cement for a pre-1940s home, kick them off the property before they touch a single joint. They don’t understand the ‘tooth’ required for a long-term bond.
Advanced Material Science: Adhesives and Waterproofing
We’ve come a long way from just mixing sand and lime. In modern modular masonry construction, we see a lot of advanced masonry adhesives being used to bond stone coping and caps. These aren’t your hardware store glues. We are talking about polyurethane-based polymers that maintain flexibility under extreme UV exposure. When we perform stone coping installation on a parapet wall, the ‘drip edge’ is the most critical detail. Without it, water rolls back under the stone and into the wall core. To combat this, we apply masonry waterproofing solutions, specifically silanes and siloxanes. These aren’t coatings; they are penetrants that change the surface tension of the masonry at a molecular level. Water beads off, but vapor can still escape. If a contractor offers to ‘paint’ your brick with a waterproof membrane, they are effectively plastic-wrapping your house, which will lead to mold and rot within three seasons.
“Mortar should be weaker than the masonry units it binds to ensure that stress is relieved through the joints rather than the units themselves.” – ASTM C270 Standard Specification
The Fine Art of the Fountain and the Lift
Not every emergency is a collapsing wall. Sometimes it’s a piece of history, like an outdoor masonry fountain restoration. Fountains are brutal environments for masonry. They are constantly saturated, leading to efflorescence—that white, salty crust you see on stone. This happens when water dissolves internal salts and carries them to the surface. Restoration requires a deep understanding of osmotic pressure. We often use self-leveling masonry lifts to ensure the basin is perfectly plumb before we begin the ‘buttering’ of the new stones. If the base is off by even an eighth of an inch, the water flow will be uneven, and the freeze-thaw damage will accelerate in the ‘splash zone.’ Whether it’s a stone coping installation on a modern pool or restoring a 19th-century fountain, the physics of water management remain the same. You need a crew that treats ‘mud’ like a chemical compound, not just grey goo.
How to Vet an Emergency Crew Fast
When the wall is bowing or the chimney is leaning, you’re in a rush, but don’t be a mark. A real mason will have a ‘hawk’ and a ‘slicker’ that look like they’ve seen war. Ask them about the ‘initial rate of absorption’ (IRA) of your brick. If they look at you like you’re speaking Greek, keep looking. They should be able to explain why they chose a specific mortar type based on the hardness of your masonry units. Check for ‘honeycombing’ in their previous concrete work—it’s a sign of poor vibration and weak structural integrity. Look for ‘cold joints’ in their pours, which are failure points waiting to happen. A reliable crew will also talk about ‘control joints’ in long runs of wall to prevent the vertical cracking caused by thermal expansion in the sun. If they don’t mention drainage, they aren’t fixing the problem; they’re just hiding it. Real masonry is about the invisible details—the wall ties, the flashing, and the weep holes. That is where the battle against gravity and time is won or lost.