
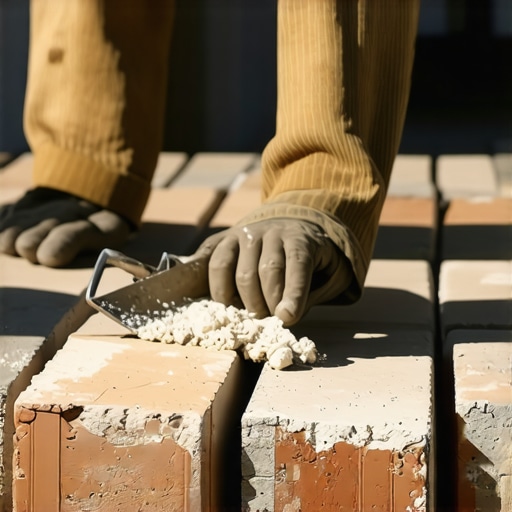
When I was twelve years old, an old Italian mason named Enzo handed me a trowel and a bucket of lime putty that had been slaking for three years. He told me that a building breathes just like a man, and if you choke it with the wrong mud, it’ll die. He pointed to a brownstone where a previous contractor had used a high-strength Portland cement to fix a few cracks. The face of the stone was popping off in sheets, a slow-motion explosion of the facade. Enzo spat on the ground and said, ‘The mortar must be the servant, never the master of the stone.’ That lesson in historic masonry preservation has stayed with me through every inspection and every repair for the last forty years. If you don’t respect the physics of the wall, the wall will eventually fall on you.
The Physics of the Sacrificial Joint
In the world of historic masonry preservation, we operate on the sacrificial principle. The mortar is designed to be the weakest part of the wall. Why? Because it is much cheaper and easier to repoint a joint than it is to replace a hand-fired, 19th-century brick. When moisture enters a masonry system—and it always does—it needs a way out. In an old wall built with lime mortar, the moisture travels through the porous mortar joints and evaporates. If you introduce a modern, dense, Type S mortar, you create a dam. The water gets trapped behind that hard cement, and when the temperature drops, that water expands by 9%. That expansion pressure has nowhere to go but out through the face of the brick, causing what we call spalling. This is why brick quoin repair on a historic corner often requires a custom-mixed lime mortar that matches the original modulus of elasticity.
“The use of high-strength mortars in historic masonry often leads to the accelerated deterioration of the units themselves, as the mortar is less permeable and more rigid than the surrounding materials.” – BIA Technical Note 7
The Chemistry of the ‘Mud’
Understanding the difference between the hydraulic set of modern Portland and the carbonation of lime is where the forensic side of this job gets interesting. Modern cement is a chemical reaction; it sets fast and hard. Lime mortar, specifically non-hydraulic lime, sets through carbonation—it literally absorbs CO2 from the air to turn back into stone over months or even years. This process allows for ‘autogenous healing.’ If the building moves slightly, micro-cracks form in the lime mortar. When rainwater hits those cracks, it dissolves some of the free lime and redeposits it into the crack, effectively healing itself. You don’t get that with a brick veneer detachment repair using modern adhesives. When those modern ties fail, you’re looking at structural brick ties replacement to keep the skin on the skeleton. If the foundation is shifting, you might even be looking at foundation underpinning before you even touch a trowel to the joints. You can’t butter a brick on a sinking ship and expect it to stay level.
The Anatomy of Chimney Failure
Chimneys are the most abused masonry elements on any structure. They are attacked by rain from the outside and acidic condensation from the inside. When I perform a chimney flashing repair, I’m looking at the whole system. If the chimney interior parging is failing, flue gases are eating the mortar from the inside out. I’ve seen soldier course bricks at the top of a stack that were held together by nothing but habit and soot. This is where chimney cap replacement becomes a non-negotiable. Without a proper overhang and drip edge, water runs down the face of the brick, saturating the joints and leading to honeycombing in the mortar. On high-end restorations, we are even seeing 3D printed masonry repairs used to recreate complex ornamental chimney pots, but even those must be integrated with traditional flashing and mortar techniques to survive the freeze-thaw cycle.
The Ground Game: Drainage and Retaining Walls
I’ve walked onto too many forensic scenes where a massive stone wall is leaning at a 15-degree angle. The homeowner usually thinks the wall is just ‘tired.’ The truth is hydrostatic pressure. Water is heavy—about 62.4 pounds per cubic foot. If you don’t have a retaining wall drainage upgrade in place, that water builds up behind the wall until the pressure exceeds the weight of the stone. I’ve seen walls built with the most beautiful hawk-and-trowel finish crumble because the weep holes were clogged or nonexistent.
“Masonry should be designed to resist the penetration of water, but it must also be designed to drain any water that does penetrate.” – Vitruvius, De Architectura
Execution: The Art of the Strike
When it comes time to actually do the work, you need to prep the joint properly. No ‘lick-and-stick’ shortcuts. You rake out the old, crumbling mud to a depth of at least twice the width of the joint. You don’t use a high-speed grinder that leaves ugly scars on the brick; you use a pneumatic chisel or a hand tool. You wash the dust out because dust is a bond-breaker. Then you dampen the brick. If the brick is too dry, it will suck the moisture out of your new mortar before it can hydrate, a phenomenon called ‘flash setting’ that leaves you with a brittle, sandy mess. You pack the mud in layers, or ‘lifts,’ and you use a slicker to compress the joint. That compression is key—it forces the aggregate together and creates a ‘tooth’ that grips the brick. Whether you’re doing a simple chimney flashing repair or a massive historic masonry preservation project, the physics remain the same. Do it once, do it right, or the building will eventually tell your secrets to the sidewalk.