Stop Crumbling Mortar with These 3 Repointing Fixes in 2026
The Autopsy of a Failing Wall
I remember a job in a damp corner of the city where the owner complained about a few dusty piles of sand on the sidewalk. To the untrained eye, it was just age. To me, it was a forensic scene. I took my masonry hammer and tapped a single brick; it sounded like a wet sponge rather than a crisp chime. When I pulled a sample from the core, the interior structural wythe was literally turning back into mud. The previous contractor had used a high-strength Portland cement on a 19th-century soft-fired clay brick. By making the joint harder than the masonry unit, he trapped the moisture, and the freeze-thaw cycles simply shredded the brick from the inside out. This is the reality of crumbling mortar joint repair—if you don’t understand the chemistry, you’re just burying the problem in a shallow grave.
The Sacrificial Lamb: Understanding Mortar Physics
In the world of tuckpointing and restoration, the mortar is the sacrificial lamb. It is designed to be the weakest link in the wall. Why? Because it is easier to replace mortar than it is to replace a structural brick. When moisture enters a wall, it needs a path to escape. In a proper system, the moisture migrates to the mortar and evaporates, leaving the salts—the efflorescence—in the joint. If you use a modern, impermeable mix, you block that exit. The water stays in the brick, freezes, expands by 9%, and pops the face of the brick right off. This is why high-performance mortar mixes in 2026 aren’t necessarily the strongest ones; they are the ones with the highest vapor permeability and the right ‘modulus of elasticity.’
“Water penetration is the single greatest threat to masonry durability. The mortar must be more permeable and softer than the masonry units to ensure longevity.” – BIA Technical Note 7
Fix #1: The Material Match (Beyond the Home Center Bag)
The first fix for cracked brick wall repair is ending the obsession with strength. For any building pre-1940, you shouldn’t be looking at Type S or even Type N mortar from a big-box store. You need a lime-heavy mix, often a Type O or a custom-blended lime putty. These mixes have ‘self-healing’ properties. When a micro-crack forms due to thermal expansion, water reacts with the free lime in the mortar to form new crystals, effectively ‘knitting’ the crack back together. This is the ‘tooth’ that keeps a wall standing for centuries rather than decades. For concrete masonry unit restoration, the logic shifts slightly toward chemical adhesion, but the principle of compatibility remains king.
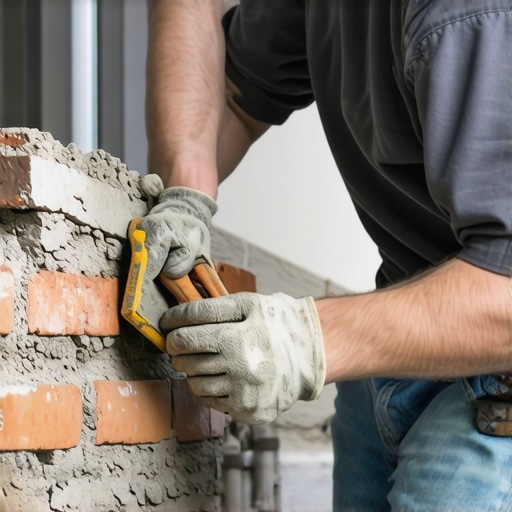
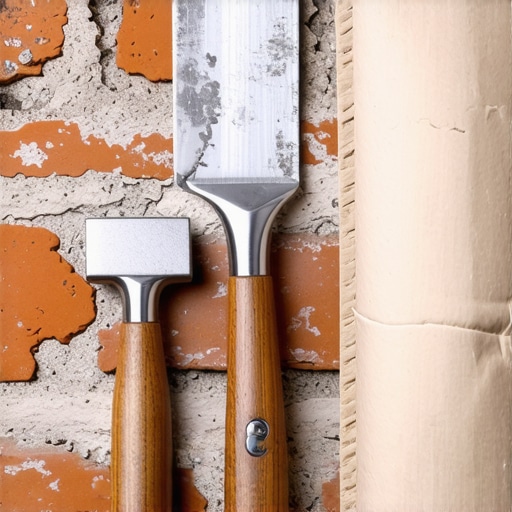
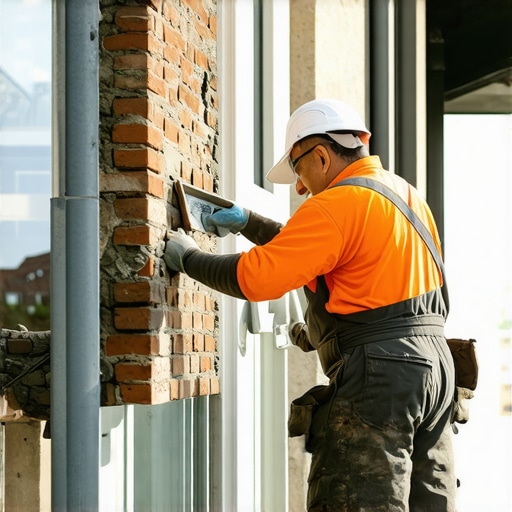
Fix #2: Precision Extraction and the ‘Tooth’ of the Joint
You can’t just slap new ‘mud’ over the old. That’s a ‘lick-and-stick’ job that will fail within two seasons. Proper commercial tuckpointing requires grinding or chiseling out the old, degraded material to a depth of at least twice the width of the joint, or until you hit sound mortar. I prefer a hand chisel for historic work to avoid ‘over-cutting’ the horizontal beds into the vertical head joints. Once the joint is cleaned, you need to check the ‘suction’ of the brick. If you’re working with dry, thirsty clay, you have to pre-wet the wall. If the brick sucks the water out of your mortar too fast, it ‘burns’ the mix, leaving you with a brittle, dusty mess that never achieves a true bond. You want that mortar to ‘butter’ onto the brick and stay hydrated long enough to cure.
Fix #3: Solving the Chimney and Flue Crisis
The most violent failures happen at the highest point of the house. Chimney leak detection often reveals that the chimney flue liner installation was botched or is non-existent. Without a proper liner, acidic flue gases mix with condensation to create a sulfuric acid cocktail that eats mortar from the inside out. If you see white staining on your chimney, your house is literally crying. 2026 fixes involve mortarless masonry systems for certain decorative elements or, more commonly, high-heat refractory mortars that can handle the thermal shock. Brick veneer detachment repair is another beast; often, it’s not the mortar that failed, but the rusted-out wall ties behind it. In these cases, we use helical ties to stitch the facade back to the frame without tearing the whole house down.
“The choice of mortar should be based on the strength of the masonry unit, the exposure of the wall, and the historical context of the structure.” – ASTM C270 Standard Specification for Mortar
The Gritty Truth About 2026 Restoration
Whether you’re dealing with commercial tuckpointing on a warehouse or a cracked brick wall repair on a bungalow, the enemy is always the same: ignorance of physics. Modern ‘quick-fixes’ like elastomeric paints or hard epoxy injections often do more harm than good by sealing in the damp. A master mason doesn’t just fill a gap; they restore the breathing rhythm of the building. We use the ‘slicker’ to pack the mud tight, ensuring no air pockets remain to host water. We watch the weather, avoiding the ‘flash set’ of a 90-degree afternoon or the ‘freeze-burst’ of a November night. Do it right once, or you’ll be paying me to fix it twice. This isn’t just about aesthetics; it’s about structural forensic reality. When the mortar crumbles, the history of the building goes with it. Keep your joints tight, your lime high, and your ‘mud’ wet.
[image_placeholder_1]

Reading this post really sheds light on the importance of understanding the chemistry behind mortar selection, especially for historic restorations. I once worked on a vintage brick building where the previous repairs had used a cement that was far too strong, trapping moisture and causing internal damage. The idea of lime-heavy, self-healing mortar mixes sounds promising, but I wonder how easy it is for DIY restorers to find or prepare such materials effectively. Has anyone here experimented with custom-blended lime mortars? Also, what are some signs that indicate the mortar is ‘breathing’ properly after repair? These insights could really help in avoiding common pitfalls like using incompatible mortar, which often leads to more damage over time. Managing moisture and applying the correct mortar seem to be the backbone of durable masonry repair, especially with the complexity of historic structures. It makes me think, how do different climates globally influence mortar choices, particularly in humid versus dry environments? Would love to hear more from seasoned masons about adapting these techniques to various conditions.