3 Essential 2026 Tuckpointing Tools for Clean DIY Joints
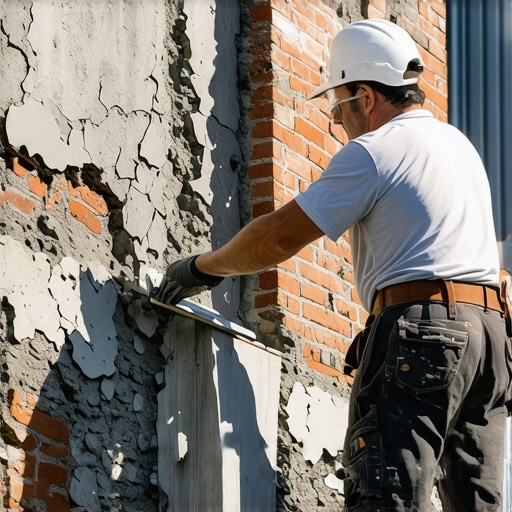
The Anatomy of a Failing Joint: Why Most DIY Efforts Fail Before the Mud Hits the Wall
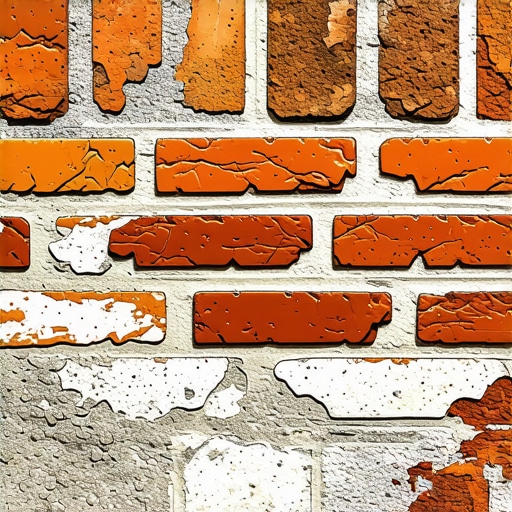
I’ve spent three decades in the trenches, literally and figuratively, scraping away the sins of cut-rate contractors. Most homeowners walk up to a wall and see a crack. I walk up and see a forensic scene. My uncle, a man who could tell the moisture content of a brick by licking it—not that I recommend it—taught me the first rule of masonry: the wall has a pulse. He used to say, ‘The mortar is the lungs of the house. If you plug it up with hard cement, you’re suffocating the building.’ He’d make me strike a joint a hundred times until the suction felt ‘right’ against the steel. If that joint didn’t have the proper ‘tooth,’ he’d have me rake it out and start over. That gritty, calloused approach to historic mortar analysis is what’s missing in today’s world of quick-fix patches and stone veneer repair. Most people today reach for a tube of caulk or a bag of high-strength Portland cement, thinking ‘harder is better.’ They couldn’t be more wrong. In the world of brick spalling prevention, the mortar must be the sacrificial lamb. It must be softer than the brick itself so that when the earth moves or the water freezes, the mortar gives way, not the priceless clay units.
“Water penetration is the single greatest threat to masonry durability. Proper repointing requires understanding the compatibility between the existing masonry units and the new mortar.” – BIA Technical Note 7
In 2026, the DIY landscape has shifted. We are seeing a return to ‘slow masonry,’ where the tools are designed to respect the physics of the structure rather than just blast through it. Whether you’re tackling chimney repair services or a stone balustrade restoration, the goal isn’t just aesthetic; it’s a matter of structural survival. If you live in the North, you’re fighting the freeze-thaw cycle—a brutal reality where trapped water expands by 9%, blowing the faces off your bricks like a slow-motion explosion. In the South, you’re battling thermal expansion that can shear a wall right off its footer. To do this right, you need more than a bucket and a trowel; you need a forensic toolkit.
Tool 1: The Dust-Extracting Oscillating Saw with Diamond-Inlay Blades
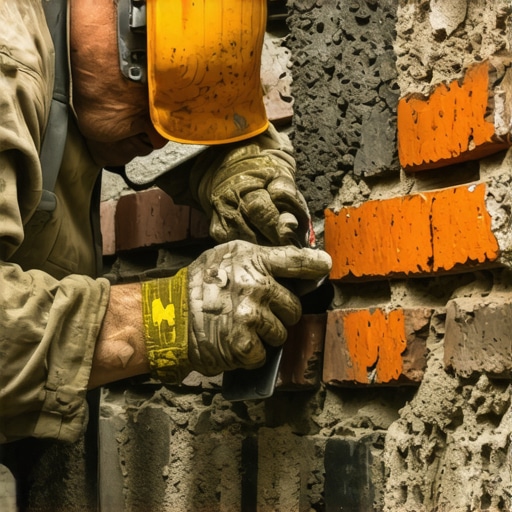
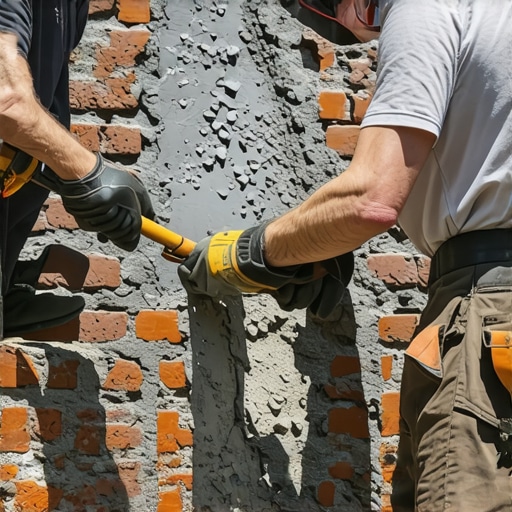
Forget the angle grinder. If I see a DIYer attacking a 1920s bungalow with a 4-inch grinder, I know that wall is doomed. Grinders are clumsy; they over-cut the vertical joints (the head joints) and chew into the brick. Once you nick that fired skin of the brick, you’ve opened a portal for moisture that no concrete patch can ever truly seal. The 2026 standard is the high-torque oscillating saw. These tools move at micro-oscillations, allowing you to ‘vibrate’ the old, failing mortar out without traumatizing the surrounding masonry. You want a blade with a vacuum shroud attachment. Why? Because silica dust isn’t just a health hazard; it’s a mess that gets into the ‘tooth’ of the brick and prevents the new mud from forming a mechanical bond. When you use a vacuum-shrouded oscillating tool, you’re leaving a clean, porous surface ready for buttering. This is the difference between a joint that lasts fifty years and one that falls out after the first frost. We call this ‘raking the joint,’ and in historic mortar analysis, the depth of this rake is critical—typically twice the width of the joint.
Tool 2: The Calibrated Mortar Injection Gun (The Modern ‘Hawk and Trowel’ Hybrid)
Old-school purists will tell you that a hawk and a slicker are all you need. And for a master, that’s true. But for someone looking for clean DIY joints in a brick patio restoration or a failing retaining wall repair, the calibrated mortar gun is a game-changer. This isn’t your grandfather’s grout bag. The 2026 models feature interchangeable nozzles that match the specific profile of your joint. The physics here is about compaction. When you ‘point’ a joint by hand, it’s easy to leave air pockets (honeycombing) deep in the cavity. These pockets are where water collects, freezes, and destroys your work. An injection gun allows you to fill the joint from the back to the front, ensuring total saturation. This is particularly vital for fire-rated masonry installation where any gap in the mortar could lead to a catastrophic failure under high heat. You’re looking for a ‘Type O’ or ‘Type N’ mortar mix that has been pre-hydrated—mixing it to the consistency of peanut butter and letting it sit for twenty minutes before use. This prevents ‘flash setting,’ where the brick sucks all the moisture out of the mortar too fast, leaving it brittle and chalky.
“The mortar should always be weaker than the masonry units to ensure that any stresses are relieved through the mortar rather than the brick.” – ASTM C270 Standards
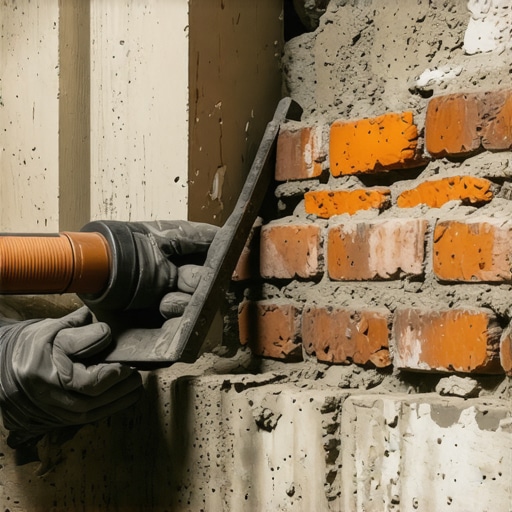
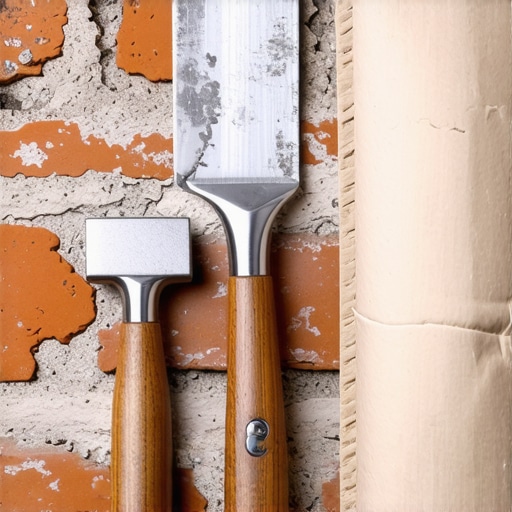
Tool 3: The Profile-Specific Joint Slicker (The Finishing Touch)
The final tool is the slicker, or jointer. In 2026, we’ve moved beyond the ‘one size fits all’ S-jointer. To achieve a professional finish, especially in stone balustrade restoration, you need a slicker that matches the historical profile of the building—be it a weathered joint, a grape-vine joint, or a flush joint. The slicker’s job is to compress the mortar face. This compaction creates a ‘skin’ that sheds water. If you leave the mortar ‘shaggy,’ you’re increasing the surface area for water absorption. This is where the ‘thumbprint test’ comes in. You don’t strike the joint as soon as the mud is in. You wait until it’s ‘thumbprint hard’—meaning you can leave an indentation without the mud sticking to your skin. If you strike it too wet, you pull the cement paste to the surface, which causes brick spalling later. If you strike it too dry, you won’t get that waterproof seal. It’s a delicate dance of chemistry and timing. For those high-up jobs, many now even use drone chimney inspections to check the profile of the joints before they even set up the scaffolding, ensuring the DIY repair matches the original architectural intent perfectly.
The Forensic Conclusion: Do It Once, or Do It Twice
Masonry is a game of patience and physics. Whether you are applying a concrete patch to a walkway or performing a complex stone veneer repair, the principles remain the same: respect the material, control the water, and use the right tools for the era of the building. Using a hard, modern mortar on an old, soft brick is a recipe for a structural autopsy in ten years. By utilizing precision oscillating tools, calibrated injection for full-depth compaction, and profile-specific slickers for the final seal, you aren’t just ‘fixing’ a wall—you’re preserving a legacy. Don’t be the guy I have to come in and clean up after. Lay your mud with intention, strike your joints with precision, and remember that in the world of masonry, the smallest gap is the biggest threat.