
The Ghost of Mortar Past: Why Your Restoration is Failing
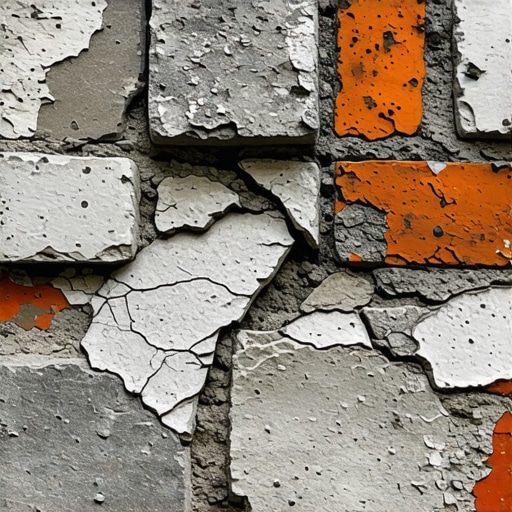
I recently walked onto a job site where a homeowner was nearly in tears. They had spent a small fortune on tuck pointing services for a 1910 Queen Anne, only to find the house looked like it had been smeared with gray chewing gum. The contractor, likely more used to modern concrete masonry unit restoration than historic clay, had used a high-strength Type S Portland cement. Within six months, the faces of the original bricks—bricks that had survived a century of storms—were popping off like scabs. This is the ‘death whistle’ of historic masonry. When you use a mortar that is harder than the brick, the moisture trapped inside the wall can’t escape through the joints. Instead, it builds up pressure behind the brick face until the unit spalls. My mentor, a man who had more limestone dust in his lungs than oxygen, always told me: ‘The mortar is the servant, the brick is the master. The servant must be willing to die to save the master.’
“Mortar should be weaker than the masonry units so that any cracks that occur will be in the mortar joints where they can be easily repaired.” – BIA Technical Note 2
The Forensic Analysis of Aggregate: It Is Not Just Sand
To match the texture of 100-year-old mortar, you have to look past the color and into the ‘tooth’ of the material. Modern ‘all-purpose’ sand is too uniform, too round, and frankly, too clean. Historic mortar was often mixed with local pit sand or river-washed aggregate that contained a chaotic variety of sizes, from fine silts to pebbles the size of a pea. This is where historic brick salvage experts and forensic masons differ from the weekend warriors. We perform a sieve analysis. We look for the ‘aggregate reveal.’ When you see that gritty, rugged texture on a 19th-century chimney, you aren’t looking at the binder; you’re looking at the stones. To replicate this, we often have to custom-blend sands, mixing a sharp masonry sand with a coarse torpedo sand to get that specific ‘void’ structure. If you are performing an outdoor masonry fountain restoration, this porosity is even more critical for managing the constant moisture migration.
The Chemical Marriage: Lime, Carbonation, and Breathability
Before the 1930s, mortar was primarily lime and sand. The physics of lime is a slow, beautiful dance. Unlike Portland cement, which sets through a chemical hydration process that finishes in 28 days, lime mortar cures through carbonation. It absorbs CO2 from the atmosphere and slowly turns back into limestone over decades. This creates a ‘self-healing’ property. When the building shifts—and every building shifts—the micro-cracks in lime mortar can actually reseal themselves when rainwater dissolves a bit of the free lime and redeposits it in the crack. If your wall is leaning due to soil movement, you might need foundation slab jacking before you even think about the aesthetic joints. But once the structure is stabilized, the ‘mud’ you put back into those joints must be breathable. Type O mortar or a straight Lime Putty mix is often the only way to ensure the wall doesn’t choke. If you’re dealing with a failing retaining wall repair, the same logic applies: drainage is king, but the binder must allow the wall to exhale.
“The strength of the masonry is not the strength of the mortar, but the integrity of the bond between the unit and the mud.” – ASTM C270 Standards
The Art of the Strike: Tooling the Joint for Age
Texture isn’t just in the mix; it’s in the ‘slicker.’ Modern masons love a nice, smooth concave joint because it’s fast and sheds water. But 100 years ago, we saw everything from weathered joints to the technical precision of masonry birdsmouth cuts and ‘beaded’ joints. To match an old texture, you can’t just ‘butter’ the brick and walk away. You have to wait for the mortar to be ‘thumb-print hard.’ If you strike it too wet, you pull the lime to the surface (smearing), creating a smooth, shiny film that looks fake. If you wait until it’s nearly dry and then hit it with a stiff natural bristle brush or a piece of carpet, you ‘expose’ the aggregate. This ‘stipple’ finish is what gives the wall its soul. For large-scale projects, using tuckpointing machine services can speed up the removal of the old, failing material, but the final ‘tuck’—the application of the colored ribbon—must be done by hand with a hawk and a small jointer tool to ensure the bond is absolute.
Protecting the Crown: Stone Coping and Water Management
You can have the most perfectly matched mortar in the world, but if your stone coping installation is failing at the top of the parapet, you are just throwing money into the wind. Water is the universal solvent. It enters at the top and works its way down through the core of the wall. In cold climates, that water expands by 9% when it freezes, creating internal ‘explosions’ that no mortar can withstand. This is why we pay so much attention to the ‘drip edge’ on coping stones and the integrity of modular retaining walls. Every detail, from the way a soldier course is pitched to the ‘suction’ of the brick when it first hits the mud, dictates whether the repair will last ten years or another hundred. Do not trust a man who doesn’t talk about the ‘suction’ of the brick. If the brick is too dry, it sucks the water out of your mortar too fast, ‘burning’ the joint and leaving it crumbly. We call that ‘dead mud,’ and it has no place on a historic facade.