
The Forensic Scene: When a Hairline Crack Hides a Structural Grave
The homeowner stood on the sidewalk, pointing at what she called ‘minor settling.’ From ten feet away, it looked like a standard maintenance job. But when I pulled my borescope and slid it into a 3/8-inch gap in the mortar, the reality was grim. The internal structural steel—the very bones of the facade—had been reduced to orange flakes and dust. Decades of water had bypassed the surface, trapped by a previous ‘handyman’ who used a non-breathable sealant over soft, lime-based bricks. This is the starting point for any real professional: understanding that structural masonry inspection isn’t about the surface; it’s about the chemistry of what’s happening two inches deep. If you ignore the physics of moisture migration, you aren’t fixing a building; you’re just burying it in a prettier casket.
The Physics of the Deep Joint: Why Softness is Strength
In the world of historic restoration, we live by a rule that modern contractors hate: the mortar must always be sacrificial. If you use a high-strength, modern Type S mortar on a pre-1940s building, you are signing a death warrant for the brick. High-performance mortar mixes for deep tuckpointing aren’t about ‘hardness’—they are about modulus of elasticity and vapor permeability. When the temperature drops and the freeze-thaw cycle begins, water trapped in the wall expands by 9%. If your mortar is harder than the brick, the brick face will blow off (spalling). We call this ‘the zipper effect,’ and once it starts, your facade is toast.
“Water penetration is the single greatest threat to masonry durability. Moisture can cause efflorescence, spalling, and corrosion of embedded metals.” – BIA Technical Note 7
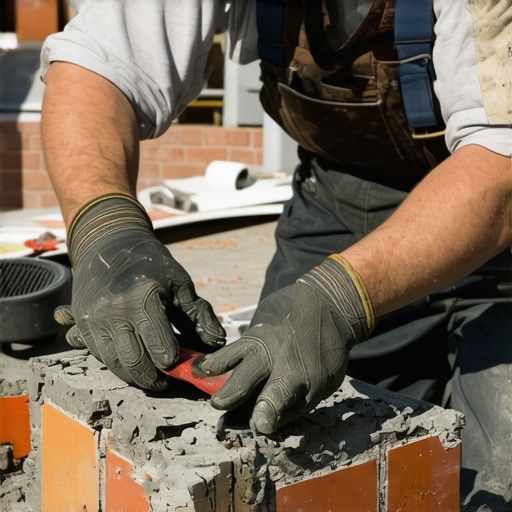
Deep tuckpointing requires raking out the joint to a depth of at least 1 inch, sometimes 1.5 inches if the mortar has turned to sand. This creates a massive cavity that must be filled in ‘lifts.’ If you ‘butter’ the whole joint in one go, you’ll get honeycombing and internal shrinkage cracks that suck in water like a straw. You pack the ‘mud’ (mortar) onto the hawk, use a slim slicker tool to drive it home in stages, and ensure the suction of the brick doesn’t pull the hydration water out of the mix too fast. If it ‘burns,’ it crumbles.
The Chemistry of Weatherproofing: Silanes vs. Siloxanes
Once the deep tuckpointing is cured, the question of tuckpointing weatherproofing arises. Most people go to a big-box store and buy ‘sealer.’ That’s a mistake. You don’t want a film-forming sealer; you want a penetrating water repellent. We’re looking at the molecular level here. A proper silane/siloxane blend doesn’t ‘coat’ the brick—it lines the pores. It changes the surface tension of the masonry so that liquid water beads off, but water vapor (which is a smaller molecule) can still escape. This is ‘breathability.’ If you seal that moisture in, especially in northern climates where the freeze-thaw cycle is a daily occurrence, you will destroy the bond of your new tuckpointing within three seasons.
For those looking for a specific aesthetic, such as metallic brick colors application, the weatherproofing must be compatible with the pigments. Metallic oxides react differently to siloxanes than standard clay. You have to ensure that the breathable barrier won’t cause the metallic finish to mottle or flake. It’s a delicate balance between chemistry and art, and it’s why a tuckpointing cost estimation that seems too low usually means the contractor is skipping the material science and just throwing ‘mud’ at the wall.
Stone Coping and the Roofline Defense
You can have the best tuckpointing in the world, but if your stone coping installation is faulty, the wall will fail from the top down. The coping stone is the ‘umbrella’ of the masonry wall. Every joint in the stone coping must be raked and filled with a high-performance sealant or lead T-caps. Without this, water enters the top of the cavity, bypasses your new tuckpointing, and begins the process of foundation wall bowing repair from the inside out. I’ve seen modular retaining walls collapse because the installer didn’t understand hydrostatic pressure. The same applies to your home’s facade. Water doesn’t just sit; it exerts force. If it’s trapped behind your tuckpointing, it will push the bricks right out of the wall.
“Mortar joints shall be full and shall be raked to a depth of 1/2 inch to 3/4 inch to provide a mechanical bond for the pointing mortar.” – ASTM C270 Standards for Unit Masonry
Emergency Repairs and Forensic Realities
When I’m called for an emergency masonry repair, it’s usually because a ‘cold joint’ has failed or a lintel has rusted through. A cold joint happens when a mason stops for the day and doesn’t properly prep the surface before starting the next morning. It creates a microscopic seam where water enters. In a forensic inspection, we look for these ‘day-work’ lines. We also look for facade cleaning damage. If someone used high-pressure acid wash on old brick, they’ve stripped the ‘fire-skin’ (the hard outer layer), leaving the soft interior exposed. In these cases, deep tuckpointing and high-grade weatherproofing are the only things standing between the building and a total structural failure.
How to Weatherproof Deep Tuckpointing
1. Surface Preparation and Cleaning
Perform a thorough facade cleaning to remove carbon crust and efflorescence. Use low-pressure water and non-acidic detergents to avoid damaging the brick skin.
2. Deep Joint Raking
Rake out failing mortar to a depth of 1 to 1.5 inches. Ensure the ‘back’ of the joint is clean and square to provide a solid base for the new mud.
3. Incremental Layering (Lifts)
Apply high-performance mortar mixes in 1/4-inch lifts. Allow each layer to reach ‘thumbprint hardness’ before applying the next to prevent shrinkage cracks.
4. Final Tooling and Curing
Strike the joint with a slicker tool once it is slightly firm. Mist the wall with water over the next 72 hours to ensure a slow, strong hydration process.
5. Penetrating Weatherproofing Application
Apply a silane/siloxane-based repellent once the mortar has cured for 28 days. Use a low-pressure sprayer to saturate the masonry until it cannot absorb more liquid.
Doing it once costs a lot. Doing it twice costs a fortune. In this trade, there are no shortcuts—only delayed consequences. If you want a wall that lasts another hundred years, you respect the suction of the brick, you mix your mud right, and you never, ever seal a wall that needs to breathe.