3 Post-Disaster Masonry Rescue Steps for Your 2026 Home
The Forensic Scene: When ‘Cosmetic’ Becomes Catastrophic
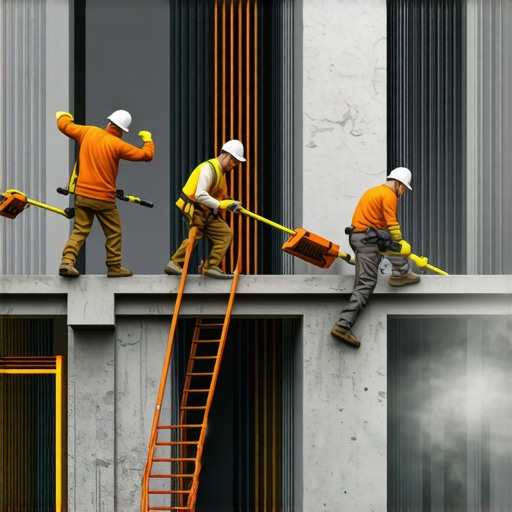
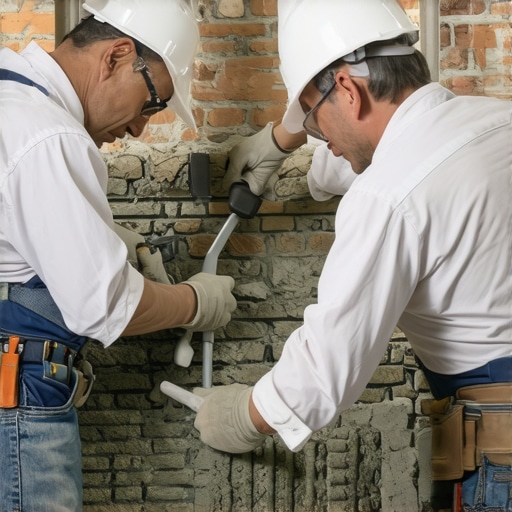
I remember a call-out in early 2026, just after the winter floods. The homeowner pointed at a thin, diagonal hairline crack traversing a soldier course above his garage. He thought it was just a settling issue, something a bit of caulk could fix. But when I slid my fiber-optic scope into a weep hole, the truth was grimmer: the structural masonry inspection revealed that every single internal wall tie had oxidized into a pile of rust flakes. The entire brick veneer was standing purely by gravity, uncoupled from the framing. If a heavy wind hit that facade, it would have peeled off like dry skin. This is the reality of masonry in a post-disaster climate. You aren’t just looking for cracks; you are looking for the ghosts of structural integrity. [IMAGE_PLACEHOLDER]
Step 1: Structural Masonry Inspection and Foundation Underpinning
Before you even think about the aesthetics of an outdoor kitchen masonry build or a fresh patio, you have to address the bones. In the wake of massive saturation—the kind we saw in the 2025 storms—the soil beneath your home doesn’t just get wet; it undergoes a phase shift. When expansive clay soils ingest water, they exert hydrostatic pressure that can crack a standard footer like a dry twig. If you see horizontal cracks in the basement or a cold joint that has begun to weep, you are looking at potential foundation failure. This is where foundation underpinning becomes the only salvation. We don’t just pour more concrete; we drive helical piers down into the load-bearing strata, effectively bypassing the unstable surface soil. To understand the gravity of water, consider this:
“The most common cause of masonry failure is the presence of moisture within the wall system or the foundation soil.” – BIA Technical Note 7
During an inspection, I look for honeycombing in the concrete, which suggests the original pour was poorly vibrated, leaving air pockets that water will inevitably find. If the foundation underpinning isn’t done with precision, any tuckpointing cost estimation you receive later is just money thrown into a hole. We are talking about the physics of load transfer. When you underpin, you are mechanically shifting the weight of your home from the failing top-soil to the bedrock, ensuring that the 2026 freeze-thaw cycle doesn’t cause more spalled concrete steps repair needs later.
Step 2: Structural Brick Ties Replacement and Wall Stabilization
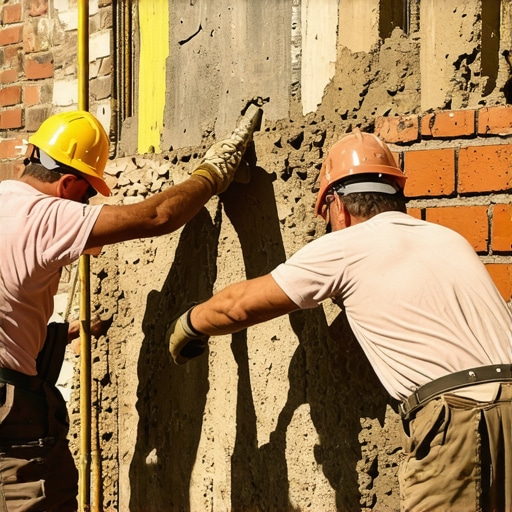
After a flood or severe seismic shift, the internal ‘skeleton’ of a brick wall is often the first thing to fail. Those little corrugated metal strips—brick ties—are what keep your brick skin attached to your house. In older homes, these were often non-galvanized or poorly installed. Once they encounter moisture from a leaking roof or a flooded crawlspace, they start a process called galvanic corrosion. This isn’t just rust; it’s a chemical conversion that expands the metal, often pushing the bricks outward and creating that tell-tale ‘belly’ in the wall. A structural brick ties replacement involves drilling into the mortar joints and installing stainless steel helical anchors that grip the backup material—whether it’s wood, CMU, or concrete. This is a surgical process. We use advanced masonry adhesives that cure in the presence of moisture to ensure a permanent bond. While we are in there, we often find that the mortar has lost its ‘tooth.’ If you are dealing with commercial tuckpointing or even residential restoration, you have to match the mortar’s compressive strength to the brick. If I use a modern Portland-heavy ‘mud’ on a soft, historic brick, the brick will be the one that breaks during the next thermal expansion. It’s the ‘sacrificial’ principle of masonry: the mortar must always be the weakest link so it can be replaced without destroying the stone.
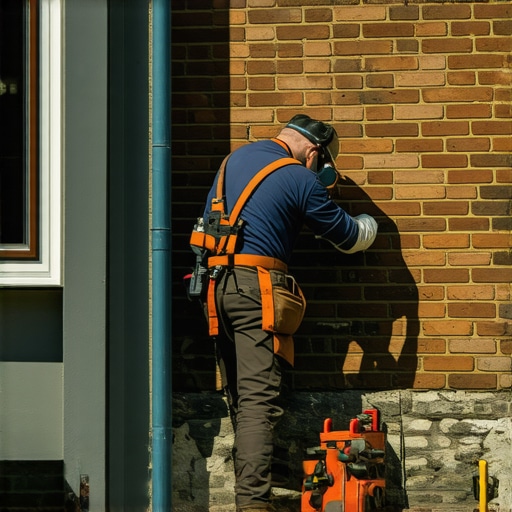
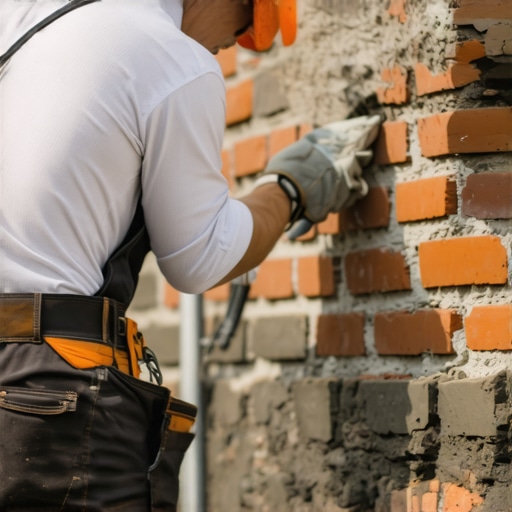
Step 3: Restoring the Envelope: Tuckpointing and Spalling Repair
The final rescue step is the most visible: repairing the surface damage. Spalled concrete steps repair is more than just a patch job. When water enters concrete and freezes, it expands by 9%. This internal pressure exceeds the tensile strength of the concrete, popping the face off. To fix this, you have to chip back to the sound aggregate, treat the rebar to prevent further oxidation, and apply a high-performance repair mortar. For the brickwork, tuckpointing curved walls or standard facades requires a steady hand and a slicker. You aren’t just ‘buttering’ the joints; you are packing the ‘mud’ in with a hawk and trowel to ensure there are no voids. Voids are where water lives, and water is the enemy.
“Water is the most destructive element of all; it flows through the smallest openings and, once inside, consumes the very heart of the structure.” – Vitruvius, De Architectura
Don’t let a handyman talk you into ‘waterproofing’ sealants after a retaining wall weep hole cleaning. Masonry needs to breathe. If you seal the exterior, you trap the interior moisture, which will lead to more spalling when the sun hits the wall and creates vapor pressure. Tuckpointing cost estimation usually reflects the labor-intensive nature of grinding out the old joints to a depth of at least 3/4 of an inch. Anything less is just a ‘smear job’ that will peel off in two seasons. Whether you are dealing with commercial tuckpointing on a high-rise or a small outdoor kitchen masonry build, the physics of the bond remain the same: clean, damp, and well-packed joints are the only way to survive the 2026 climate reality.