
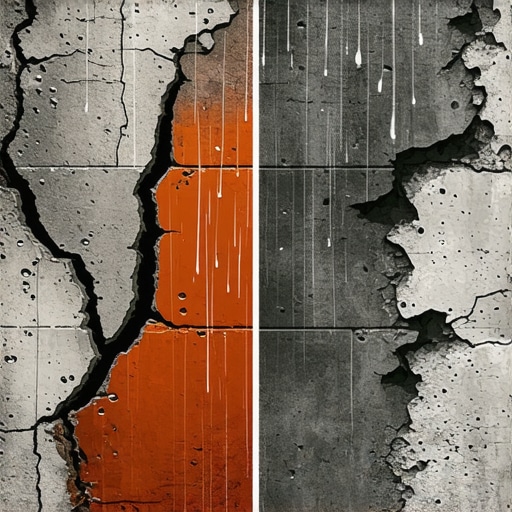
The Forensic Scene: A Wall Dying from the Inside
I remember a call I got last November. The homeowner thought it was just a hairline crack running through a soldier course near the foundation. But when I put my scope inside that cavity, I saw a nightmare. The structural steel lintels were rusted to orange dust, and the back side of the brick was turning into a mushy, delaminated paste. It wasn’t a foundation issue; it was a chemistry issue. The rain had been hitting that wall for twenty years, and the ‘standard’ mortar used in a previous cracked brick wall repair was literally suffocating the building. This is the reality of forensic masonry: most failures aren’t caused by the weather alone, but by the arrogant assumption that one bag of pre-mixed mud fits every wall.
“Water penetration is the single greatest threat to masonry durability. The selection of mortar must prioritize compatibility with the masonry unit’s absorption characteristics.” – BIA Technical Note 7
The Physics of the Pore: Why Modern ‘Mud’ Fails
When you walk into a big-box store and grab a bag of Type S mortar, you’re buying a high-strength Portland cement product. In a lab, it’s impressive. In a heavy rain environment, it’s often a weapon of mass destruction. You see, masonry is a living, breathing system. Bricks are essentially sponges with a network of microscopic capillaries. When heavy rain hits, the wall absorbs water. In a healthy system, that water needs to escape through the mortar joints—not the brick faces. This is the ‘sacrificial’ principle of masonry. The mortar should be softer and more vapor-permeable than the brick itself.
Standard modern mortars are dense and brittle. They create a ‘cold joint’ where the bond fails to penetrate the ‘tooth’ of the stone or brick. When the sky opens up and saturates the facade, the water gets trapped behind that hard Portland shell. If you’re in a climate where it drops below forty degrees, that trapped water expands by 9% as it freezes. Because the mortar is too hard to give, the pressure is directed outward, blowing the face off your historic brick. This is called spalling, and it’s the first step toward a total structural collapse. This is why sustainable tuckpointing mortars, often rich in lime and low in Portland, are the only choice for anyone who actually gives a damn about longevity.
The Chemistry of Hydration vs. Carbonation
To understand why your masonry repair services might be failing, we have to talk about how mud gets hard. Modern concrete and high-Portland mortars rely on a chemical hydration process. It’s fast, it’s hot, and it’s final. But historic lime-based mortars—the stuff that’s kept cathedrals standing for eight hundred years—rely on carbonation. They absorb CO2 from the air over decades, slowly turning back into limestone. This creates a flexible, self-healing matrix. If a micro-crack forms, the lime can actually dissolve and re-precipitate into the crack. Try getting a bag of $7 concrete patch to do that. It won’t. It’ll just shrink, pull away from the edges, and create a funnel for more rain to get in.
“The mortar should always be weaker than the masonry units so that any stress-induced cracking occurs in the joints, where it can be easily repaired, rather than in the units themselves.” – ASTM C270 Standard Specification for Mortar
The Chimney Crisis: Where the Rain Hits Hardest
If the wall is the body, the chimney is the lightning rod for water damage. Most chimney rebuild services I see are busy fixing the same mistakes made five years prior. The issue usually starts at the top. A cracked or missing crown allows water to pour down the center of the flue. Without a proper chimney cap replacement, you’re essentially inviting a garden hose into your living room wall. When that water meets a standard mortar joint inside the dark, damp interior of a chimney, it never dries. It sits there, dissolving the binders in the mortar until the whole stack becomes a pile of loose ‘soldiers’ waiting to fall. We use concrete pump masonry mixes for the structural cores of some modern builds, but for the exterior skin, you need a mix that can handle the thermal expansion of a hot flue and the lashing of a cold storm without cracking.
Masonry Waterproofing Solutions: Don’t Seal the Exit
Here is where most ‘handyman specials’ go off the rails. They see a leak and decide to ‘seal’ the brick with a hardware-store silicone spray. They think they’re helping. They’re actually signing the wall’s death warrant. By sealing the surface, you’ve blocked the pores. The water that enters through the roof, the windows, or the ground is now trapped. It will find the path of least resistance, which is usually the interior drywall or the structural timber. True masonry waterproofing solutions involve silanes or siloxanes that are vapor-permeable. They keep the liquid droplets out while letting the vapor molecules escape. It’s the difference between wearing a plastic bag and wearing Gore-Tex.
The Art of the Repair: Striking the Joint
When we perform masonry repair services, we don’t just ‘butter’ the brick and call it a day. We grind out the old, failing mud to a depth of at least twice the width of the joint. We use a hawk and a slicker to pack the new, breathable mud in layers. If you ‘flash set’ the mortar—letting it dry too fast in the sun—it’ll crumble like a dry biscuit. You have to keep it damp, letting the hydration happen slowly so the bond has time to find the ‘tooth’ of the masonry. For those dealing with mismatched colors, masonry staining is a forensic tool we use to blend the new repairs with historic brick salvage, ensuring the patch doesn’t look like a sore thumb on a beautiful old face.
How to Diagnose and Repair Mortar Failure
1. The Scratch Test: Take a screwdriver and drag it across the mortar. If it carves a deep groove or falls out like sand, the binder has failed due to water saturation.
2. The Void Search: Look for ‘honeycombing’—areas where the mortar didn’t consolidate, leaving air pockets that act as reservoirs for rain.
3. Material Match: If the building is pre-1940, skip the Portland. Use a Type O or a pure Lime Putty mortar to ensure the brick doesn’t spall.
4. Joint Preparation: Clean the joints with low-pressure water. You need ‘suction’ but not a dry brick that will steal the moisture from your new mud.
5. Striking: Once the mud is thumbprint hard, use a jointer tool to compress the face. This compaction is your first line of defense against the next heavy rain.