
The Chemical Warfare Hidden in Your Walls
I recently walked past a 1910 brownstone where a ‘contractor’ was slap-dashing modern Type S mortar into joints that had breathed easy for a century. It made my skin crawl. To the untrained eye, it looks clean. To a third-generation mason, it looks like a death sentence. My father used to say that the mortar is the servant, never the master. He’d take a crumbling chunk of 100-year-old lime, crush it in his palm, and smell it. ‘If you choke a soft brick with hard mud,’ he’d warn, ‘the brick will commit suicide just to get away from it.’ This isn’t just aesthetics; it’s high-stakes chemistry and structural physics. When we talk about historic mortar analysis, we aren’t just matching a color; we are preventing a slow-motion explosion caused by incompatible compressive strengths.
“Mortar should always be weaker than the masonry units it binds, acting as a sacrificial element that accommodates movement and moisture.” – BIA Technical Note 2
The Physics of the Sacrifice
In the world of foundation restoration and historic tuckpointing, we live by the sacrificial principle. Old-growth bricks—those fired in wood or coal kilns before the 1940s—are porous, soft, and remarkably resilient if treated right. They expand and contract with the seasons. Historic lime-based mortars are flexible; they allow for this movement and, more importantly, they are vapor-permeable. They let the wall breathe. When a modern ‘mason’ uses Portland-heavy mixes, they create a wall that is too rigid. When the temperature swings, the brick wants to move, but the mortar won’t budge. The result? The face of your historic brick pops off in a process called spalling. You’ve traded a $500 repointing job for a $50,000 facade failure.
Micro-Zooming into the Matrix: How We Analyze
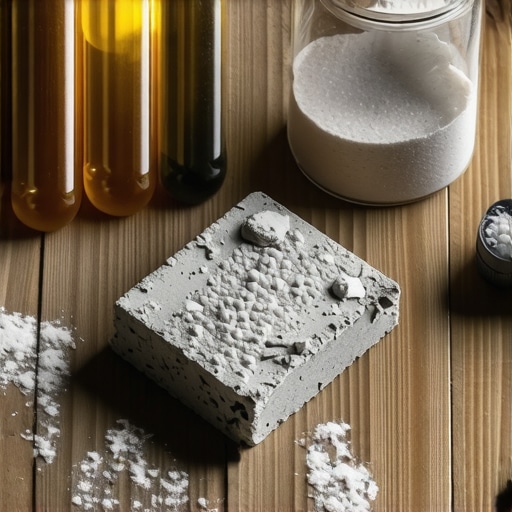
To match a recipe exactly, we don’t guess. We perform a forensic deep dive. First, we take a sample from deep within the wythe to avoid surface contamination. We use acid digestion to dissolve the binder—usually lime or a primitive cement—leaving only the sand (aggregate) behind. We then run that sand through a series of graduated sieves. This tells us the ‘grading’ of the original aggregate. Was it river sand with rounded edges? Was it crushed limestone? The shape of the sand grains determines the ‘tooth’ of the mortar and how it grips the brick. [image_placeholder_1] After the aggregate is isolated, we look at the binder-to-sand ratio. Most historic recipes hover around 1:3, but the purity of the lime varies wildly. We also look for traces of horsehair or straw, common in chimney interior parging from the 19th century to prevent shrinkage cracks.
The Modern Arsenal: Drones and Fibers
While we respect the old ways, we use 21st-century eyes. Drone chimney inspections allow us to see the ‘honeycombing’ of mortar joints at the crown without ever leaving the ground. Up there, the freeze-thaw cycle is most aggressive. Water gets into a hairline crack, expands by 9% when it freezes, and jacks the masonry apart. In some cases, where structural integrity has been compromised by decades of neglect, we introduce fiber-reinforced mortars. These aren’t your grandfather’s mixes; they contain microscopic alkaline-resistant glass or basalt fibers that provide tensile strength without sacrificing the breathability of the lime matrix. It’s like putting a hidden cage inside the ‘mud’ to hold everything together while the lime undergoes its decades-long carbonation process.
Restoration Beyond the Surface
Sometimes the rot is deeper than the joint. If the structural brick ties replacement is necessary, we are looking at the ‘skeleton’ of the wall. Old corrugated ties rust into dust, leaving the outer veneer flapping in the wind—literally. We use sustainable block cutting techniques to extract damaged units without vibrating the surrounding ‘green’ mortar into failure. And for those looking for a contemporary edge on historic bones, we’ve even experimented with metallic masonry finishes—using pulverized copper or bronze dust mixed into the final slicking of the joint to create a conductive, weather-resistant patina that looks like it belongs in a Victorian foundry.
“The use of a mortar that is stronger than the brick will lead to the deterioration of the brick itself, as the stresses of thermal expansion are transferred to the units.” – ASTM C270 Standard Specification
The Trap of Brickwork Sealants
One of the biggest scams in the industry is the ‘handyman’ pushing brickwork sealants application as a cure-all. They tell you it’ll ‘waterproof’ your home. In reality, most off-the-shelf sealants are non-breathable films. They trap moisture inside the brick. When that moisture tries to evaporate and hits that plastic barrier, it stays there. Come winter, that trapped water freezes, and your entire foundation starts to crumble from the inside out. If you’re going to seal, you use silanes or siloxanes that are vapor-permeable, but 90% of the time, a properly struck joint with the right lime-mix is all the protection you need. Don’t let someone ‘butter’ over your problems with a chemical film that will peel in three years.
Doing It Right: The Slicker and the Hawk
When it’s time to actually put the mud in the wall, we don’t use a tuckpointer’s trowel like a cake spatula. We use a ‘hawk’ to hold the mix and a ‘slicker’ or jointer tool to pack the mortar deep. You have to ‘butter’ the back of the joint to ensure there are no voids—no ‘cold joints’ where water can sit and fester. It’s back-breaking, tedious work. You have to wait for the mortar to be ‘thumb-print hard’ before you strike it, ensuring the compaction is perfect to keep the water out. It’s the difference between a wall that lasts twenty years and one that lasts two hundred. If you see a mason rushing with a bag-molding setup, fire them. Historic masonry doesn’t reward speed; it rewards patience and a respect for the chemistry of the stone.