
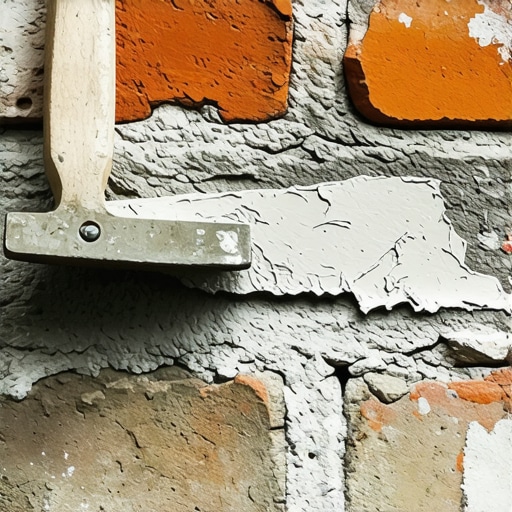
The Curse of the Patchwork Wall
I remember my old man standing in front of a 1912 brownstone in the West End. He didn’t even have his glasses on, but he could see a repair made twenty years prior from across the street. He pointed a calloused finger at a section of the facade that looked like a jagged grey scar on a face of warm terracotta. “Son,” he said, “that mason didn’t match the mud; he just committed a crime against the trade.” In my forty years of commercial masonry facade maintenance and forensic investigation, I’ve seen this crime repeated on skyscrapers and bungalows alike. When you are performing masonry rescue after disaster or simple re-pointing services, the goal isn’t just structural integrity—it’s invisibility. An infill panel should look like it has been there since the day the original masons struck their last joint. If it doesn’t, you haven’t fixed the building; you’ve devalued it.
“The mortar should always be weaker than the masonry units so that any stress is relieved in the joints rather than through the units themselves.” – BIA Technical Note 2
The Forensic Science of Color and Texture
Matching mortar for historic pointing styles is not a trip to the local big-box hardware store for a bag of pre-mixed Type S. Modern Portland cement is a brittle, grey monster that will eat historic, soft-fired bricks for breakfast. To get a seamless match, we have to talk about the physics of the aggregate. Sand represents about 70% to 75% of the mortar volume. If you don’t match the sand, you will never match the color. I’ve spent hours under a magnifying glass looking at sand grains. Are they sub-angular river sands or sharp, manufactured fines? The way light hits those tiny silica shards determines the ‘glow’ of the joint. When we perform an AI masonry assessment, we aren’t just looking for cracks; we are analyzing the spectral signature of the existing binder. Is there a hint of iron oxide? Is it the creamy white of high-calcium lime or the buff of a dolomitic hydrate?
The Hydration Trap: Why ‘Wet’ Looks Different
One of the biggest mistakes a ‘handyman’ makes when tackling a failing retaining wall repair or a chimney infill is ignoring the ‘suction’ or Initial Rate of Absorption (IRA) of the brick. If you butter a dry, thirsty brick with wet mud, the brick will suck the moisture out of the mortar instantly. This ‘flash sets’ the cement, leaving it pale, chalky, and structurally compromised. In the South, where the sun beats down on a commercial masonry facade maintenance project, we have to pre-wet the masonry or use admixtures to slow down the hydration. If the mortar dries too fast, the pigment doesn’t have time to distribute evenly. You end up with ‘honeycombing’—tiny voids that look like a dark grey sponge instead of a solid, monochromatic joint. For retaining wall capstone replacement, this is even more critical because the horizontal surface is exposed to maximum UV radiation, which bleaches out cheap synthetic dyes.
Micro-Zooming into the Chemistry of Lime
In historic restoration, we often move away from Portland cement entirely and return to Lime Putty (Type L). This is where the chemistry gets beautiful. Unlike modern concrete that hardens through a quick chemical reaction with water, lime mortar hardens through carbonation. It literally breathes in CO2 from the air over decades to turn back into limestone. This creates a ‘soft’ joint that can flex. When a building settles—and they all do—a lime joint will develop micro-fissures that self-heal through autogenous healing. If you use a hard, modern mortar for re-pointing services on a pre-1940s building, the brick will be the weakest link. Instead of the mortar cracking, the face of the brick will spall and pop off. I’ve seen chimney flashing repair jobs where the mason used a high-strength grout, and within three winters, the entire chimney stack was crumbling because the moisture couldn’t escape through the joints, so it blasted through the brick faces.
“A successful mortar match is not merely a visual achievement but a chemical reconciliation.” – ASTM C270 Standards Commentary
The Art of the ‘Slicker’ and the Joint Profile
Even if the color is perfect, the repair will stand out if the historic pointing styles aren’t replicated. You have to look at how the original mason ‘struck’ the joint. Was it a grapevine joint, a weathered joint, or a simple concave? I use a slicker or a hawk to press the mortar deep into the cavity, ensuring there are no air pockets. If you’re doing masonry joint sand repair on a walkway or a green roofing masonry integration project, the depth of the joint determines the shadow line. A deep-raked joint creates a dark horizontal shadow that makes the wall look heavy and structural. A flush joint makes the wall look like a single, monolithic sheet. If your repair has a different shadow line than the rest of the wall, it will scream ‘patch job’ even if the color is a 100% match.
Practical Steps for the Infill Panel
When we are called for a masonry rescue after disaster, we start by taking a sample of the original mortar from a protected area—usually behind a shutter or under a soffit where it hasn’t been bleached by the sun. We crush it, dissolve the binder in acid, and look at the remaining sand. That sand is our ‘DNA.’ We then mix three or four test batches, varying the pigment by half-percentages. We smear these onto a board and let them cure for at least seven days. You cannot judge a mortar color when it’s wet. It’s like judging a house paint by the color in the can. Once we have the match, we butter the soldier course or the infill bricks, ensuring we maintain a consistent 3/8-inch joint. This isn’t just about aesthetics; it’s about the longevity of the structure. Do it once, do it right, and the building will stand for another century. Do it wrong, and you’re just waiting for the next failing retaining wall repair call.