The Forensic Scene: A Wall on the Brink
I remember standing in a basement after the 2011 floods, the air thick with the smell of river silt and ancient, saturated lime. The homeowner pointed to a hairline fracture in the foundation, dismissing it as a cosmetic nuisance. But as I ran my fingers along the brickwork, I felt the ‘tooth’ of the stone had gone soft. When I inserted my fiber-optic scope into a weep hole, the reality was grim: the inner wythe of the double-wide wall had already collapsed, and the structural steel reinforcement was nothing but a trail of orange dust. That ‘hairline’ was the only thing holding up three stories of Victorian architecture. In the world of masonry, a disaster doesn’t always end when the rain stops; often, that’s just when the physics of failure begins its slow, silent work.
The Physics of Disaster: Hydrostatic Pressure and Soil Heave
When a disaster strikes—be it a flash flood or a seismic shift—the primary enemy of your masonry isn’t the event itself, but the change in the earth around it. Saturated soil exerts an immense amount of hydrostatic pressure against a foundation. We are talking about thousands of pounds of force pushing against a wall that was designed to handle vertical loads, not lateral ones. This is where you see the ‘Stair-Step’ crack. Unlike a vertical hairline, a stair-step crack following the mortar joints is a scream for help from the footing. It means the soil has moved, and the wall is trying to decide which half of itself to follow.
“Water penetration is the single greatest threat to masonry durability, leading to efflorescence, subflorescence, and the eventual disintegration of the mortar matrix.” – BIA Technical Note 7
In northern climates, this is exacerbated by the freeze-thaw cycle. If your wall is saturated and the temperature drops, that water expands by 9% within the pores of the brick. If you’ve used a hard, modern Portland cement for a brick wall restoration on a historic home, you’ve created a trap. The hard mortar won’t give, so the face of the brick pops off—a process we call spalling. The mortar must always be the sacrificial lamb, softer than the masonry unit itself to allow for movement and moisture egress.
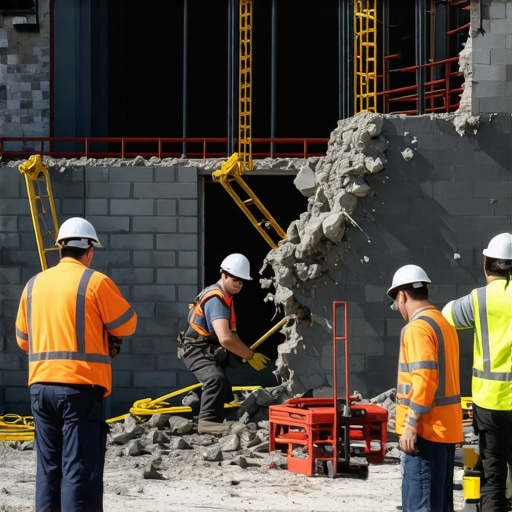
Immediate Stabilization: The Mason’s Triage
The first step in saving a wall after a disaster is pressure relief. If the soil is saturated, you need to manage the water before you even think about the mud. This might involve temporary chimney repair services to prevent water from pouring down the flue or installing chimney leak detection systems to find the hidden paths of ingress. For the wall itself, shoring is the priority. We use heavy timbers to ‘lace’ the wall, distributing the load across multiple points so we don’t create a localized failure. This isn’t just about propping it up; it’s about mimicking the original structural intent of the brick quoin repair or the corners that once provided the lateral stability.
The Chemistry of Repair: Mud, Suction, and Bond
Once the wall is braced, we look at the ‘mud.’ Traditional tuck pointing services involve more than just slapping new mortar into a gap. We have to ‘butter’ the joints with a mix that matches the original’s compressive strength and vapor permeability. This is where sustainable masonry materials come into play. Using natural hydraulic lime (NHL) instead of Portland cement allows the wall to ‘breathe.’ When you lay a new brick, you have to understand ‘suction.’ If the brick is too dry, it sucks the water out of the mortar too fast—we call this ‘burning’ the joint. The hydration process, specifically the formation of Calcium Silicate Hydrate (C-S-H) crystals, is interrupted, leaving you with a brittle, sandy bond that will fail within a season.
“Standard Specification for Mortar for Unit Masonry requires that mortar must be selected based on the property specifications or the proportion specifications to ensure structural integrity under environmental stress.” – ASTM C270
The Modern Edge: BIM and Robotic Masonry Repair
While my grandfather relied on the ‘ring’ of a brick, today we use BIM masonry projects to map disasters. Building Information Modeling allows us to create a digital twin of the damaged structure, identifying exactly where the stresses are highest. This data can then guide robotic masonry repair units that can precision-cut stones or bricks in dangerous areas where a human mason shouldn’t go. These robots, using sustainable block cutting techniques, minimize waste and ensure that the replacement units fit with a tolerance of less than a millimeter, which is critical when you are trying to restore the load-bearing capacity of a brick wall restoration project.
Concrete and Flatwork: The Foundation’s Shield
Never ignore the concrete flatwork services around a failing wall. If your driveway or walkway has settled toward the house, it’s acting as a funnel for disaster. A ‘cold joint’ in your concrete—where new pour meets old without proper bonding—is an invitation for water to find the footer. We look for ‘honeycombing’ in the concrete, which suggests the mix wasn’t vibrated properly during the original pour, leaving air pockets that water will inevitably find and exploit during a flood.
The Long Game: Restoration vs. Patchwork
Don’t fall for the ‘handyman special’ where they just smear some grey goop over a crack. Proper forensic repair means raking out the joints to a depth of at least twice the width of the joint using a slicker or a hawk to ensure the new mud is packed tight. Whether it’s a soldier course over a window or a decorative brick quoin repair at the corner, the physics of the bond remains the same. You do it once with the right materials, or you do it twice when the next storm rolls in. Masonry is the art of managing time and gravity; after a disaster, you’re just trying to reset the clock.