
The Mortar Trap: Why Your Masonry is Failing from the Inside Out
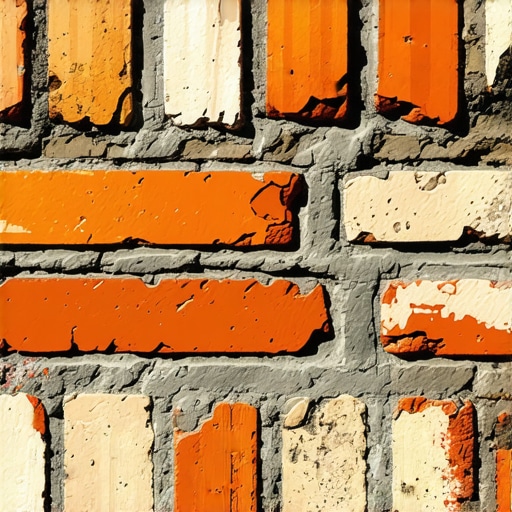
I recently walked onto a job site where a 1910 Victorian was weeping. Not literally, but the bricks were shedding their faces like wet tissue paper. The homeowner had hired a ‘handyman’ the year before to perform what they called re-pointing services. They used a modern, high-strength Type S Portland cement on a building designed for soft, breathable lime. By using a mortar harder than the brick, they turned the structural units into the weakest link. This is the hallmark of amateur masonry: a total misunderstanding of the sacrificial principle.
My mentor, a man who had spent forty years on a hawk and trowel, didn’t use a bell to test his materials. He used his sense of touch. He would take a handful of the ‘mud’ and squeeze it; if the moisture didn’t migrate through his calluses at a specific speed, he knew the carbonation process would fail. He taught me that masonry is a living, breathing lung. When you clog those pores with modern ‘lick-and-stick’ chemicals, the building begins to suffocate.
“Water penetration is the single greatest threat to masonry durability.” – BIA Technical Note 7
The Physics of the Sacrificial Joint
To understand professional masonry restoration, you have to understand the chemistry of the bond. Historic bricks—those fired before the mid-1940s—are significantly softer and more porous than modern equivalents. They move. They expand with the sun and contract with the frost. If you pack a joint with hard Portland cement, that brick has nowhere to go. When the freeze-thaw cycle hits, the water trapped in the brick expands by 9%. Since the mortar won’t give, the brick face snaps off. This is called spalling, and it is a death sentence for structural integrity.
Proper historic pointing styles utilize lime-based mortars. These are ‘sacrificial.’ We want the mortar to be the part that fails over fifty years, not the brick. Lime allows for autogenous healing; when a microscopic crack forms, water dissolves a small amount of free lime and redeposits it into the crack, effectively sealing itself. This is why commercial tuckpointing on historic structures requires a laboratory mortar analysis before the first slicker ever touches the wall.
Chimneys and Fountains: The High-Saturation Zones
Where most contractors fail is in the high-stress areas. An outdoor masonry fountain restoration isn’t just about aesthetics; it is about hydrostatic pressure management. Fountains are constantly saturated. Without the correct mortar density and a deep understanding of capillary action, the water will migrate behind the stone veneer and blow the whole facade off in one winter. We use specific re-pointing services that focus on density and water-shedding profiles.
Similarly, a chimney is a thermal nightmare. You have 500-degree gases on the inside and sub-zero winds on the outside. This is where chimney heat shield installation becomes a structural necessity. Without a proper shield, the thermal shock causes ‘honeycombing’ in the interior flue tiles and cracks the exterior soldier course. We see it all the time: a homeowner thinks they need a new chimney, but what they actually need is a forensic restoration of the thermal barrier and a deep re-pointing with high-heat resistant mud.
“Mortar should always be weaker than the masonry units it binds together to ensure that stress concentrations do not cause cracking of the units themselves.” – ASTM C270 Standard Specification
The Foundation: Underpinning and Drainage
If the joints are the skin, the foundation is the bone. When I see a stair-step crack in a concrete block foundation repair job, I don’t just look at the wall; I look at the soil. Often, the issue is retaining wall weep hole cleaning—or lack thereof. If the weep holes are clogged, the soil behind the wall becomes a heavy, liquid slurry. That hydrostatic pressure will push over a twelve-inch thick wall like it’s made of playing cards. Before we even talk about foundation underpinning, we have to restore the drainage. We clear the silt, replace the aggregate, and ensure the ‘tooth’ of the mortar is biting into the substrate, not just sitting on top of it. If the brick veneer installation was done without a proper air gap, we have to create one, or the moisture will eventually rot the rim joists of the entire house.
The Process: Raking, Buttering, and Striking
The actual work of professional masonry restoration is slow and agonizing. We don’t use high-speed grinders that produce clouds of dust; those nick the edges of the brick and ruin the ‘ring’ of the wall. We use hand-raking or specialized oscillating blades to remove the old mud to a depth of at least twice the width of the joint. Then comes the ‘buttering.’ We apply the mortar in ‘lifts,’ layers no thicker than a quarter inch, allowing each to reach initial set before adding the next. This prevents shrinkage cracks. Finally, we use a slicker to strike the joint, compressing the molecules to create a weather-tight seal. This is the difference between a ‘handyman special’ and a job that lasts a century. You do it once, or you do it twice—and the second time always costs triple.