
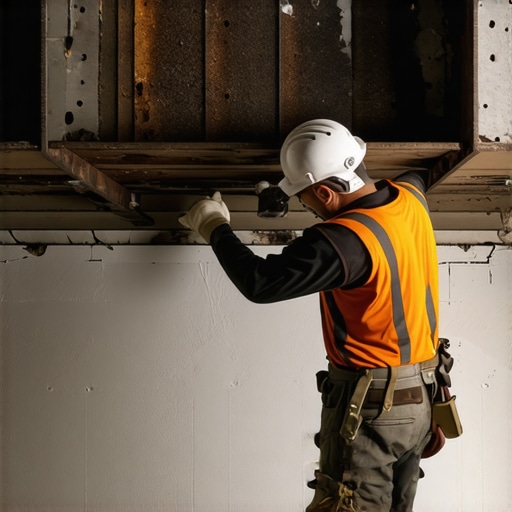
The Forensic Scene: When Steel Turns to Pastry
The homeowner thought it was just a hairline crack. But when I put my scope inside the cavity of that 1950s Georgian, I saw the structural steel was rusted to dust. It wasn’t just a cosmetic flaw; it was a structural time bomb. I’ve spent forty years smelling the metallic tang of oxidizing iron and the dusty scent of crumbling mortar joint repair, and this was a textbook case of ‘rust jacking.’ Most handymen see a crack above a window and reach for a tube of caulk. That’s a sin. When a steel lintel—the horizontal member supporting the bricks over an opening—begins to oxidize, it expands up to ten times its original thickness. This exerts an incredible upward force that can lift entire soldier courses and snap bricks like dry crackers. If you don’t swap that steel correctly, you’ll end up with a sagging header and a living room full of plaster dust. We’re going to talk about doing this the right way, with surgical precision, to keep the interior of the home pristine while we perform what is essentially open-heart surgery on the facade.
“Steel embedded in masonry that is subject to moisture must be protected against corrosion to prevent the expansion of oxidation products from cracking the surrounding masonry.” – BIA Technical Note 31B
The Physics of Rust Jacking and Material Failure
To understand why we swap lintels, you have to understand the chemistry of the failure. In many older brick veneer installation projects, the builder used raw, ungalvanized steel. Over decades, water finds its way through the porous mortar or through failed masonry joint sand repair. Once that moisture hits the steel, the oxidation process begins. This is particularly violent in northern climates where we deal with freeze-thaw damage restoration. The water freezes, expands by 9%, and opens the microscopic cracks wider, allowing more oxygen and moisture to reach the steel. This cycle creates a ‘cold joint’ of sorts between the steel and the brick, where nothing is actually bonded. As the steel expands, it doesn’t just push out; it pushes up. This is why you see the classic stair-step cracking pattern. You aren’t just replacing a piece of metal; you are managing a structural transition. If you don’t understand the ‘tooth’ of the brick and the way the mud needs to grab the surface, your repair will fail within five seasons.
The Minimal Impact Extraction Strategy
The biggest fear for any homeowner is seeing a hole in their wall from the inside. To avoid this, we use a technique called shoring. We don’t just bash the bricks out with a sledgehammer. We use a diamond-blade saw to carefully cut out the crumbling mortar joint repair areas around the lintel. I prefer a ‘top-down’ support method using structural pins or ‘Strongboy’ props. This allows the weight of the masonry above to be transferred to a temporary vertical support, so the interior drywall never feels the vibration. When you’re removing the old steel, you have to be careful not to create honeycombing in the backing material. If the house has a chimney flue liner installation nearby, you must ensure your vibrations don’t disturb the internal clay tiles. It’s a game of millimeters. We remove the old, scaly steel—often it comes out in flakes, looking like a rusted puff pastry—and clean the ‘throat’ of the opening until we have a solid surface again.
Choosing the Right Mud: Chemistry Over Convenience
Don’t let a contractor talk you into using high-strength Portland cement on a 1920s home. If the house is older, you need historic brickwork repointing techniques. This means using a lime-based mortar, likely a Type N or Type O. Why? Because the mortar must be the sacrificial element. If the mortar is harder than the brick, the brick will be the one to crack during thermal expansion. When we mix the mud, we’re looking for a consistency that stays on the hawk even when turned sideways. You want ‘suction’—that beautiful moment when the dry brick pulls the moisture out of the mortar, creating a permanent bond. We butter the ends of the bricks with precision, ensuring there are no voids. Voids are where water collects, and water is the architect of ruin. After the bricks are set back on the new galvanized steel, we use a slicker to hit the joints, ensuring a flush pointing services finish that sheds water like a duck’s back.
“The selection of mortar for masonry restoration should be based on the physical properties of the existing masonry units, ensuring the mortar is weaker than the units to prevent stress-related spalling.” – ASTM C270 Standards
Flashing: The Invisible Shield
The most common mistake in retaining wall installation or lintel replacement is forgetting the flashing. If you put a new lintel in without a proper moisture barrier and ‘weep holes,’ you’ve just wasted your money. We install a high-performance membrane over the new steel that directs any water that penetrates the brick veneer back out to the exterior. We then use masonry cleaning agents to remove any excess mortar smears without etching the face of the brick. For those looking at a brick patio restoration or masonry joint sand repair nearby, we ensure the runoff from the cleaning doesn’t contaminate the surrounding stone. The goal is a repair that is invisible to the eye but invincible to the elements. Once the new steel is in place and the soldier course is reset, we perform a final wash to reveal the true color of the historic masonry.