4 Proven Fixes for Tuckpointing Curved Walls in 2026
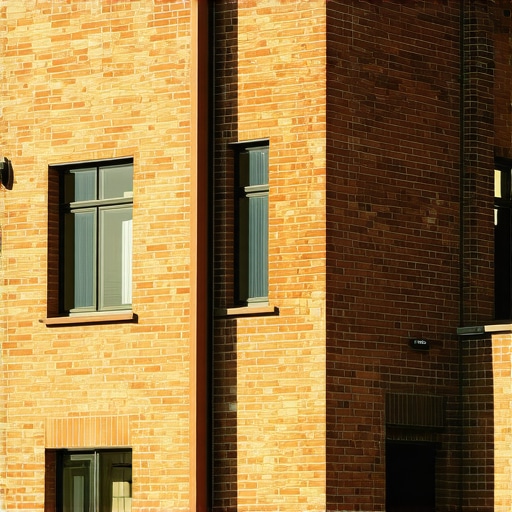
The Ghost in the Radius: Why Curved Walls Fail
I remember a job back in the late nineties, a Victorian turret that looked like it was weeping. The homeowner had hired a ‘mason’ who treated a radial wall like a flat garden path. Within two winters, the faces of the custom-molded radial bricks were popping off like scabs. He had used a high-strength Portland cement on a building designed to breathe. He didn’t understand that a curved wall isn’t just a straight wall with an attitude; it is a structural spring held in tension by its geometry. When you mess with the mortar joints on a curve, you are messing with the physics of equilibrium. If the mortar is too hard, the brick becomes the weakest link. In the world of professional masonry restoration, we call this the ‘Sacrificial Principle.’ The mortar must die so the brick may live. But on a curve, the stresses are compounded. The outer radius is under tension, the inner under compression. If your ‘mud’ doesn’t account for this, the wall will eventually smile—the joints will open up at the top and invite the enemy in: water.
“Water penetration is the single greatest threat to masonry durability, especially in radial structures where joint geometry varies.” – BIA Technical Note 7
The Physics of the Wedge: Why ‘Lick-and-Stick’ Fails
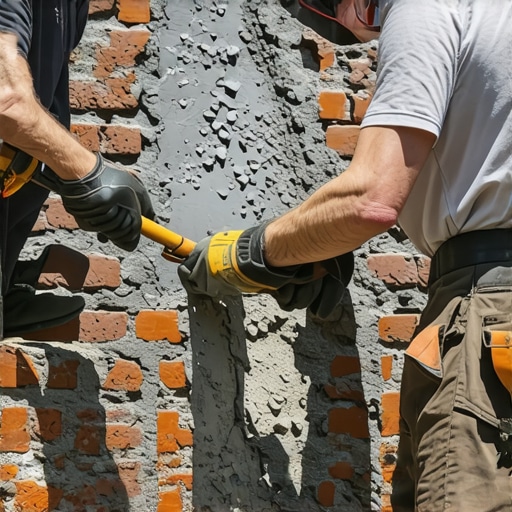
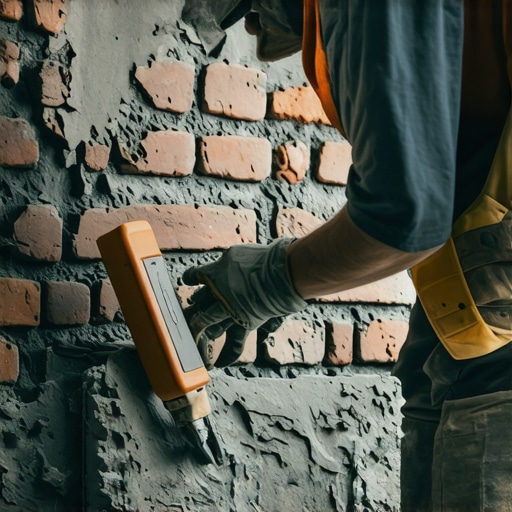
When we talk about historic tuckpointing on a curved surface, we are dealing with wedge-shaped joints. On a tight radius, the outer edge of the joint might be 3/8 of an inch, while the inner edge is barely an 1/8. This creates a massive problem for ‘flush pointing services’ that don’t understand depth. You can’t just ‘butter’ the tip of the joint. You have to rake it out until you hit the ‘tooth’ of the original masonry. I’m talking about a full inch of depth, minimum. This ensures the new mortar has enough surface area to bond through hydration rather than just mechanical adhesion. Without that depth, the freeze-thaw cycle—that 9% expansion of water—will simply spit your new mortar back out onto the sidewalk. We see this constantly in masonry repair services where the previous contractor used a grinder and nicked the ‘arris’ or the sharp edge of the brick, destroying the architectural profile forever.
Fix 1: The Surgical Rake and Natural Hydraulic Lime (NHL)
The first proven fix for 2026 isn’t a new chemical; it’s a return to the chemistry of the 1800s, refined. We use Natural Hydraulic Lime (NHL). Unlike modern bagged cement, NHL sets through a process of carbonation. It literally absorbs CO2 from the air to turn back into stone. This happens at a microscopic level, where calcium hydroxide [Ca(OH)2] reacts with atmospheric carbon dioxide to form calcium carbonate [CaCO3]. This process is slow. It’s a slow-motion birth of stone inside the joint. For curved walls, this is critical because it allows the wall to settle and shift slightly without cracking. The ‘mud’ remains vapor-permeable. If moisture gets behind that curve, it can travel through the mortar and evaporate. If you seal it in with a hard ‘cold joint,’ you’re just building a pressure cooker that will eventually explode your brickwork.
Fix 2: Helical Reinforcement and Structural Masonry Inspection
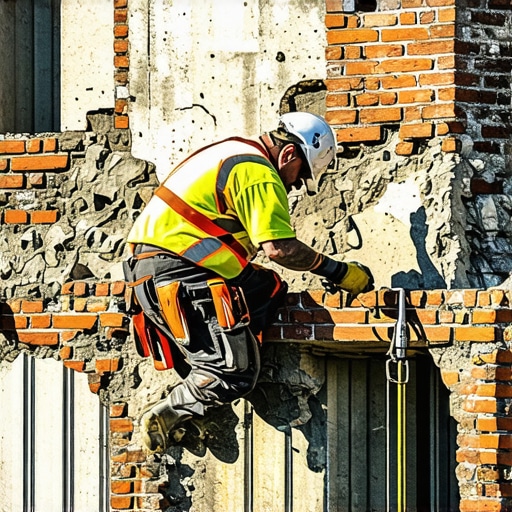
Sometimes the curve is failing because the ‘header’ bricks—the ones that tie the outer skin to the inner structure—have snapped. This is where structural masonry inspection becomes vital. We don’t just look at the surface; we use borescopes and sometimes drone chimney inspections to see the high-reach radials. If the wall is bulging, we use foundation helical pier installation techniques shrunk down for the wall itself: stainless steel helical ties. We drill a pilot hole through the joint, drive the tie into the backup substrate, and then ‘tuck’ over it. It’s like putting a titanium spine into a crumbling back. This creates a mechanical connection that doesn’t rely on the ‘suction’ of old, dusty brick. It’s the difference between a Band-Aid and surgery.
“Mortar should be weaker than the masonry units so that any stress-induced cracking occurs in the mortar joints, which are easier to repair than the units themselves.” – ASTM C270 Standard Specification
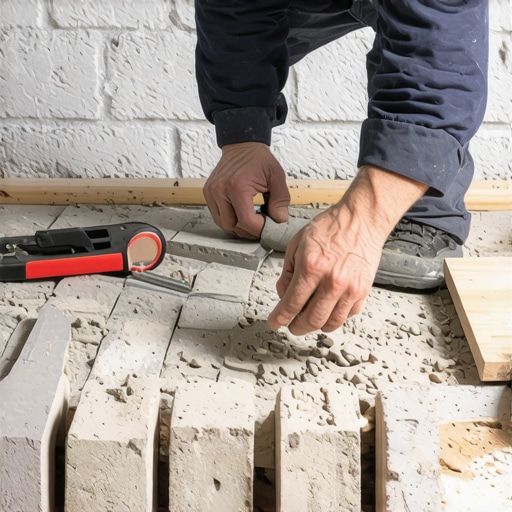
Fix 3: The Custom Profile Strike and ‘Shadow’ Tuckpointing
In 2026, the ‘flush’ look is out for historic homes because it hides the craftsmanship. For curved walls, we use a ‘slicker’ to create a beaded or ‘v-joint’ that follows the radius. This isn’t just for looks. A properly struck joint sheds water away from the brick’s edge. When we perform historic brickwork repointing, we often use two different colors of mortar. The base ‘mud’ matches the brick, and a thin ‘fillet’ of contrasting lime putty is laid over the top. This creates the illusion of perfectly straight, thin joints on a wall that might actually be quite irregular. It takes a steady hand and a real feel for the ‘hawk’ and ‘trowel.’ If you’re just slapping it on like peanut butter, you’re not a mason; you’re a butcher.
Fix 4: Chimney Cap Replacement and Heat Shield Integration
Curved masonry often culminates in chimneys or turrets. Many homeowners ignore the top-down pressure. A failing chimney cap replacement can allow water to track down the internal ‘wythes’ of the brickwork, washing out the mortar from the inside. In 2026, we are integrating chimney heat shield installation with our tuckpointing. This isn’t just a spray-on coating. It’s a ceramic thermal barrier that prevents the expansion-contraction cycle caused by flue heat from cracking the external radial tuckpointing. By stabilizing the temperature of the brick, we stop the ‘thermal shock’ that causes joints to pop. It’s a holistic approach. You can’t fix the feet if the head is leaking. You treat the whole structure as a living, breathing organism of clay and lime.
The Forensic Conclusion: Do It Once or Do It Twice
I’ve spent forty years listening to the ‘crack whisper’ of settling buildings. A curved wall is a masterpiece of engineering, but it is also a target for every drop of rain and every degree of temperature change. Don’t let a handyman with a bag of ‘Quick-Set’ near your historic facade. They’ll give you a ‘honeycombing’ mess that will cost triple to fix later. Real masonry repair services require an understanding of the ‘soldier course’ and the ‘header,’ the ‘tooth’ and the ‘suction.’ When you see a wall that has stood for 120 years, it’s not an accident. It’s because the man who built it understood that stone and brick are just borrowed from the earth, and they’re always trying to go back. Our job is just to slow that process down with the right chemistry and a lot of patience. Choose a pro who knows the difference between ‘buttering’ a joint and building a legacy. Your foundation—and your wallet—will thank you.