![4 Signs You Need Structural Repointing in 2026 [Checklist]](https://masonryrescue.com/wp-content/uploads/2026/03/4-Signs-You-Need-Structural-Repointing-in-2026-Checklist.jpeg)
4 Signs You Need Structural Repointing in 2026 [Checklist]
The Anatomy of Masonry Decay
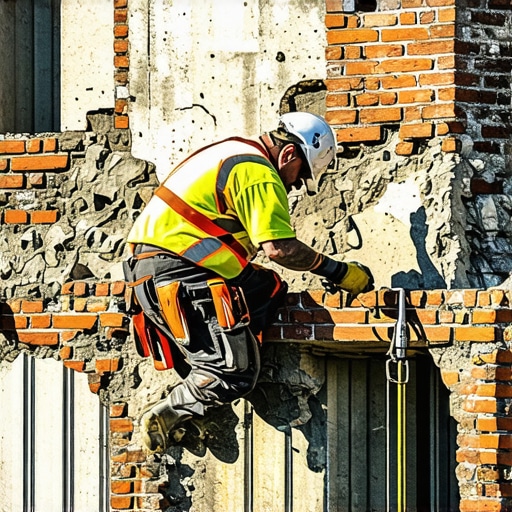
I recently stood on a scaffold thirty feet above a city street, staring at a commercial parapet wall that looked fine from the sidewalk. To the untrained eye, it was just an old building. But when I ran my finger across the bed joint, the mortar didn’t just crumble; it turned to a fine, acrid powder that smelled of century-old coal smoke and dampness. That’s when I saw it: the structural steel lintel behind the veneer was rusting, expanding with enough force to lift three courses of brick. The homeowner thought it was a cosmetic issue. But my drone chimney inspection revealed that the internal flue was leaking acidic condensate into the wall, liquefying the ‘mud’ from the inside out. This isn’t just aesthetics. This is physics pushing back against a structure that’s lost its grip. In the world of historic brick salvage, you don’t just fix a wall; you perform a forensic intervention.
“Water penetration is the single greatest threat to masonry durability, leading to efflorescence, spalling, and the eventual loss of structural integrity.” – BIA Technical Note 7
1. Deep Joint Recession and the ‘Hollow’ Echo
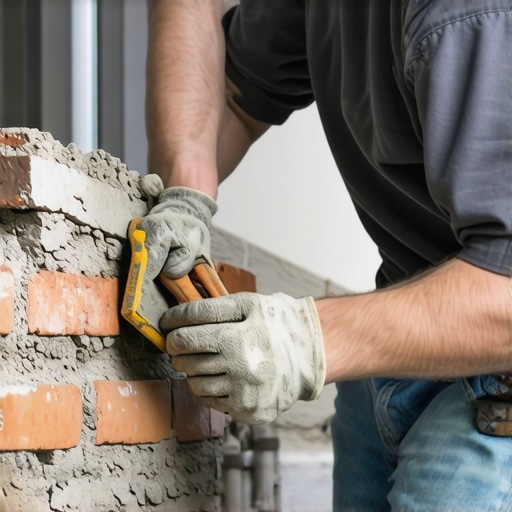
The first sign you’re heading for a failing retaining wall repair or a full-scale facade collapse is joint recession. When the mortar is recessed more than 1/2 inch, you’ve lost the primary defense against hydrostatic pressure. We look at the ‘tooth’ of the remaining mortar. If you tap the brick with a masonry hammer and it gives a dull ‘thud’ instead of a high-pitched ring, the bond is dead. The suction between the brick and the mortar—the capillary pull that happens during the initial hydration—has been severed. In 2026, we’re seeing a massive uptick in failures due to the ‘hard mortar’ epidemic of the early 2000s. Contractors used high-strength Portland cement (Type S) on soft, historic clay bricks. Because the mortar was harder than the brick, the thermal expansion had nowhere to go. Instead of the mortar compressing, the brick faces snapped off. This is why mortar matching services are not an elective; they are a requirement for structural survival. You need a sacrificial mortar, likely a Type O or a specialized lime putty, that allows the building to breathe and move.
2. The Spalling Cycle: A 9% Expansion Death Sentence
Spalling isn’t just a surface chip; it’s a mechanical failure of the brick’s pore structure. When water enters a porous brick and the temperature drops, that water undergoes a phase change. It expands 9% in volume. If that water is trapped behind a modern brickwork sealant application that wasn’t vapor-permeable, it creates internal pressure that exceeds the tensile strength of the clay. You’ll see the face of the brick literally pop off, exposing the soft, under-fired ‘salmon’ core. This is a critical sign for retaining wall reinforcement. A retaining wall is a dam that happens to be made of stone or brick. If the drainage isn’t perfect, that 9% expansion will bow a wall until it reaches its tipping point. I’ve seen 12-inch thick walls leaning like the Tower of Pisa because the weep holes were clogged with ‘mud’ from a sloppy ‘slicker’ job a decade ago.
“Mortar should always be weaker than the masonry units it binds, acting as a sacrificial element to preserve the structural integrity of the brick.” – ASTM C270 Standards
3. Vertical Cracking and Parapet Displacement
While stair-step cracks often signal foundation settlement, straight vertical cracks through both brick and mortar usually point to thermal expansion issues or failing commercial parapet wall repair. Without proper control joints, a long run of masonry acts like a giant piston. In the heat of a July afternoon, that wall is growing. If it’s pinned by a roofline or a corner, it will tear itself apart. We’re seeing more of this as we deal with the ‘metallic brick colors application’ trend, where darker, heat-absorptive bricks are used without calculating the specific thermal coefficient of the units. If your parapet is leaning inward or outward, the ‘soldier course’ at the top is likely disconnected from the backup wall. This requires more than just tuckpointing; it requires stainless steel helical ties to pin the masonry back to the structural frame.
4. Chemical Leaching and Advanced Efflorescence
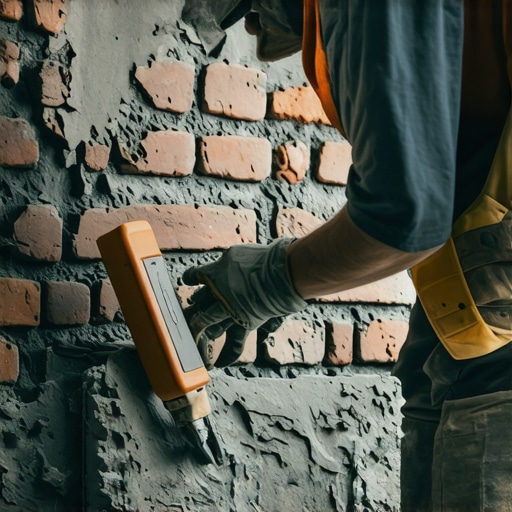
If you see white, crusty salt deposits, that’s efflorescence. But if you see thick, ‘icicle-like’ calcium carbonate deposits, you have a major water bypass. The water is traveling through the wall, dissolving the calcium hydroxide in the mortar, and depositing it on the surface—a process called carbonation. When this happens, the mortar is becoming ‘honeycombed.’ It looks solid, but it’s actually a series of empty tunnels. This is where masonry staining can be a red flag. If a previous owner used a non-breathable stain to hide water damage, they effectively turned the wall into a pressure cooker. To fix this, we must perform a forensic strip, evaluate the historic brick salvage potential, and repoint using a ‘buttering’ technique that ensures 100% compaction in the joint. No ‘lick-and-stick’ shortcuts. We use a hawk and a slicker to drive the mud deep, ensuring the ‘cold joint’ is eliminated and the new mortar becomes one with the old.
The 2026 Structural Repointing Checklist
- The Scratch Test: If a screwdriver can penetrate more than 1/4 inch into the mortar with hand pressure, the binder has failed.
- The Plumb Check: Use a laser level on your retaining walls. Any deviation over 1 inch per 10 feet of height requires immediate reinforcement.
- The Drone Chimney Inspection: Check the ‘wash’ (the concrete cap). If it’s cracked, water is pouring into the masonry hearting.
- Mortar Incompatibility: Check for ‘halos’ around the joints. If the mortar is standing proud while the brick is receding, you have a hardness mismatch.
![7 Best Tuckpointing Tools for DIY Projects [2026 Tested]](https://masonryrescue.com/wp-content/uploads/2026/02/7-Best-Tuckpointing-Tools-for-DIY-Projects-2026-Tested.jpeg)

This post hits close to home for me, especially regarding the significance of mortar matching and proper joint analysis. I’ve seen firsthand how using high-strength Portland cement on historic bricks can accelerate deterioration rather than prevent it. The detail about the ‘hard mortar’ epidemic of the early 2000s explains a lot of the crack patterns and spalling issues I’ve encountered during inspections. It’s fascinating—and a bit alarming—how water infiltration combined with expansion can silently undermine ancient masonry. On that note, I wonder—how often do you recommend performing drone inspections to gauge internal structural issues before visible damage occurs? I believe adopting proactive measures could really extend the lifespan of historic masonry. Also, in terms of mortar selection, do you find lime putty to be more forgiving compared to specialty cement mixes when it comes to thermal movement? Would love to hear others’ approaches to balancing historic authenticity with modern demands in their repointing projects.