Fixing Brick Veneer Detachment with 3 Proven 2026 Anchor Systems
The Anatomy of a Hidden Failure
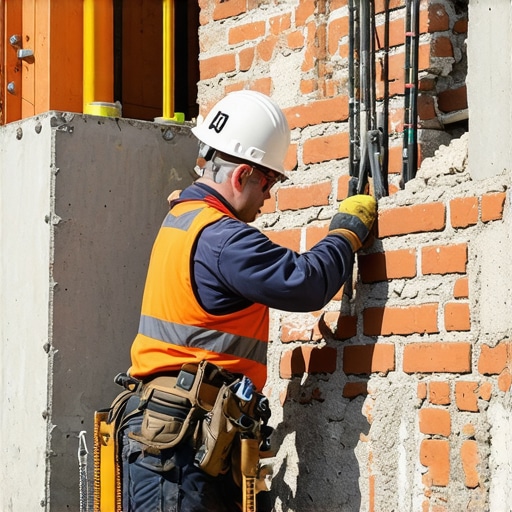
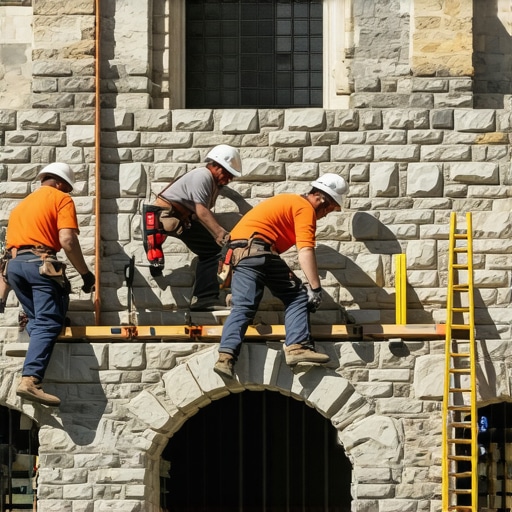
The homeowner pointed to a hairline fissure running through the mortar joints of a second-story gable, dismissively calling it a ‘settlement crack.’ But I knew better. When I inserted my 6mm digital borescope into a clogged weep hole, the screen didn’t show a solid backup wall. Instead, I saw a graveyard of rusted corrugated steel. The structural ties, which should have been the literal umbilical cord between the brick facade and the wood framing, were nothing but flakes of orange dust. This wasn’t settlement; it was a veneer detachment in progress. One high-wind event or a significant seismic tremor, and that entire soldier course would have peeled off the building like wet wallpaper.
“Water penetration is the single greatest threat to masonry durability.” – BIA Technical Note 7
Brick veneer installation is a deceptive art. To the untrained eye, it looks like a solid wall. In reality, it is a thin skin, usually just 3.5 to 4 inches thick, that relies entirely on a hidden network of anchors. When those anchors fail—due to corrosion, improper spacing, or the use of cheap electro-galvanized ties—the facade becomes a free-standing gravity wall with zero lateral stability. This is particularly lethal in freeze-thaw climates. When water infiltrates the cavity, it doesn’t just sit there; it undergoes a phase change. As water turns to ice, it expands by approximately 9%, exerting a hydraulic force that can push a brick wythe outward, a process known as hydrostatic jacking.
The Physics of Brick Spalling Prevention
To understand brick spalling prevention, we have to talk about the ‘tooth’ of the material. A brick is essentially a dense sponge. If you use a high-strength Portland cement on an older, softer brick, you’ve signed its death warrant. The mortar must be the sacrificial lamb. In my three decades of swinging a hammer, I’ve seen thousands of ‘handyman specials’ where they used Type S mortar on historic infill. Because the mortar was harder than the brick, the moisture couldn’t escape through the joints. Instead, it stayed trapped in the brick face. When the first freeze hit, the face of the brick literally popped off, leaving a raw, orange wound. This is why flush pointing services must be executed with a deep understanding of the masonry’s original compressive strength.
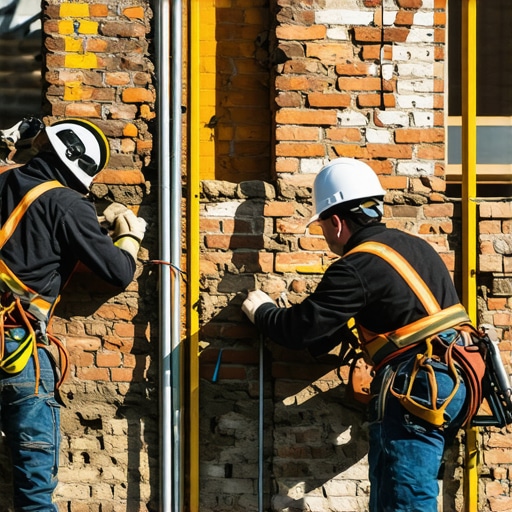
System 1: Helical Stainless Steel Ties
The first of our 2026-standard solutions for brick infill panel repair is the helical tie. These aren’t your grandfather’s nails. We’re talking about 304 or 316-grade stainless steel fins that are driven through the brick and into the substrate—whether that’s concrete, CMU, or timber. The magic is in the ‘dry-fix’ technology. We drill a pilot hole, and the helical tool drives the tie in, where the fins bite into the material without the need for messy adhesives. This creates a mechanical connection that allows for differential movement. Buildings breathe. They expand in the summer sun and shrink in the winter. If your anchor is too rigid, something is going to snap. The helical tie provides the lateral restraint required while allowing the veneer to move vertically without shearing the tie.
System 2: Chemical Anchor Injection
When we encounter tuckpointing curved walls or complex geometries where mechanical tensioning might cause further cracking, we turn to resin-based injection. This is the ‘forensic’ approach to brick veneer installation failures. We use a high-viscosity, two-part epoxy or vinylester resin. After drilling into the backup material, we ‘butter’ the internal cavity with the resin and insert a threaded rod. This is particularly effective for retaining wall block replacement where the core of the wall has become honeycombed or hollow. The resin fills the voids, creating a monolithic bond that can withstand thousands of pounds of pull-out force. It’s the difference between a Band-Aid and a surgical graft.
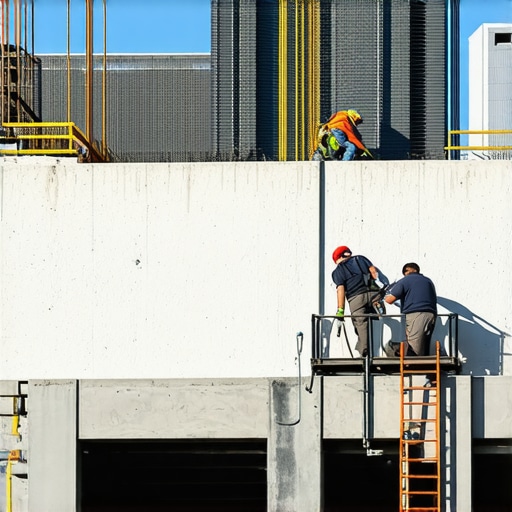
System 3: High-Load Seismic Lateral Restraints
For high-performance applications, such as green roofing masonry integration where the added weight of soil and moisture increases the load on the parapet, we utilize seismic-rated lateral restraints. These systems involve a plate-and-bolt assembly that ties the veneer back to the floor diaphragms. It’s heavy-duty work that requires a hawk and a steady hand. If you’re doing concrete flatwork services nearby, you have to be careful about the vibrations. These anchors are designed to manage the ‘whip’ effect of the building during a windstorm. They ensure that even if the mortar joints are compromised, the skin stays on the skeleton.
“The stability of a masonry veneer is contingent upon the integrity of its anchorage system and the adequacy of the air space to facilitate drainage.” – ASTM C1088 Standard Specification
The Hardscape Connection: Patios and Driveways
It’s a common mistake to think that brick paver driveway repair or brick patio restoration is just about aesthetics. It’s about the base. I’ve seen countless driveways turn into a wavy mess because the contractor skimped on the compaction. You need a minimum of 6 to 8 inches of crushed aggregate, compacted in 2-inch lifts. If you don’t have the right ‘suction’ in your base layer, the pavers will migrate. The same logic applies to retaining wall block replacement. If you don’t have a 12-inch chimney of clean drainage stone behind that wall, the hydrostatic pressure will eventually push it over. I’ve seen 10-ton walls folded like lawn chairs because someone forgot the weep holes. Don’t let a ‘slicker’ talk you into a cheap fix. Masonry is the study of gravity and water—two things that never sleep and never lose. Whether you are dealing with a 100-year-old chimney or a modern veneer, the physics remain the same: control the moisture, respect the movement, and never trust a ‘cold joint’.”
![5 Retaining Wall Geogrid Installation Mistakes to Avoid [2026]](https://masonryrescue.com/wp-content/uploads/2026/04/5-Retaining-Wall-Geogrid-Installation-Mistakes-to-Avoid-2026.jpeg)