5 Ways to Fix Spalled Concrete Steps for Good in 2026
The Ghost of Winter Past: Why Your Steps are Crumbling
I remember a job in the teeth of a February thaw. My mentor, a man who could smell a bad batch of mud from three blocks away, knelt down on a set of crumbling limestone-composite steps. He didn’t use a level; he just ran his calloused thumb across the surface. He looked at me and said, ‘If the concrete looks like it’s shedding its skin, it’s not the cold that killed it—it’s the thirst.’ He was talking about the hydration process, or the lack thereof, during the original pour. Most folks see a ‘pop’ or a flake and think it’s just cosmetic. It isn’t. It’s a structural surrender. When you see your steps flaking away like old bark, you’re witnessing the violent expansion of water within the microscopic capillaries of the cement paste. We’re going to talk about how to stop that rot for good, using the same forensic rigor we apply to a commercial smokestack repair or a historic mortar analysis.
“Water penetration is the single greatest threat to masonry durability, leading to cycles of expansion that no rigid material can withstand without internal relief.” – BIA Technical Note 7
In the trade, we call this spalling. It’s the result of the freeze-thaw cycle, aggravated by de-icing salts that homeowners throw around like confetti. When water enters the pores of the concrete, it doesn’t just sit there. It waits. When the temperature drops, that water expands by roughly 9 percent. That pressure—thousands of pounds per square inch—blows the face right off the masonry. If you’re tired of patching the same ‘hairline’ cracks every spring, you need to stop thinking like a handyman and start thinking like a forensic mason. We don’t just ‘butter’ the top and walk away. We look for the cracked brick wall repair logic: you find the source, or the symptom will return to haunt you.
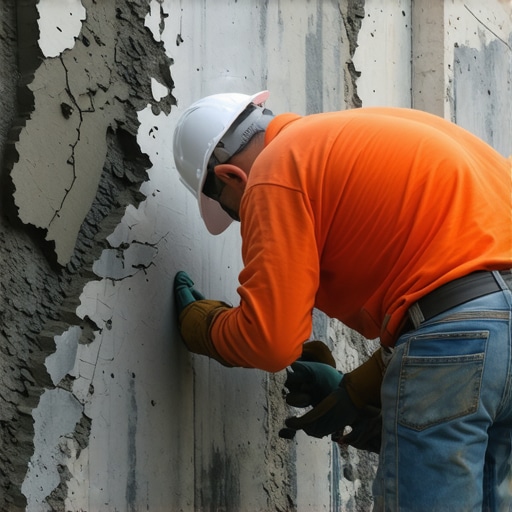
1. The Mechanical Excavation: Grinding to the “Sound” Concrete
You cannot bond new mud to dead dust. I see guys trying to slap a patch over a spalled area with a trowel and a prayer. It never works. You have to get down to the ‘sound’ concrete—the part of the step that still has its structural integrity. This requires a diamond-blade grinder or a hammer and chisel. You need to create a ‘tooth’ for the new material. If the surface is smooth, the new patch will just sit there like a scab waiting to be knocked off. I’m talking about a mechanical bond that mimics flush pointing services in high-end stone work. You need to undercut the edges of the spalled area. Never feather-edge a patch. If the patch is thin at the edges, the sun will bake it, the wind will dry it, and it will curl up and die. You want a vertical edge, at least half an inch deep, where the new material can lock in against the old. This is the same principle we use in stone wall repair; you need a shoulder to lean on.
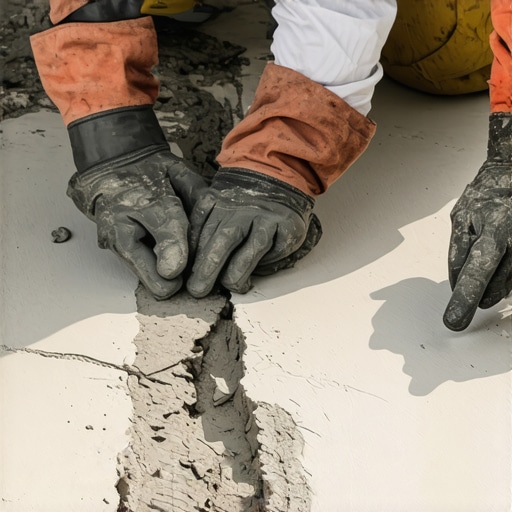
2. The Chemical Handshake: Saturated Surface Dry (SSD) and Bonding Agents
Here is where the physics gets interesting. Concrete is a thirsty beast. If you throw wet mortar onto bone-dry old concrete, the old stuff will suck the moisture right out of your new mix before it can hydrate. This results in a ‘flash set’ or a ‘cold joint’—a failure at the molecular level. To prevent this, you must achieve a state called Saturated Surface Dry (SSD). You soak the old concrete until it can’t hold any more water, then wipe the standing water off the surface. The concrete should look damp but have no glistening pools. This ensures that the water in your new mix stays in the mix, allowing the Calcium Silicate Hydrate (C-S-H) gel to form properly. This is the same chemical precision required for fire-rated masonry installation. If the chemistry is off, the fire rating is a lie. For extra insurance, we use an acrylic fortifier or a re-emulsifiable bonding agent. Think of it as the glue that bridges the 100-year gap between the original pour and today’s repair.
3. The Mix Design: Air-Entrainment is Your Best Friend
Don’t buy the cheap $5 bags of pre-mix from the big-box store. Those are for birdbaths and fence posts. For steps that will survive 2026 and beyond, you need a high-strength mix with air-entraining admixtures. These chemicals create billions of microscopic bubbles in the concrete. These bubbles act as internal pressure-relief valves. When water freezes inside the concrete, it has a place to expand into without blowing the face off the step. It’s the same technology used in brick spalling prevention for chimneys and parapet walls. If your mix doesn’t have ‘air,’ it’s a ticking time bomb. I also like to add a bit of polypropylene fiber to the mud. These tiny hairs act as secondary reinforcement, holding the patch together like rebar on a microscopic scale. When you’re ‘buttering’ the step with your hawk and trowel, you’ll feel the difference in the ‘cream’ of the mix. It should be stiff, not soupy. If you can pour it, it’s too wet and it will shrink.
“Proper curing is the process of maintaining a satisfactory moisture content and temperature in concrete during its early stages so that desired properties may develop.” – ASTM C309
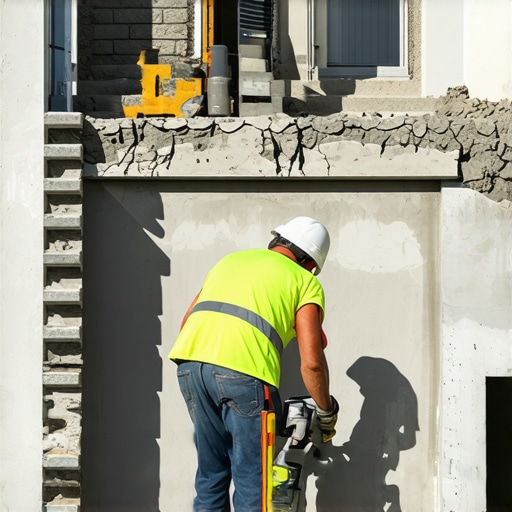
4. Addressing the Foundation: Helical Piers and Hydrostatic Pressure
Sometimes, the spalling on your steps isn’t just about the surface; it’s about what’s happening underneath. If your steps are pulling away from the house or tilting like a drunk on a Saturday night, a surface patch is a waste of time. You might be looking at a soil failure. In these cases, we look toward foundation helical pier installation. These are steel shafts that are screwed deep into the earth to reach load-bearing strata. If the foundation of the steps is shifting, the stress will manifest as cracks on the surface. These cracks allow water to bypass your sealants and rot the concrete from the inside out. It’s like a chimney cap replacement; if the top is open, the whole structure suffers. You have to stabilize the base before you can beautify the face. Don’t ignore a structural crack by calling it ‘settlement.’ In the forensic masonry world, ‘settlement’ is just another word for ‘impending failure.’
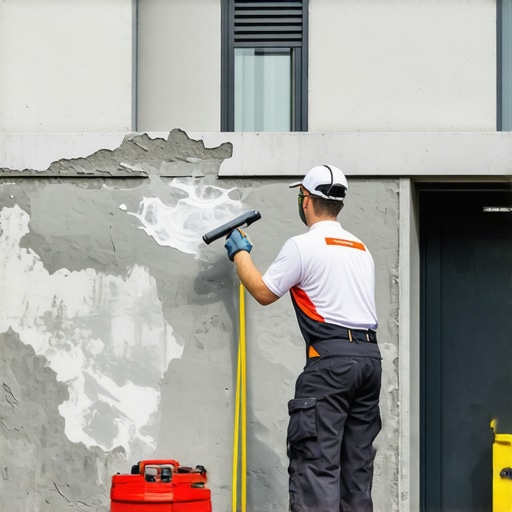
5. The Final Defense: Porous Stone Sealers and Silanes
Once the patch is cured—and I mean really cured, give it at least 28 days—you must seal it. But don’t use those cheap, shiny acrylic sealers that peel off in the sun. You want a penetrating sealer, specifically a Silane or Siloxane. These are porous stone sealers that don’t sit on top of the concrete; they chemically react with the substrate to create a hydrophobic barrier. They allow the concrete to ‘breathe’ (vapor-permeability) while preventing liquid water from entering. If you trap moisture behind a non-breathable sealer, the sun will turn that water into steam, and the pressure will pop your repair right off. It’s the same logic we use when choosing between Type N and Type O mortar in historic mortar analysis. Breathability is life. A good sealer will make the water bead up like it’s on a waxed car, protecting your hard work from the salt and the slush of a Canadian or New York winter.
The Hard Truth of the Trowel
Most people will take the easy way out. They’ll buy a tube of caulk and a bag of ‘patch-it-fast.’ And in two years, they’ll be right back where they started, only with a bigger hole and a lighter wallet. Doing it once means doing it right. It means understanding the ‘tooth’ of the stone, the ‘suction’ of the old pour, and the chemistry of the C-S-H gel. Whether you’re fixing a set of residential steps or overseeing a commercial smokestack repair, the physics of masonry doesn’t change for anyone. It’s about respect for the material. If you treat concrete like a rock, it will last like one. If you treat it like a quick fix, it will crumble like a cookie. Keep your tools clean, your mix stiff, and your edges sharp. That’s the only way to build something that lasts.
![Why Fiber-Reinforced Mortars Stop Recurring Cracks [2026 Test]](https://masonryrescue.com/wp-content/uploads/2026/03/Why-Fiber-Reinforced-Mortars-Stop-Recurring-Cracks-2026-Test.jpeg)