5 Historic Brickwork Repointing Tactics to Save Your 2026 Home
The Ghost of Portland Past: Why Your Historic Home is Screaming
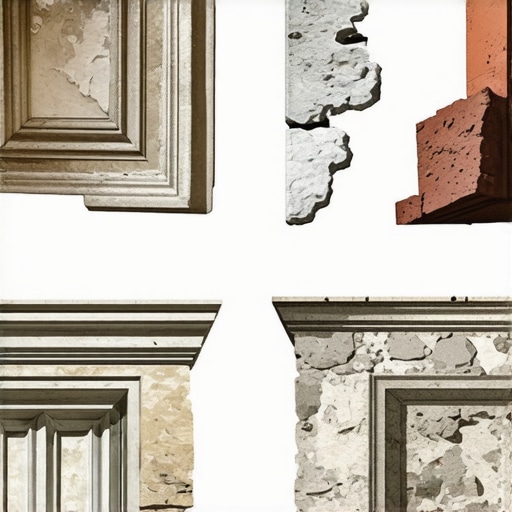
I remember standing on a rickety scaffold in the humid heat of the Ohio River Valley, watching my old man’s mentor, a man with hands like cracked leather, press his thumb into a joint. He didn’t use a moisture meter; he used his intuition. He looked at a 1920s Tudor that had been ‘slapped back together’ by a cut-rate crew five years prior. The brick faces were literally exploding, falling off in shards like shrapnel. ‘The mud is too hard,’ he grunted. He was right. That crew had used modern Portland cement on soft-fired clay brick. They had turned a breathable organism into a sealed tomb. This is the reality many homeowners face as we approach 2026: the delayed failure of previous ‘repairs’ that ignored the physics of historic masonry.
When we talk about crumbling mortar joint repair, we aren’t just talking about aesthetics. We are talking about forensic preservation. Historic bricks, particularly those fired before the mid-20th century, are porous and relatively soft. They were designed to work in a system where the mortar is the sacrificial lamb. If the building moves or if water enters the wall, the mortar should be the thing that yields, not the brick. Modern high-strength cement (Type S or Type M) is far denser than the brick itself. When the wall expands in the summer heat or when moisture freezes inside, the hard cement refuses to budge. The pressure has nowhere to go but out through the face of the brick, causing irreversible spalling. This is why sustainable tuckpointing mortars—based on hydrated lime and specific sand aggregates—are not a luxury; they are a structural necessity for any commercial masonry facade maintenance project or residential restoration.
“Water penetration is the single greatest threat to masonry durability.” – BIA Technical Note 7
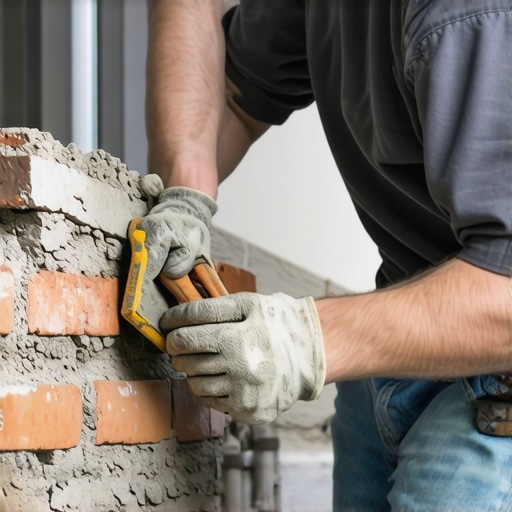
Tactic 1: The Forensic Deep Rake and the Anatomy of the Void
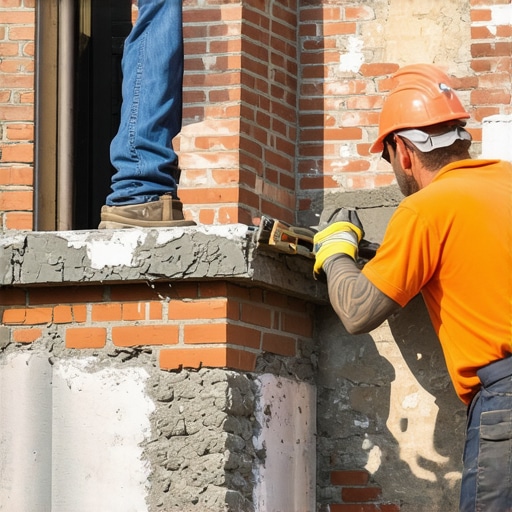
You cannot simply smear new mud over old, failing joints. That is a ‘band-aid’ that leads to a masonry rescue after disaster scenario. Proper repointing requires a deep rake—typically to a depth of at least two to two-and-a-half times the thickness of the joint. In my years of chimney structural repair, I have seen joints that were ‘tucked’ only 1/4 inch deep. Within two seasons, the new mortar popped out in long, pathetic strips. We use specialized chisels, and occasionally, tuckpointing machine services with vacuum shrouds, but only when the brick is hardy enough to withstand the vibration. The goal is to create a clean, square-bottomed channel. If the back of the joint is V-shaped, the new mortar won’t have the ‘tooth’ it needs to bite into the masonry. This is where we look for honeycombing—those tiny air pockets that indicate the original mortar was poorly consolidated. We clear it all out until we hit sound material. This is the only way to ensure masonry water damage repair actually lasts another fifty years.
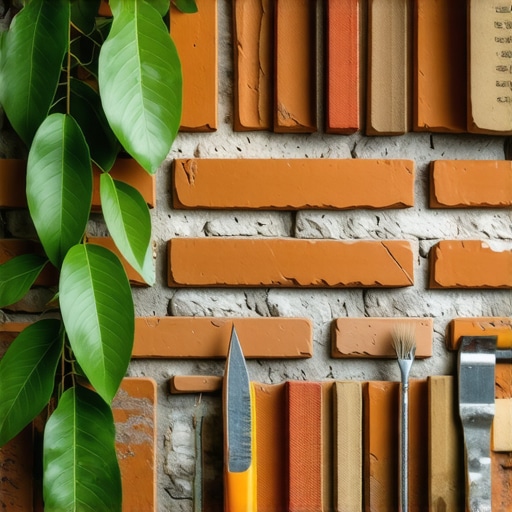
Tactic 2: Mastering the Suction and the High-Performance Mix
One of the biggest mistakes in modern masonry is ignoring the Initial Rate of Absorption (IRA) of the brick. If you ‘butter’ a dry, thirsty brick with wet mortar, the brick will instantly suck the water out of the mix. This results in a ‘flash set’ where the mortar doesn’t actually bond; it just sits there, brittle and weak. To prevent this, we pre-wet the wall. We want the bricks to be SSD—Saturated Surface Dry. This allows the high-performance mortar mixes to cure slowly through a process called carbonation. Unlike modern cement which cures through a fast chemical hydration, historic lime mortars absorb CO2 from the air over weeks and months. This slow cure creates a flexible, ‘self-healing’ joint that can accommodate the micro-movements of an old foundation without cracking. When we are dealing with sustainable tuckpointing mortars, we are often mixing hydraulic lime (NHL 3.5 or 2.0) with sharp, well-graded sand that matches the original color and texture of the site’s geology.
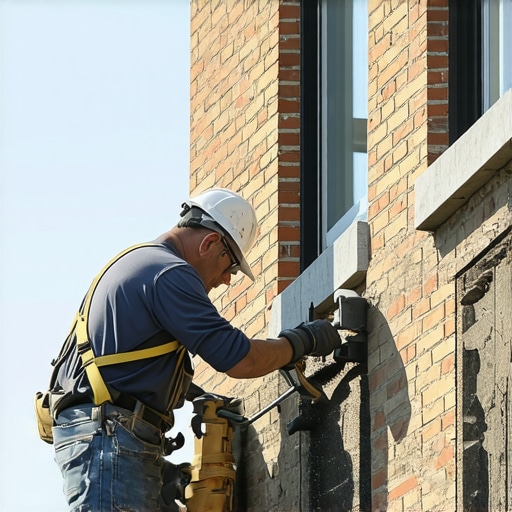
Tactic 3: The Critical Role of Stone Coping Installation
Most chimney structural repair jobs start at the top. If your masonry is a body, the coping is the hat. Without a proper stone coping installation, water runs straight down the face of the brick and into the core of the wall. This is a primary cause of crumbling mortar joint repair needs. We look for coping stones that have a ‘drip edge’—a small groove cut into the underside that breaks the surface tension of the water, forcing it to drop to the ground rather than hugging the masonry. In high-end restoration, we might use masonry birdsmouth cuts to fit these stones around corners or architectural features, ensuring a watertight seal that doesn’t rely solely on caulk. A chimney without a proper cap is just a vertical drainpipe for your house’s destruction.
“Mortar should always be weaker than the masonry units it binds, ensuring that stresses are relieved through the mortar rather than the units themselves.” – ASTM C270 Standard Guidance
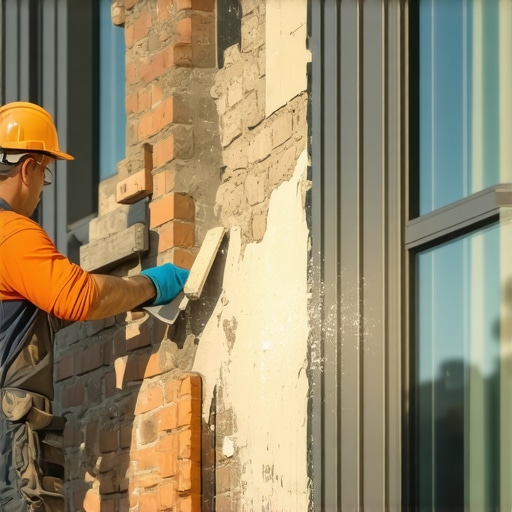
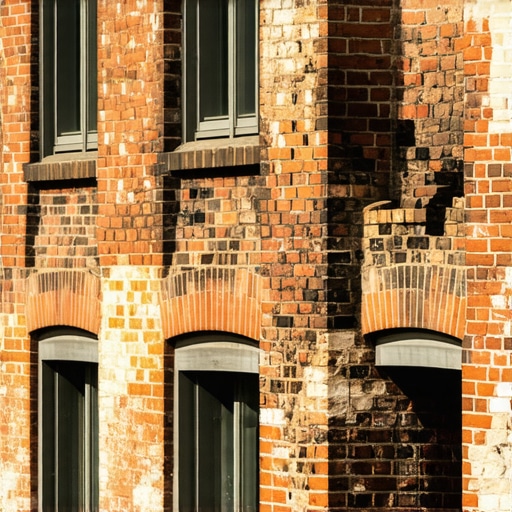
Tactic 4: Precision Tooling and the Soldier Course
The way you ‘strike’ or finish a joint isn’t just for looks; it’s for shedding water. Using a ‘slicker’ or jointer tool to create a concave or weathered joint packs the ‘mud’ tightly into the void and creates a smooth surface that water can’t easily penetrate. In historic work, we often see a soldier course (bricks laid vertically) above windows or at the water table. These areas are prone to high stress. If the joints here aren’t perfectly struck, water will sit on the horizontal ledges and soak into the core. This is where commercial masonry facade maintenance often fails—they use flat, ‘flush’ joints that allow water to dwell. We prefer a slightly recessed concave joint that highlights the ‘shadow line’ of the brick while providing maximum compaction. The tactile feedback of the tool against the mortar tells me if the mix has the right ‘plasticity’ or if it’s too lean and prone to future cracking.
Tactic 5: The Sustainable Approach to Disaster Rescue
When a wall has reached the point of a masonry rescue after disaster—perhaps after a massive freeze-thaw event or a plumbing leak—the solution isn’t just more cement. It’s often a total reassessment of the wall’s breathability. We are now seeing a move toward ‘vapor-open’ systems. Using sustainable tuckpointing mortars allows the moisture trapped in the ground or inside the home to escape through the mortar joints. If you seal a wall with ‘lick-and-stick’ stone or waterproof coatings, you are effectively trapping that moisture. In the winter, that moisture freezes and expands by 9%, tearing the masonry apart from the inside out. My job as a forensic inspector is to stop the cycle of ‘seal and fail.’ We use the right aggregates, the right lime, and the right patience to ensure the home survives to see 2126. This isn’t just construction; it’s an inheritance of craftsmanship. Every soldier course we repoint and every stone coping installation we finish is a testament to the idea that we do it once, and we do it right. Anything less is just throwing dust in the wind.