
5 Historic Pointing Styles That Protect 2026 Restorations
The Ghost of Mortar Past: Why Your Restoration Fails Before it Starts
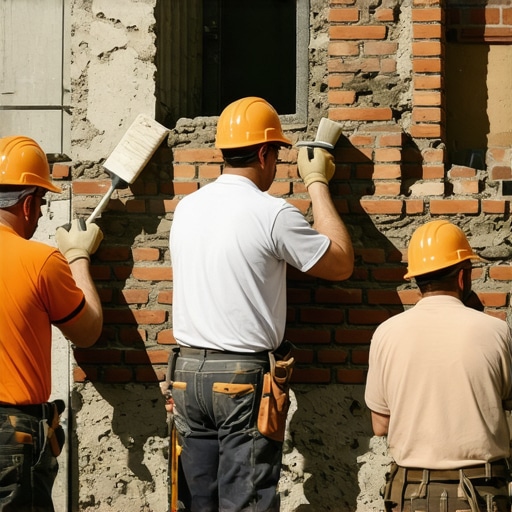
I walked onto a job site last week where a 120-year-old brownstone was weeping. Not literally, but the stone was exfoliating—shedding its face like a sunburned tourist in July. The culprit? A ‘handyman’ had used modern Type S Portland cement to ‘fix’ joints originally set with lime. It’s a death sentence for historic masonry. My mentor, a man who could tell the sand-to-lime ratio of a wall just by rubbing the grit between his calloused fingers, always told me: ‘If you don’t respect the breath of the wall, the wall will suffocate your reputation.’ He used to take a piece of cured mud and drop it in a jar of acid; if it didn’t dissolve a certain way, he knew the mix was ‘burned’ before it even touched the hawk. That’s the level of forensic detail required for structural repointing in an era where we prioritize speed over the physics of moisture migration.
“Mortar should be weaker than the masonry units so that any stress-induced cracking occurs in the mortar joints where it can be easily repaired without damaging the units themselves.” – BIA Technical Note 7B
The Physics of the Sacrificial Joint
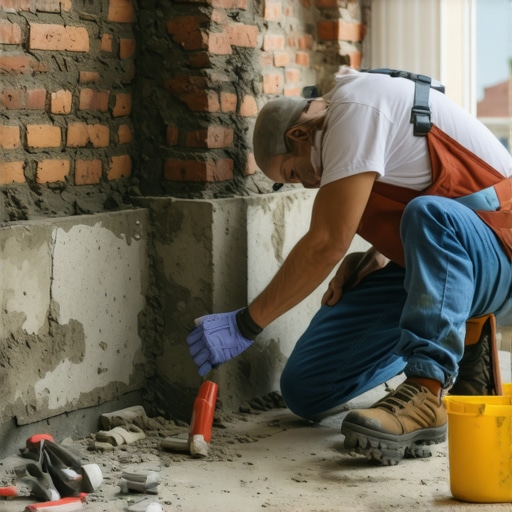
To understand the five styles that will define 2026 restorations, we must first micro-zoom into the carbonation of lime. Unlike modern cement which undergoes a rapid chemical hydration, historic lime putty mortars cure through carbonation—absorbing CO2 from the atmosphere over decades. This creates a flexible, ‘self-healing’ matrix. When the ground shifts—necessitating foundation helical pier installation or perhaps foundation slab jacking for later additions—a lime-pointed wall can often accommodate minor movements that would shatter a rigid Portland wall. We call this the ‘sacrificial principle.’ The mortar is the hero that dies so the brick may live. If the mortar is harder than the brick (which many modern high-PSI mixes are), the thermal expansion has nowhere to go. The pressure builds until the face of your historic brick pops off. That’s not a repair; that’s vandalism.
1. The Weathered Joint: The Hydrodynamic Shield
The weathered joint is the gold standard for commercial masonry facade maintenance in climates plagued by the freeze-thaw cycle. To strike this joint, the mason uses the slicker to slope the mortar downward and outward from the top of the brick to the bottom. This creates a literal roof for every single brick. When rain hits the facade, gravity pulls it away from the bed joint. In the micro-physics of water tension, this prevents the ‘pooling’ that leads to capillary suction. If water sits on a flat ledge, it finds its way into the core, freezes, expands by 9%, and you’re looking at a brick infill panel repair bill that could buy a new truck.
2. The Beaded Joint: The Shadow Master
Commonly found in high-end 19th-century estates, the beaded joint is an exercise in ego and precision. After the mud is ‘buttered’ onto the head joints and beds, a specialized tool with a concave radius is used to create a raised ‘bead’ of mortar that sits proud of the wall. This isn’t just for the aesthetic ‘shadow line’ it casts at sunset. The bead provides additional mass that acts as a buffer against wind-driven rain. However, from a tuckpointing cost estimation perspective, this is the most expensive. It requires the mason to have a ‘dead eye’ for straight lines; one wiggle and the whole wall looks like a drunkard laid it. When we perform outdoor masonry fountain restoration, we often see beaded joints used to emphasize the fluid geometry of the stone.
3. The Grapevine Joint: The Rustic Guardian
The grapevine joint looks like a wavy line tracked through the center of the mortar, often mimicking the look of traditional stone. It’s a tactile, gritty style often seen in Colonial or Tudor revivals. The ‘vine’ is created using a jointer with a small projection in the center. The key here is compaction. By pushing that metal into the mud, you are collapsing the air pockets. This prevents honeycombing—those tiny voids where water loves to hide. In my experience, grapevine joints are superior for retaining wall batter correction projects because they handle the irregular ‘tooth’ of rustic stone better than a flat joint.
“The use of high-strength Portland cement mortar in historic masonry causes irreversible damage to the softer, original units.” – ASTM C270 Guidelines
4. The Flush Joint: The Raw Honesty
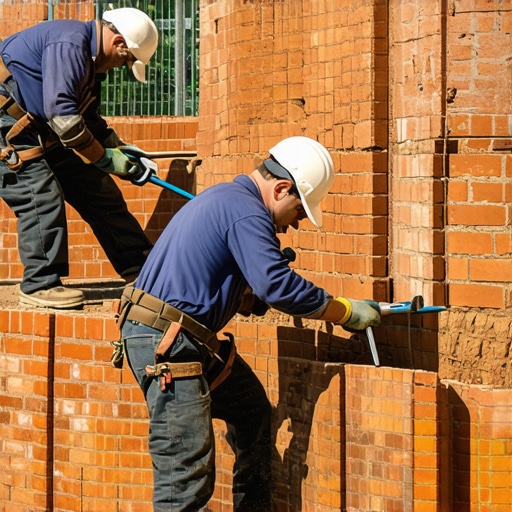
The flush joint is exactly what it sounds like: the mortar is finished level with the face of the brick. While it seems simple, it is technically demanding. If you ‘slick’ it too much, you bring too much lime to the surface (lapping), creating a ‘cold joint’ that will peel. We typically reserve flush joints for tile grouts on masonry applications or historic rubble-stone foundations where the goal is a monolithic appearance. It’s about creating a unified surface that distributes load evenly across the structural repointing area without creating ledges for debris.
5. Tuckpointing: The Great Illusion
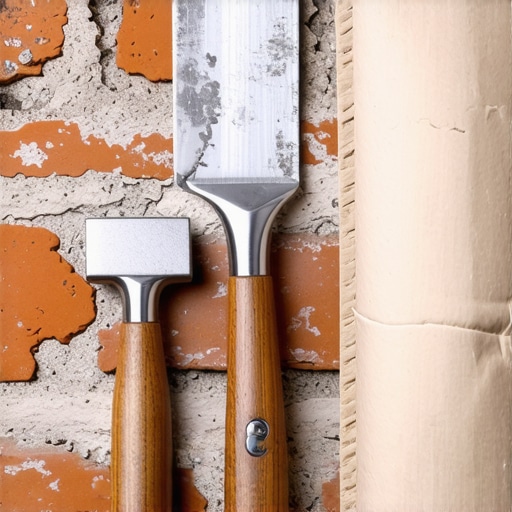
True tuckpointing is not just ‘repointing.’ It is a two-tone process where a ‘base’ mortar is colored to match the brick perfectly, and then a thin, contrasting ‘fillet’ of white lime putty is laid over the top. It makes a wall of irregular, cheap bricks look like perfectly gauged, expensive masonry. Today, many firms offer tuckpointing machine services, which can be useful for grinding out old, failed joints, but the actual ‘tucking’ of the fillet remains a hand-tool art. If you see a contractor trying to ‘tuck’ a joint with a power tool, fire them. They’ll ruin the ‘suction’ required for the lime to bond, and within three winters, that white line will be laying on your sidewalk.
The Forensic Reality of 2026
As we move into 2026, the industry is seeing a return to ‘slow masonry.’ We are realizing that the ‘lick-and-stick’ methods of the early 2000s are failing. I’ve been called to scenes where retaining wall batter correction was ignored in favor of a quick patch, and the results are catastrophic—thousands of tons of earth held back by nothing but hope and a few rusted wall ties. Whether you are dealing with foundation helical pier installation to stabilize a sinking corner or simply trying to get a handle on your tuckpointing cost estimation for a historic chimney, remember: the mud doesn’t lie. You can hide a bad bond for a season, but the first hard freeze is a brutal honest broker. Do it once, do it right, and let the lime do the talking.

This post really highlights the importance of understanding the nuances of historic masonry repair. I particularly appreciate the emphasis on lime carbonation and its self-healing properties. In my experience working on Colonial Revival homes, choosing the right joint style based on climate conditions makes a huge difference in longevity and appearance. I’ve seen projects where neglecting proper slope or water runoff led to rapid deterioration, despite excellent craftsmanship. It raises the question: what are some of the most effective ways you’ve found to educate clients about the long-term benefits of slow masonry and the risks of shortcuts? I wonder how we can better communicate these complex concepts to property owners unfamiliar with historic preservation.