
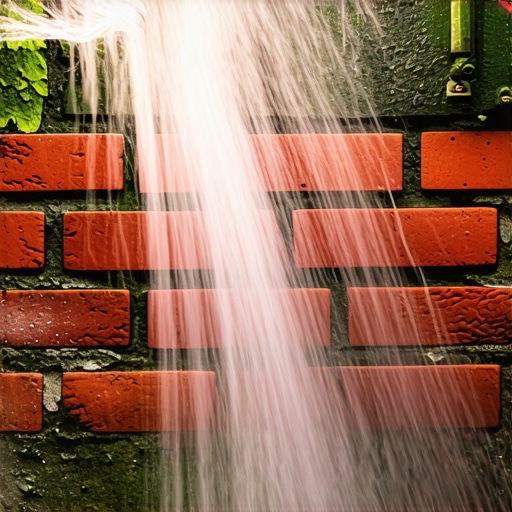
The Microscopic Invasion: When the North Wall Starts Breathing Green
I stood looking at the north elevation of a 1920s Tudor in a damp valley last November, and from twenty feet away, it looked like the house was growing a beard. The homeowner thought it was just a hairline crack and a bit of ‘patina.’ But when I put my scope inside a weep hole and ran a high-resolution AI masonry assessment, I saw the structural steel lintels were rusted to dust and the brick skin was literally detached from the backup wall. That ‘bit of green’ wasn’t just algae; it was a biological signifier of a masonry system that had stayed wet for three straight decades. On a north-facing wall, the sun never arrives to burn off the dew. Without that solar-driven evaporation, the moisture sits in the ‘tooth’ of the brick—those microscopic canyons on the surface—and creates a petri dish for chlorophyta. Most guys will tell you to just blast it with a power washer. Those guys are the reason I have a thriving business fixing ruined facades. High-pressure water on a north-facing wall is like trying to cure a headache with a sledgehammer; you’ll get the algae off, but you’ll also blow out the surface tension of the brick and turn your home into a sponge.
“Water penetration is the single greatest threat to masonry durability. The presence of organic growth often indicates a moisture level that exceeds the evaporation rate of the wall assembly.” – BIA Technical Note 7
The Physics of the North-Facing Shadow
In the northern hemisphere, your north-facing walls are the ‘cold side’ of the thermal envelope. They suffer the most from the freeze-thaw cycle because they rarely hit a true dry state before the temperature drops. When algae takes hold, it’s not just sitting on top. It’s a biological wedge. The roots—rhizines—actually penetrate the pores of the mortar and the brick. On a microscopic level, they are expanding and contracting, widening the pores. This is where drone chimney inspections become vital; often the algae starts at the top, where a failing wash or a cracked chimney flue liner installation lets water bypass the masonry and soak the stack from the inside out. If you have a commercial parapet wall repair project, you know the stakes: if that moisture is trapped behind the brick by algae and dirt, the first hard freeze will pop the faces right off your soldier course. We call this spalling, and it’s the death knell for a wall. To stop it, you need to understand the ‘suction’ of the brick. A dry, healthy brick wants to pull moisture in and then breathe it back out. Algae creates a biofilm that acts like a plastic wrap, trapping liquid water behind the surface.
The Forensic Cleaning Protocol: Science Over Sin
If you want to remove algae without destroying the ‘mud,’ you have to respect the chemistry. I don’t use acid-based cleaners on old brick. Most people reach for muriatic acid, but that’s a rookie move that dissolves the calcium carbonate in the mortar. Instead, we use a pH-neutral biological detergent or a diluted sodium hypochlorite solution specifically formulated for masonry. You don’t ‘blast’ it; you butter the wall with the solution using a low-pressure sprayer, let the chemistry do the heavy lifting of killing the spores, and then rinse with no more pressure than a garden hose. If the algae has already compromised the joints, you’re looking at a stone wall repair or a full repointing job. This is where mortar matching services are non-negotiable. If you have a soft, lime-based mortar from 1900 and some handyman slaps in modern Type S Portland cement, the new mortar will be harder than the brick. When the wall tries to expand in the summer heat—thermal expansion—the hard cement won’t budge, and the soft old brick will crush itself against the new ‘mud.’ This is why we use a slicker or a jointer to strike a flush pointing services finish that matches the original profile, ensuring the wall sheds water as it was designed to do a century ago.
“The mortar should always be sacrificial to the masonry unit. A failure in the mortar joint is a simple repair; a failure in the brick is a catastrophe.” – ASTM C270 Standards
Beyond the Surface: Structural Implications of Dampness
Sometimes the algae is just the tip of the iceberg. I’ve seen outdoor fireplace rebuild projects where the exterior algae was actually caused by a lack of a proper chimney flue liner installation, causing condensation to leach through the brickwork. In severe cases, the constant dampness on the north side can lead to soil saturation at the base. If that soil is expansive clay, you’re looking at foundation movement. Suddenly, you aren’t just cleaning algae; you’re looking at a foundation helical pier installation because the ‘green wall’ was actually a sign of a drainage failure that undermined the footing. Modern tech is changing how we handle this. We are now seeing 3D printed masonry repairs for custom ornamental pieces that have been rotted away by biological growth. But even with robots and AI, the fundamentals remain: you have to manage the water. If you don’t fix the grade or the gutters, the algae will be back before the next season. It’s about the ‘breathing’ of the wall. A clean wall is a dry wall, and a dry wall is a standing wall. Do it once, do it right, or keep my number on speed dial for when the facade starts falling into the bushes. [{“@context”:”https://schema.org”,”@type”:”HowTo”,”name”:”How to Safely Remove Algae from North-Facing Brick”,”step”:[{“@type”:”HowToStep”,”text”:”Inspect the wall for structural cracks or loose mortar joints using a hawk or a small hammer to check for ‘hollow’ sounds.”},{“@type”:”HowToStep”,”text”:”Apply a biological masonry cleaner using a low-pressure pump sprayer. Avoid high-pressure washers which can pit the brick surface.”},{“@type”:”HowToStep”,”text”:”Allow the cleaner to dwell for 15-20 minutes, keeping the surface wet so the chemicals can penetrate the algae’s biofilm.”},{“@type”:”HowToStep”,”text”:”Gently scrub heavily affected areas with a natural bristle brush. Never use wire brushes which can leave metal fragments that rust.”},{“@type”:”HowToStep”,”text”:”Rinse the wall with a wide-fan spray at low pressure. Ensure all chemical residue is removed to prevent honeycombing of the mortar joints.”}]}]