
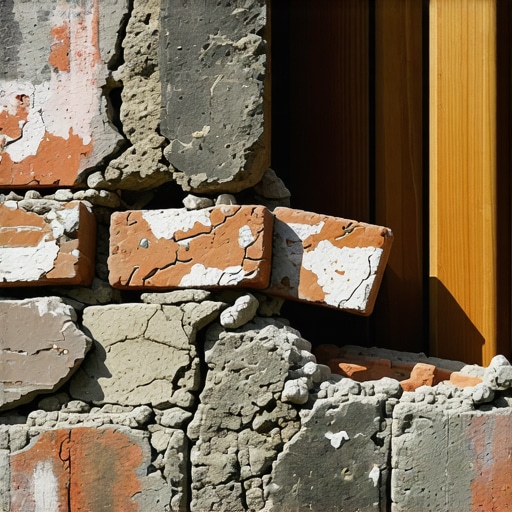
The Forensic Scene: A Ghost in the Wall
The homeowner called me out because of a “hairline crack” near the corner of a second-story window. It looked like nothing—a sixteenth of an inch of daylight. But when I pulled a single brick from the soldier course and slid my fiber-optic scope into the cavity, the reality was grim. The corrugated wall ties, those flimsy bits of galvanized steel meant to hold the brick skin to the house, had turned into a handful of orange dust. Behind that beautiful red facade, the structural steel lintel was so bloated with rust that it was lifting the entire masonry panel off its seat. I could literally feel the heat of the air moving through the gap. That brick wasn’t just sitting there; it was hovering, held up by nothing but friction and luck. If that homeowner had waited one more season, that entire veneer would have peeled off like old wallpaper and crushed whatever was sitting on the patio below. Modern builders love to talk about ‘lick-and-stick’ stone and quick-turn veneers, but they forget that gravity never sleeps and water is the ultimate solvent.
The Anatomy of the Air Cavity: Why Veneer Fails
A brick veneer is not a load-bearing wall; it is a curtain of clay. It sits on a shelf—usually a concrete ledge or a steel angle—and is tied back to the concrete masonry unit restoration or wood frame with metal anchors. The space between the brick and the backup wall is the most critical two inches in your entire home. It’s where the physics of moisture management happens. When we talk about brickwork sealants application, people think we are just trying to keep water out. We’re not. We’re trying to manage the water that inevitably gets in. Through a process called capillary suction, a brick will pull water through its face like a sponge. If that water hits the backup wall and has nowhere to go, it starts the slow rot of the wall ties. Once those ties fail, you have a 40-ton sheet of masonry standing vertically with no lateral support. That’s when the ‘bulge’ starts. You see it as a slight curve in the wall when the sun hits it at an angle. To me, that’s the sound of a ticking bomb.
“Water penetration is the single greatest threat to masonry durability. Proper drainage systems, including weeps and flashing, are mandatory for the longevity of veneer systems.” – BIA Technical Note 7
The Physics of Oxide Jacking and Lintel Failure
One of the most common causes of detachment is the failure of the steel lintel. When you see a horizontal crack at the top of a window or door, you aren’t just looking at a cosmetic issue; you’re looking at brick lintel replacement in your very near future. Steel expands when it rusts—a phenomenon we call ‘oxide jacking.’ As the iron molecules bond with oxygen and water, the resulting rust occupies up to ten times the volume of the original metal. This expansion generates thousands of pounds of pressure per square inch. It’s enough to lift the entire masonry course above it, breaking the bond of the mud. When we perform chimney structural repair or lintel work, we aren’t just swapping metal; we’re fighting a chemical war. If the original mason didn’t use a masonry birdsmouth cuts approach for the flashing or failed to prime the steel, the clock started ticking the day the house was finished. I’ve seen lintels so far gone they looked like puff pastry, yet they were still expected to hold up three stories of brickwork.
The North’s Greatest Enemy: The Freeze-Thaw Cycle
In the cold climates of the north, we deal with the brutal reality of the 9% expansion. When water gets trapped behind a veneer—perhaps because of a clogged weep hole or a poorly installed chimney cap replacement—and the temperature drops, that water turns to ice. As it expands, it exerts outward pressure on the brick. This is what causes spalling, where the face of the brick literally pops off, leaving the soft, porous interior exposed. This is why the ‘hardness’ of your mortar matters. If a ‘handyman’ uses high-strength Portland cement on a 100-year-old soft brick, the mortar becomes the hammer and the brick becomes the nail. The mortar must be the sacrificial element. It needs to be softer than the brick so that it fails first, protecting the more expensive units. We use Type N or even Type O lime-based mortars for this reason. It allows the wall to ‘breathe’ and move without self-destructing. When I see someone slapping tile grouts on masonry exterior joints, I know I’ll be back in two years to fix the mess they made.
“The selection of mortar should be based on the strength and suction of the masonry unit. A mortar that is too strong can cause the masonry units to crack during thermal expansion or moisture cycles.” – ASTM C270 Standard Specification for Mortar
Precision and Process: The Master’s Approach
Restoring a failing veneer isn’t about slapping some mud in a crack. It’s about facade cleaning to see the true extent of the damage, followed by a surgical removal of the compromised units. We look for the ‘tooth’ of the stone or brick, ensuring the new mortar has a mechanical bond. We use a slicker—a specialized jointer tool—to compress the face of the mortar joint. This compaction is vital; it closes the pores of the ‘mud’ and creates a watershed. For complex BIM masonry projects, we model the moisture flow before we ever strike a joint. We consider the retaining wall installation physics—hydrostatic pressure is the same whether it’s behind a basement wall or a brick skin. If the soil behind a wall isn’t drained, it will push that wall over, and the same happens with water trapped behind a veneer. You have to respect the ‘suction’ of the brick. If you don’t wet a dry brick before ‘buttering’ it, it will suck the water out of your mortar so fast it ‘flashes’—meaning it never cures, it just dries into a brittle, useless dust. We call that ‘burning’ the mud, and it’s the hallmark of a hack.
The Hard Truth of Modern Masonry
I’ve walked away from jobs where the homeowner wanted a ‘quick fix’ for a bulging veneer. You can’t ‘fix’ a detached wall with a few screws and some caulk. If the ties are gone, the wall is a liability. You have to take it down, or you have to use specialized helical anchors to tie it back to the concrete masonry unit restoration backup. Every time I see a ‘soldier course’ at the top of a wall without a proper drip edge, I see a future forensic site. The craft is in the details—the masonry birdsmouth cuts that channel water away, the properly mixed ‘mud’ that matches the host brick, and the patience to let the hydration process happen naturally. In this trade, you either do it right the first time, or you wait for the pile of rubble to tell you that you were wrong. Don’t ignore the signs. A small gap today is a collapsed wall tomorrow. If your brick is ‘ringing’ hollow when you tap it, it’s time to call someone who knows the difference between a pretty wall and a safe one. Our goal isn’t just to make it look good; it’s to ensure that the craftsmanship outlasts the craftsman.