
The Forensic Scene: When a Hairline is a Heart Attack
The homeowner stood there in his pristine loafers, pointing at a thin, vertical fracture in the mortar joint of his daylight basement. To him, it was a cosmetic nuisance, something a tube of caulk from a big-box store could fix. But I didn’t even need my level to know we were looking at a catastrophic failure in progress. When I fed my fiber-optic scope into a 3/8-inch bore hole I drilled into the concrete masonry unit restoration site, the screen flickered to life, revealing a nightmare: the structural steel reinforcement was nothing but a trail of orange dust, rusted to nothingness by decades of trapped moisture. The wall wasn’t just cracked; it was a hollow shell held up by habit and prayer. This wasn’t a masonry problem; it was a physics problem. Specifically, it was a failure of hydrostatic management. Most folks think a foundation is a dam. It isn’t. If you try to build a dam to keep the earth’s water out, the earth will eventually win. You don’t block the water; you invite it in and show it the exit. That is the fundamental law of the foundation.
“Water penetration is the single greatest threat to masonry durability. Moisture trapped within the wall system leads to efflorescence, freeze-thaw damage, and structural degradation.” – BIA Technical Note 7
The Physics of the Spring Thaw: Why Walls Scream
In the North, we deal with the most brutal cycle known to man: the freeze-thaw. When the ground begins to wake up in March and April, the snowmelt doesn’t just sit there. It saturates the soil, turning the backfill into a heavy, liquid slurry. This is where the 9% rule comes into play. When water freezes, it expands by 9% in volume. If that water is trapped inside the pores of a brick or behind a retaining wall, it exerts thousands of pounds of pressure per square inch. This is what we call spalling. I’ve seen the faces of century-old bricks pop off like bottle caps because some “handyman” used a hard Portland-based cement for tuckpointing curved walls instead of a breathable lime-based mud. The moisture gets in, freezes, and since it can’t breathe out through the hard mortar, it destroys the brick. When you’re dealing with concrete masonry unit restoration, you have to understand the capillary suction of the block. A standard CMU is basically a hard sponge. Without a proper drainage plane and functional retaining wall weep hole cleaning, that sponge stays saturated until the hydrostatic pressure forces the water through the microscopic pores of the concrete, manifesting as that white, fuzzy masonry staining we call efflorescence.
The Critical Tactic: The Weep Hole and the French Drain
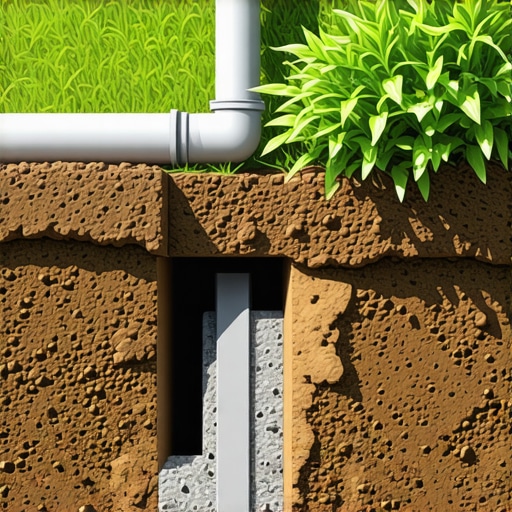
If you want a dry basement, you have to master the art of the weep. On any retaining wall or brick veneer, the weep hole is the unsung hero. I’ve walked onto jobs where the outdoor masonry fountain restoration was failing simply because the installer had “buttered” the joints too thick and blocked the internal drainage. For a foundation, the tactic is simple but labor-intensive: you must ensure the footer tile—the French drain—is actually sitting below the slab level and covered in at least two feet of washed 1-inch stone. But even the best drain is useless if the soil above it isn’t managed. I often see stone balustrade restoration projects where the base has settled because the water wasn’t diverted away from the house. Cleaning out those weep holes is a forensic necessity. I use a specialized pneumatic blast to clear out the “mud bees” and debris that clog these channels. If the water can’t get out of the wall, it will find its way into your carpet. We also look at chimney repair services as part of this ecosystem; a leaking chimney crown acts like a funnel, sending gallons of water straight down into the heart of the home’s masonry structure.
“Mortar shall be specified by proportion or property specifications… The choice of mortar should be based on the type of masonry unit and the environmental exposure.” – ASTM C270 Standard
The “Slicker” and the “Mud”: Advanced Restoration Techniques
When I’m brick wall restoration, I don’t just slap some mud in a joint and call it a day. We talk about the “tooth” of the stone. You have to grind out the old, failing mortar to a depth of at least 3/4 of an inch—twice the width of the joint is the rule of thumb. If you don’t, you get what we call a “shiner”—a thin layer of new mortar that will flake off in the first frost. For tuckpointing curved walls, the geometry is even more unforgiving. You have to use a slicker to compress the mortar into the joint. This compaction isn’t just for looks; it’s to eliminate air pockets where water can hide. We’re even seeing robotic masonry repair units now that can precision-grind joints in high-stress areas, but they still lack the feel of a master’s touch. A robot doesn’t know when the mud is “thumb-print hard” and ready to be struck. That’s a tactile intuition passed down through generations. Whether we are doing outdoor masonry fountain restoration or stabilizing a foundation, the goal is the same: create a sacrificial joint. The mortar must be slightly softer than the masonry unit so that when the earth moves—and it always moves—the mortar cracks, not the stone. You can always repoint a joint, but you can’t easily replace a structural stone balustrade or a shattered brick.