
The Forensic Scene: The Deceptive Hairline Crack
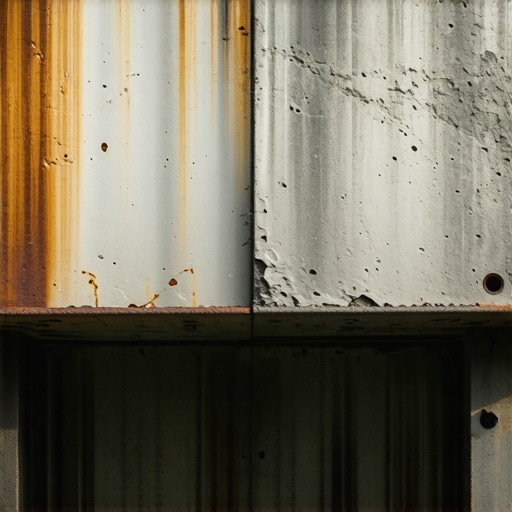
I was on a scaffold in a district where the buildings have seen a hundred winters. The owner pointed to a thin, vertical fracture in the mortar joint above the kitchen window. ‘Just a settlement crack,’ he told me. I didn’t say a word. I pulled out my borescope, threaded it through a weep hole, and there it was—the steel lintel was bloated, a jagged, orange monster eating the brick from the inside out. That ‘hairline’ crack was actually a distress signal from a structural member that had expanded so much it was physically lifting the three stories of masonry above it. If we hadn’t caught it then, the entire soldier course would have come down like a guillotine. This is the reality of professional masonry restoration; it is not just about aesthetics, it is about the physics of decay. When steel meets moisture, it undergoes a transformation that most homeowners ignore until it is too late. They see a little orange streak and think they need a bucket of paint, but the truth is far more structural.
The Chemistry of the ‘Rust Burst’
To understand why a lintel fails, you have to understand the chemistry of oxidation. When the carbon steel used in most 20th-century construction is exposed to oxygen and water, it creates iron oxide. This isn’t just a surface stain. The chemical reaction causes the steel to expand up to ten times its original thickness. In the masonry world, we call this ‘rust jacking.’ Imagine a steel plate that was originally 1/4 inch thick. As it corrodes, it swells to nearly two inches. Since brickwork is incredibly strong in compression but has almost zero tensile strength, it cannot withstand the upward pressure of that expanding steel. The result is ‘brick spalling prevention’ failing at the source; the brick literally explodes outward or cracks in a stair-step pattern to accommodate the growth of the metal.
“Corrosion of lintels and shelf angles is the primary cause of cracking and displacement in masonry veneers over openings.” – BIA Technical Note 31B
This expansion is relentless. It doesn’t care if you have used high-performance mortar mixes or the most expensive historic brick salvage; if that steel is un-flashed and un-primed, it will win every time.
Identifying the Symptoms: Beyond the Surface
How do you spot this before the ‘burst’ happens? You look for the ‘eyebrow.’ This is a horizontal crack that runs along the first or second mortar joint directly above the window or door opening. If the crack is wider at the bottom than the top, that steel is pushing. You also look for ‘weeping.’ If you see a dark, rust-colored stain bleeding down the face of the brick, the protective coating on the lintel has long since failed. This is common in northern climates where the freeze-thaw cycle traps salt-laden water against the metal. The water expands 9% when it freezes, opening up micro-fissures in the mortar, which then allows more water to hit the steel. It’s a feedback loop of destruction. While some might suggest chimney crown repair or retaining wall batter correction as separate issues, a forensic inspector knows that moisture ingress in one area often signals systemic failure in others. The lintel is simply the most dangerous point of failure because it carries the dead load of the masonry above the void of the window.
The Restoration Reality: Why a Patch Won’t Save You
Many ‘handymen’ will try to butter over the crack with some new mud and call it a day. That is a death sentence for your facade. To fix a rusted lintel, you must perform a surgical extraction. You have to support the masonry above with a temporary ‘strongback,’ grind out the joints, and remove the soldier course—those bricks standing on end above the opening. Once the steel is exposed, you often find it pitted and thin. If more than 15% of the cross-section is gone, it’s scrap. We replace it with galvanized steel or, in high-end metallic masonry finishes, stainless steel. We then install a proper flashing membrane and weep holes.
“Steel members in exterior masonry walls must be protected against corrosion by galvanizing or other equivalent coatings.” – ASTM A123/A123M
Without that flashing, you’re just waiting for the next rust cycle. In some cases, we are even seeing 3D printed masonry repairs used to recreate custom shapes for historic brick salvage, but the core of the work remains the same: managing water. This is the difference between a ‘lick-and-stick’ repair and true brick arch restoration.
Advanced Diagnostics and Prevention
In a professional masonry restoration project, we don’t guess. We use thermal imaging to find cold spots where moisture is pooling on the lintel. We look at the ‘tooth’ of the remaining mortar. If the previous guy used a hard Portland cement on soft historic bricks, he’s probably caused more damage than the rust. The mortar must be the sacrificial lamb; it must be softer than the brick to allow for moisture movement. If you’re seeing spalling, it’s because the water couldn’t get out through the mortar, so it went through the brick face. Preventing this requires a holistic approach. Check your gutters, ensure your stone wall repair includes proper drainage, and never, ever caulk the weep holes above a window. Those holes are the lungs of your wall. If you plug them, you are effectively drowning your lintels in a bath of trapped humidity. Do it once, or do it twice—the choice is usually written in the cracks of your mortar.