
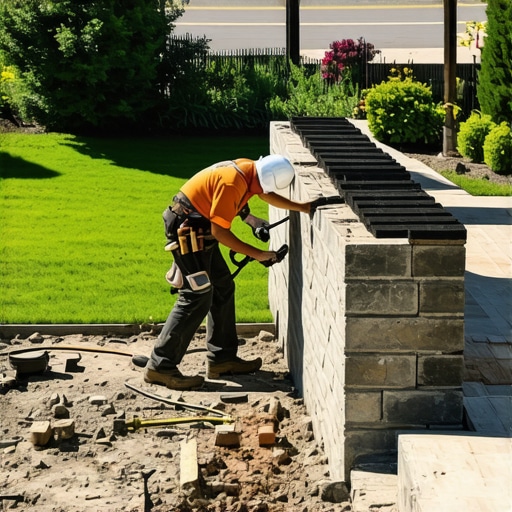
The Silhouette of a Failing Structure
I was standing on a steep grade in a rainy valley last November, looking at what the developer called a ‘professional grade’ modular retaining wall. It was a 6-foot-tall stack of split-face concrete units that had developed a distinct, pregnant bulge right at the mid-point. It wasn’t just an aesthetic flaw; the wall was leaning four inches out of plumb toward the public sidewalk. To the untrained eye, it looked like a heavy wind might knock it over. To me, it looked like a 40-ton ticking time bomb fueled by hydrostatic pressure and a total lack of geotechnical logic. This wasn’t a masonry failure; it was a physics failure. The contractor had ‘buttered’ the caps and walked away, ignoring the fact that the soil behind the wall was a heavy, plastic clay that holds onto water like a sponge. When the heavy rains hit, that soil saturated, the weight tripled, and the wall began its slow, inevitable march toward the street. This is the reality of emergency masonry repair: you aren’t just fighting the stone; you are fighting the earth itself.
“Water penetration is the single greatest threat to masonry durability.” – BIA Technical Note 7
The Physics of the Bulge: Why Gravity Always Wins
When we talk about a modular wall leaning, we are usually discussing the failure of the Angle of Repose. Every soil type has a natural angle at which it stays put. When you cut into that angle to build a driveway or a flat yard, you create a surcharge load. The wall is there to resist that load. In freeze-thaw damage restoration, we see the most damage in the upper third of the wall. Water gets trapped behind the units, freezes, and expands by 9% in volume. This expansion acts like a hydraulic jack, slowly ratcheting the units outward, one winter at a time. This is why masonry water damage repair isn’t just about fixing the face; it’s about fixing the drainage chimney behind it. If your wall is leaning, the advanced masonry adhesives used on the cap stones are likely the only things keeping the top soldier course from sliding off into the street.
The Forensic Scene: Diagnosing the Root Cause
Before I even pick up a slicker or a hawk, I look at the weep holes—or the lack thereof. In modern BIM masonry projects, we model the flow of water before the first stone is laid. On the street-side failure I inspected, the ‘contractor’ had used a solid concrete leveling pad with no drainage pipe. The water had nowhere to go. It sat behind the wall, creating honeycombing in the backfill soil and eventually washing out the fines. If the wall is modular, the blocks themselves are usually fine; they are pre-cast to high ASTM C90 standards. The failure is almost always in the compaction. If you don’t hit 95% Standard Proctor density on your backfill, the wall is going to move. It’s not a question of if, but when. We call these ‘landscaper specials,’ where the aesthetics look great for the first six months, but the structural integrity is nonexistent. In a masonry rescue after disaster, we often find that the wall lacked geogrid—a high-tenacity polyester mesh that pins the wall back into the soil mass. Without geogrid, a modular wall is just a stack of heavy paperweights.
“The stability of a retaining wall depends entirely on its ability to resist the lateral earth pressure and any additional surcharge loads.” – ASTM D6637/D6637M-15
The Cure: A Multi-Stage Restoration
Fixing a leaning wall is rarely as simple as pushing it back. Once the soil has shifted and the internal friction is broken, the wall must be deconstructed. We start by removing the caps, often requiring a heat gun to break the bond of advanced masonry adhesives. We then excavate the ‘inflection zone’ behind the wall. This is where the real work happens. We replace the heavy clay with 3/4-inch clean crushed stone. Unlike dirt, clean stone has a high void ratio, allowing water to drop straight down to a perforated drain pipe rather than pushing against the blocks. During chimney structural repair or brick lintel replacement, we focus on the weight-bearing points, and a retaining wall is no different. We use fiber-reinforced mortars for the leveling pad to prevent future cracking and ensure the base doesn’t settle unevenly. If we are dealing with a historic property, we might even look at chimney interior parging techniques to seal off adjacent structures from moisture migration while we have the earth open.
The Modern Arsenal: Mortars and Adhesives
In the old days, we relied on mass and gravity. Today, we use chemistry. When we reassemble the wall, we use fiber-reinforced mortars on the base course to provide a slight bit of flexural strength that standard Type S ‘mud’ lacks. The caps are secured with polyurethane-based adhesives that remain flexible across a 100-degree temperature swing. This prevents the ‘zipper effect,’ where one loose cap stone allows water to infiltrate the entire core of the wall. In high-stress emergency masonry repair, we might even use helical anchors—steel screws that go 15 feet into the hillside—to tie the wall back if we can’t excavate the full distance. This is the difference between a ‘handyman’ fix and forensic masonry. One is a Band-Aid; the other is a permanent structural solution that respects the laws of thermodynamics and soil mechanics.
Final Inspection: When to Walk Away
If you see horizontal cracks in the units themselves, or if the wall is leaning more than 10 degrees, you aren’t looking at a repair anymore; you’re looking at a total loss. In those cases, the wall has exceeded its yield point. Continuing to patch it is just throwing good ‘mud’ after bad. You need a full redesign, potentially involving a professional engineer and BIM masonry projects software to ensure the new structure can handle the specific hydrostatic loads of your site. Never trust a mason who doesn’t talk about water. In my world, water is the only enemy that never sleeps, and your wall is just a dam that hasn’t broken yet.