
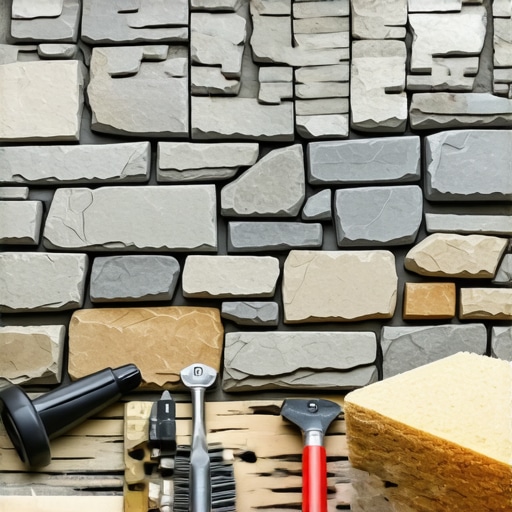
The Anatomy of a Failing Facade
I stood on a job site last Tuesday in a suburb that didn’t exist twenty years ago, looking at a three-story stone chimney that was literally shedding its skin. The homeowner thought it was just a hairline crack. But when I put my scope inside, I saw the structural steel was rusted to dust, and the OSB sheathing behind it had the consistency of wet oatmeal. This is the reality of the modern masonry world where speed is prioritized over physics. When we talk about stone veneer, we aren’t talking about the three-foot-thick granite blocks my grandfather hauled; we are talking about ‘adhered masonry veneer.’ It is essentially a heavy tile system hanging on the side of your house. When it fails, it doesn’t just look bad; it threatens the very skeleton of your home.
“Water penetration is the single greatest threat to masonry durability. Proper drainage and flashing are not optional; they are the lifeblood of the assembly.” – BIA Technical Note 7
The Micro-Physics of the Bond
To understand why your veneer is popping off, you have to look at the ‘tooth’ of the substrate. Most hacks just slap some mud on the back of a stone and press it against a dry wall. That is a recipe for a cold joint. The physics of masonry relies on a process called hydration. When you apply mortar, the substrate and the stone are both thirsty. If the stone is too dry, it sucks the moisture out of the mortar before the cement crystals can grow into the pores of the stone. This creates a ‘flash set.’ You think it’s stuck, but in reality, there is no mechanical interlock. This is where AI masonry assessment is becoming a vital tool; we can now use thermal imaging and acoustic resonance to find these hollow spots before the stone falls and hits someone on the head. A professional masonry restoration expert will always pre-wet the stone to reach a Saturated Surface Dry (SSD) condition, ensuring the bond is chemical, not just sticky.
The Freeze-Thaw Nightmare
In the North, we deal with the brutal 9% expansion. When water gets behind that stone—and it will get behind it—it needs a way out. Without a drainage mat or a weep system, that water sits in the honeycombing of the mortar. When the temperature drops, that water turns to ice, expands, and exerts thousands of pounds of pressure per square inch. This is the same force that causes spalled concrete steps repair to become a seasonal industry. It pops the face of the stone right off. If you are seeing horizontal cracks, it’s often a sign of retaining wall batter correction being ignored; the hydrostatic pressure is pushing the wall out because the drainage is clogged or non-existent. The wall is ‘bowing,’ and the veneer, which has zero tensile strength, simply snaps.
“Adhered masonry veneer units shall not exceed 15 pounds per square foot in weight or 36 inches in the greatest dimension.” – ASTM C1780
The Art of the Cut and the Strike
True craftsmanship is visible in the details like masonry birdsmouth cuts. These are internal corner cuts that allow stones to wrap around a corner without showing a jagged, ugly vertical joint. Most modern installers just butt the stones together, leaving a massive gap for water to enter. I always use my hawk and slicker to ensure every joint is compacted. Compaction is key. If you don’t ‘strike’ the joint properly, you leave it ‘open’ to the elements. This is different from historic brickwork repointing, where we use soft lime-based mortars to allow the building to breathe. For veneer, we need the strength of Type S, but we need the precision of a surgeon. When dealing with fire-rated masonry installation for an interior fireplace veneer, the stakes are even higher. You aren’t just worried about aesthetics; you are worried about thermal transfer and the integrity of the firebox.
Restoration vs. Patchwork
If you have cracking stone, don’t let a handyman talk you into ‘caulking’ it. Stone wall repair requires removing the failed units, grinding out the old, dead mortar, and addressing the moisture barrier behind it. We see this often in commercial smokestack repair; the heat and wind create massive stresses that no ‘caulk’ can fix. We also see it in the misuse of tile grouts on masonry. Tile grout is for bathrooms, not for exterior masonry that has to withstand UV degradation and acid rain. Real masonry requires real mortar, mixed to the correct proportions, and ‘buttered’ onto the stone with enough pressure to force the air out.
Technical How-To: Fixing the Delamination
Step 1: The Soundness Test
Take a small rubber mallet and gently tap the stones. A ‘ring’ means a good bond. A ‘thud’ or a hollow sound means the stone has delaminated from the scratch coat. Mark these stones with builder’s chalk.
Step 2: Surgical Removal
Using a small grinder with a diamond blade, cut the mortar joints around the failing stone. Do not pry against the neighboring stones, or you will cause a chain reaction of failures.
Step 3: Substrate Prep
Clean the scratch coat. If the metal lath is rusted, you have a bigger problem (moisture intrusion from the roof or windows). If it’s clean, apply a bonding agent.
Step 4: The Butter and Set
Apply a 1/2 inch layer of Type S mortar to the back of the stone (the ‘buttering’ method). Press it firmly until the mud squeezes out the sides. Use a slicker to tool the joints once the mortar is ‘thumb-print’ hard.
At the end of the day, masonry is about respect for the materials. Whether it’s a soldier course of brick over a window or a complex stone facade, the physics don’t change. You can’t cheat gravity, and you certainly can’t cheat water. Do it once, do it right, or you’ll be calling a forensic inspector like me to tell you why your beautiful home is falling apart.