
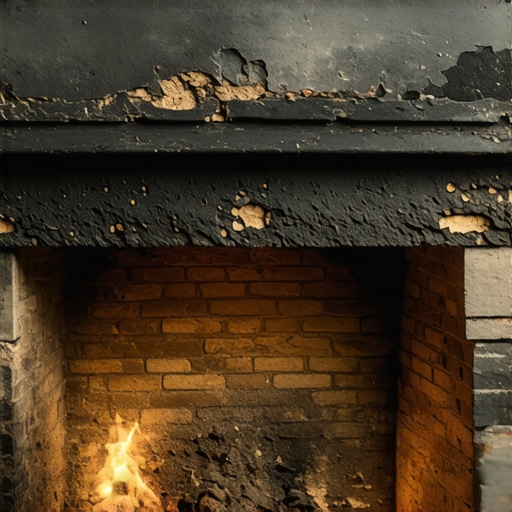
The Forensic Reality of the Hidden Flue
I was on a roof in the late November chill, the kind of damp cold that makes your joints ache after forty years in the trade. The homeowner pointed to a tiny, hairline crack running through a soldier course near the crown. To her, it was an aesthetic annoyance. To me, looking at the way the mortar had bleached white, it looked like a death rattle. I dropped the fiber-optic scope down the flue. What I saw wasn’t just a crack; the terracotta liner had ‘shaled’—the face of the tile had literally popped off due to thermal shock, leaving a jagged cavern where heat could bypass the flue and reach the dry framing of the house. The structural steel was rusted to dust, its load-bearing capacity vanished into oxidized flakes. This is the reality of masonry forensics: the most dangerous failures are the ones you cannot see without a lens and a lifetime of looking at decay.
“Water penetration is the single greatest threat to masonry durability.” – BIA Technical Note 7
The Physics of the Flue: Why Liners Fail
To understand a failing chimney, you have to understand the chemistry of combustion byproducts. When you burn wood or gas, you aren’t just creating heat; you are releasing water vapor, carbon dioxide, and sulfur dioxide. In a healthy system, these gases exit the chimney before they cool. But when a liner is compromised, these gases linger. As they cool, they reach their ‘dew point’ and condense on the interior walls. This condensate is acidic. It eats into the ‘mud’ (mortar) and the vitrified surface of the clay tiles. This process, known as carbonation, slowly turns the hard calcium hydroxide in the mortar back into soft calcium carbonate and water, effectively dissolving the glue that holds your chimney together from the inside out.
In northern climates where the freeze-thaw cycle is relentless, this moisture is a death sentence. When that acidic water gets trapped in the ‘tooth’ of the brick and freezes, it expands by exactly 9%. That expansion pressure exceeds the tensile strength of the masonry, leading to spalling, where the face of the brick simply pops off. This is why tuckpointing weatherproofing is not just about the exterior; it is about ensuring the internal moisture management system—the liner—is airtight. If you see ‘shaling’ (thin slices of terracotta) in your fireplace firebox, the internal structure is already disintegrating.
The Anatomy of Decay: Critical Signs to Watch For
A structural masonry inspection is the only way to truly verify the health of a stack, but there are red flags that even a layman can spot. First, look for efflorescence—that white, salty powder on the exterior brickwork. This is not just a stain; it is a sign that moisture is traveling through the masonry, dissolving minerals, and depositing them on the surface as the water evaporates. It is a symptom of a leaking liner or a failed chimney cap replacement. Without a proper cap, rain enters the flue directly, saturating the tiles and the surrounding brickwork.
Second, check the chimney flashing repair needs at the roofline. If the flashing is pulled away or ‘caulked over’ by a handyman, water is likely saturating the brick infill panel repair areas nearby. This saturation leads to ‘hydrostatic pressure’ within the wall itself. During a professional masonry restoration, we often find that the structural brick ties replacement is necessary because the moisture has rusted the ties that hold the masonry veneer to the house’s frame. A compromised liner accelerates this by keeping the entire chimney stack in a state of perpetual dampness.
“The chimney liner shall be capable of resisting the corrosion, erosion, and heat of the flue gases.” – ASTM C1283-14
Micro-Zooming into the Restoration Process
When we find a compromised liner, the fix isn’t just ‘slapping some mud’ on it. In historic tuckpointing, we have to respect the sacrificial nature of the materials. If we use a hard Portland cement on a chimney built with soft, 1920s lime-pressed bricks, the bricks will shatter within five winters. We use Type O or Type N lime-based mortars that allow the structure to ‘breathe.’ We ‘butter’ the joints with a hawk and trowel, ensuring a full bed of mortar, then use a ‘slicker’ to strike the joint. This compacts the mortar, creating a ‘skin’ that sheds water while allowing the interior to stay dry.
For the liner itself, we often look toward stainless steel relining or ceramic resurfacing. This creates a continuous, non-porous path for gases. It prevents ‘honeycombing’—the formation of small voids in the mortar joints that can leak carbon monoxide into your living spaces. While we are up there, we address the foundation waterproofing issues that often mirror chimney problems; if the top is leaking, the bottom is usually absorbing ground moisture. While modern tech like self-healing concrete foundations is impressive, in the world of chimneys, nothing beats a properly installed, high-grade liner and a solid masonry crown.
The Final Forensic Verdict
Ignoring a compromised chimney liner is like ignoring a gas leak. It’s a slow-motion disaster that eventually reaches a tipping point. Whether it’s the need for brick infill panel repair due to internal collapse or a simple chimney cap replacement to stop the bleed, action must be taken before the ‘cold joint’ in your masonry becomes a structural failure. Do not trust a ‘lick-and-stick’ contractor who promises a cheap fix. Masonry is a craft of inches and centuries. Do it once, do it right, and keep the fire where it belongs.