
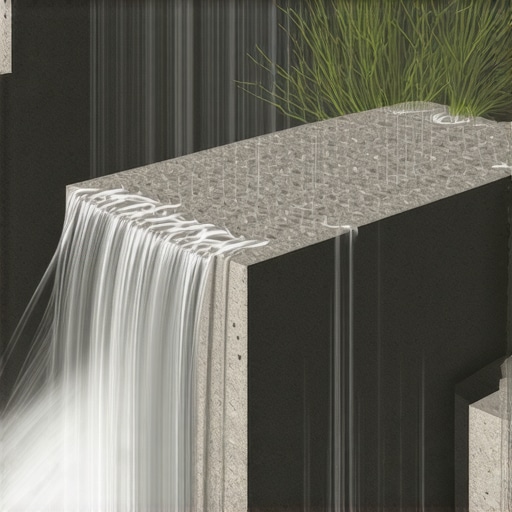
The Ghost in the Wall: Why Caps Fail
My old mentor used to drag me out to job sites at four in the morning just to watch how dew sat on a coping stone. He’d run his thumb over the edge and say, ‘If the water doesn’t know where to go, it’s going to find a way inside.’ He was obsessed with the ‘suction’ of the block. If a modular unit was too dry, it would suck the life out of the mud before the bond could even initialize. Most guys today just slap some ‘lick-and-stick’ adhesive on a dusty block and wonder why the retaining wall capstone replacement becomes a recurring line item every three seasons. They don’t understand the physics of the bond or the chemistry of the cure.
“The primary purpose of a masonry cap or coping is to shed water away from the vertical surfaces of the wall below.” – BIA Technical Note 36A
When we talk about How to Cap a Modular Retaining Wall to Prevent Water Seepage, we are talking about a war against hydrostatic pressure and the brutal reality of the freeze-thaw cycle. In the North, where I’ve spent decades digging out failed foundations, water is an insurgent. It finds a hairline crack in your capstone, sits there comfortably, and then expands by 9% the moment the temperature drops. That expansion exerts thousands of pounds of pressure per square inch, effectively acting as a hydraulic jack that pops your capstones right off their beds. This is why masonry water damage repair isn’t just about aesthetics; it’s about structural survival.
The Anatomy of a Failed Cap
Most modular walls fail because the installer treated the cap as an afterthought. I’ve seen commercial masonry facade maintenance crews spend weeks on the brickwork only to fail the entire assembly because they didn’t account for the drip edge. Without a proper overhang and a reglet or drip groove, water simply follows the underside of the stone via capillary action and runs straight into the core of the wall. Once that water is inside the ‘honeycombing’ of the modular blocks, the wall begins to weep. You’ll see it as white, crusty efflorescence—the salt of the earth being puked out by your masonry because the internal chemistry is being cannibalized.
Micro-Zoom: The Chemistry of the Bond
To get a cap to stay, you need to understand the ‘tooth’ of the material. Whether you are using high-performance mortar mixes or advanced masonry adhesives, the substrate must be pristine. I’m talking wire-brushed, blown out with compressed air, and slightly dampened to prevent the block from ‘burning’ the mortar. When you ‘butter’ the back of a capstone, you aren’t just applying glue; you are creating a mechanical interlock. The mortar hydrates, growing microscopic crystals that knit into the pores of the stone and the block. If that block is covered in stone dust from the saw, those crystals have nothing to grab onto. You’ve built a ‘cold joint,’ and it’s only a matter of time before it lets go.
Forensic Inspection: Detecting the Silent Killers
In my years of AI masonry assessment and forensic work, I’ve realized that cracked brick wall repair and brick lintel replacement often stem from the same root cause: poor water management at the top. If a wall isn’t capped correctly, water migrates down to the steel lintels. Steel expands as it rusts—sometimes up to ten times its original thickness—a phenomenon we call ‘oxide jacking.’ This is what causes those jagged stair-step cracks that make homeowners panic. It starts at the cap and ends with a brick veneer installation pulling away from the studs.
“Proper selection of mortar type is essential; a mortar that is too hard can cause irreversible damage to masonry units during thermal expansion.” – ASTM C270 Standards
The Hardscape Truth about Modular Blocks
Modular walls are particularly vulnerable because they are often hollow. If your cap isn’t sealed, you are essentially funneling rainwater into a series of concrete pipes. This water saturates the soil behind the wall, increasing the weight the wall has to hold. You go from holding back dry dirt to holding back heavy, liquid mud. This is where you see walls start to lean or ‘belly’ out. A proper brick infill panel repair on a commercial site often involves retrofitting these caps to ensure they act as a true umbrella.
Step-by-Step: The Professional Way to Cap
How to Properly Install or Replace Retaining Wall Capstones
- Surface Prep: Use a diamond-cup grinder to remove any old adhesive or failed mud. You need to see the raw aggregate of the concrete block. This creates the ‘tooth.’
- Moisture Management: Lightly mist the top course. This prevents the block from robbing the mortar of its hydration water.
- Applying the Bed: If using high-performance mortar mixes, use a half-inch notched trowel. If using advanced masonry adhesives, apply heavy beads in a zigzag pattern, ensuring no ‘air pockets’ are trapped.
- The Set: Place the cap with at least a 1-inch overhang. Use a rubber mallet to ‘beat it in’ until you hear that solid thud—not a hollow ring.
- The Drip Edge: Ensure the capstone has a pre-cut drip groove on the underside. If it doesn’t, cut one with a small grinder. This breaks the surface tension of the water.
- Joint Sealing: Use a high-quality masonry sealant in the joints between caps, rather than rigid mortar, to allow for thermal expansion.
The Verdict
You can hire a ‘handyman special’ to throw some caps on your wall for a few hundred bucks, or you can do it right. I’ve spent my life fixing the ‘good enough’ work of others. Whether it’s a commercial masonry facade maintenance project or a backyard planter, the physics don’t change. Respect the water, or the water will disrespect you. Do it once, or do it twice. The choice is yours, but my trowel doesn’t lie.