
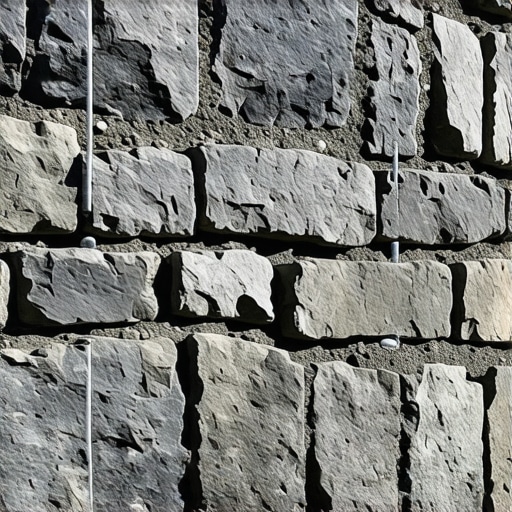
The Ghost in the Foundation: A Forensic Discovery
I was standing in a crawlspace last October, the kind of place that smells like wet copper and a hundred years of damp earth. The homeowner pointed to a 120-year-old fieldstone wall and told me it was just ‘shedding a little sand.’ I pulled out my pick and tapped a section of the mortar. It didn’t just crumble; it turned to a fine, dry silt and flowed out like an hourglass. Behind the face of those stones, the structural integrity had vanished. The ‘mud’—the original lime binder—had reverted to its base elements due to a century of rising damp. This is the reality of historic masonry preservation: it is a battle against the slow, silent chemistry of decay. When you see a wall bowing or ‘dusting,’ you aren’t just looking at a cosmetic issue; you are looking at a gravity-defying act that is about to run out of time.
“Mortar should always be weaker than the masonry units it binds, acting as a sacrificial element to protect the stone from stress and moisture.” – BIA Technical Note 2
The Chemistry of Breathability: Why Modern Cement Kills Old Stone
The biggest mistake I see ‘modern’ contractors make is bringing a bag of Type S Portland cement to an old stone job. It’s a death sentence for the wall. You see, old stones—limestone, sandstone, or even weathered granite—are porous. They breathe. The original lime-based mortar used in the 19th century was ‘soft.’ It allowed moisture to travel through the joints and evaporate. When you slap a hard, impermeable high-performance mortar mix made of modern Portland over those joints, you trap the water inside the stone. In a freeze-thaw damage restoration scenario, that trapped water expands by 9% when it turns to ice. Since the mortar won’t give, the stone itself explodes. We call this spalling, and it’s the hallmark of a ‘handyman special.’ To reinforce a wall without changing its look, we must respect the sacrificial principle: the mortar must be the weakest link.
Stealth Reinforcement: The Internal Skeleton
If the wall is structurally compromised—meaning it has lost its ‘hearting’ or internal rubble fill—we don’t just patch the surface. We use structural brick ties replacement techniques adapted for stone. This involves ‘stitching’ the wall internally. I use 316-grade stainless steel helical anchors. We drill a pilot hole through the mortar joint—never the stone—and drive these anchors deep into the backup material or the neighboring wythe. Once recessed, we butter the end of the hole with a color-matched lime putty. It’s an internal skeleton that nobody will ever see. This provides the lateral stability needed for brick column repair or sagging stone piers without the need for ugly external buttresses or concrete jackets.
Deep Pointing and the Art of the Slicker
Reinforcement starts with ‘Deep Pointing.’ This isn’t your standard tuckpointing cost estimation job where you scrape the surface. We rake out the failing joints to a depth of at least two to three times the width of the joint. We use a hawk and a small slicker (jointer tool) to pack the new lime-rich mud into the void in ‘lifts.’ If you pack 4 inches of wet mortar in at once, it will shrink and crack. You do it in layers, letting the ‘suction’ of the stone pull the moisture out of the mix. This creates a mechanical bond that is far superior to any chemical adhesive. For historic masonry preservation, we often use a stone coping installation on the top of the wall to prevent ‘vertical’ water entry, which is the primary driver of internal rot.
“Water penetration is the single greatest threat to masonry durability, necessitating proper drainage and vapor permeability.” – ASTM C270 Standards
The Hydrostatic Headache: Drainage Upgrades
You can reinforce a wall until it’s made of iron, but if you don’t handle the water behind it, gravity will eventually win. A retaining wall drainage upgrade is the most critical part of reinforcing an old stone structure. Hydrostatic pressure—the weight of water-saturated soil—can exert thousands of pounds of force against a wall. We often install ‘weep holes’ using small copper pipes hidden in the mortar joints. But the real work happens behind the scenes with a chimney structural repair or a wall stabilization: installing a French drain system or a geocomposite drainage mat. This relieves the pressure, allowing the reinforced wall to simply hold its own weight rather than acting as a dam for the entire hillside.
Precision and Realignment: The Finishing Touch
When dealing with a patio stone realignment or a shifted wall face, we sometimes have to ‘pin’ the stones. This involves drilling through the stone and into the bedrock or a new concrete deadman, then hiding the pin head with a ‘Dutchman’ repair—a tiny piece of matching stone epoxied over the hole. It’s forensic-level masonry. We’re not just builders; we’re surgeons. Whether we are calculating the tuckpointing cost estimation for a Victorian estate or performing a chimney structural repair on a sagging flue, the goal is the same: make it look like we were never there. If the wall looks ‘new,’ I’ve failed. It should look old, it should look weathered, but it should stand for another two centuries. That is the difference between a mason and someone who just moves bricks.